How You Can Cook Ham in a Roaster Pan Step-by-Step
Many home cooks find preparing the perfect ham a bit overwhelming, especially when trying to get it just right in a roaster pan. You’re not alone—nobody wants an overcooked or underwhelming result.
Luckily, cooking ham in a roaster pan is easier than you think with a simple step-by-step guide.
To cook ham in a roaster pan, start by choosing the right ham—bone-in or boneless—based on your preferences.
Preheat your oven to 325°F and prepare the pan with foil or a liner for easy cleanup.
Place the ham on a rack, score it, and add your favorite seasonings or glaze.
Cover and cook until the internal temperature reaches 140°F for pre-cooked ham or 145°F for raw.
If you’re curious about the details, there’s more to discover.
Key Takeaways
- Choose the right ham, whether it’s bone-in or boneless, and make sure it fits comfortably in your roaster pan.
- Preheat your oven to 325°F. Prepare the pan by adding liquids like water, juice, or broth, and set up a rack to ensure even cooking.
- Place the ham on the rack with the fat side up. Score the surface to help the seasoning and glaze absorb better.
- When you’re ready to glaze, do it during the last 20-30 minutes of cooking. Reapply the glaze to get that shiny, delicious finish.
- After baking, let the ham rest for 10-15 minutes before slicing. This helps keep the juices in and makes the meat more tender and flavorful.
How to Choose the Perfect Ham for Roasting
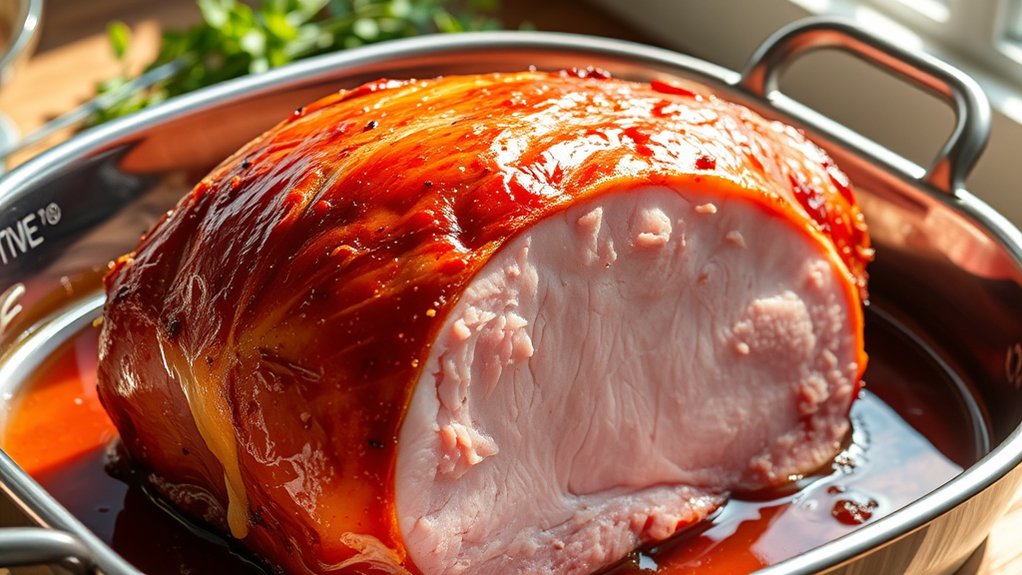
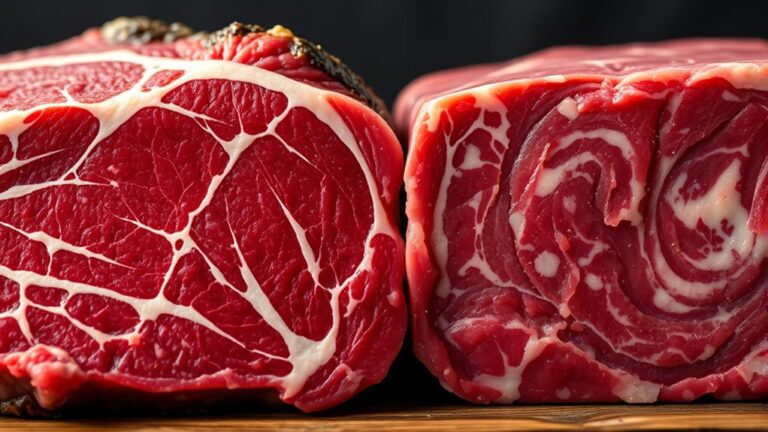
Choosing the right ham is key to a tasty roast. First, decide whether you want a bone-in or boneless ham. Bone-in hams usually have more flavor and stay moist, while boneless ones are easier to carve.
Next, think about the saltiness. A precooked, glazed ham is convenient, but if you like more control, go for an uncooked ham you can season yourself.
Opt for uncooked ham if you prefer to control the seasoning and saltiness of your roast.
Pay attention to the weight. Larger hams need more cooking time, so pick one that fits your needs. Look for good marbling of fat, which keeps the meat tender and flavorful during roasting.
Finally, check the label to ensure it’s suitable for roasting and matches your taste preferences.
Preparing Your Roaster Pan for Cooking Success
To guarantee your ham cooks evenly and doesn’t stick, start by thoroughly cleaning your roaster pan. Wash it with warm, soapy water, then rinse and dry completely. This step removes any residue that could cause sticking or uneven cooking.
Next, consider lining the bottom with aluminum foil or a silicone baking mat for added protection and easy cleanup. If you plan to add liquids like water, broth, or glaze, pour them in after the pan is clean and prepared.
Make sure the pan is stable and sits level to ensure even heat distribution. Finally, check that the lid fits securely, as a tight seal helps maintain moisture and temperature during roasting.
Proper preparation sets the foundation for a successful ham cook.
How to Set Your Oven Temperature and Position the Ham
Once your roaster pan is ready, the next step is to set your oven to the right temperature and position the ham properly. Preheat the oven to 325°F (163°C), which is perfect for slow, even cooking.
Place the ham on a rack inside the roaster, making sure it’s centered and not touching the sides or lid. This way, hot air can circulate evenly around the meat. If your ham has a layer of fat, position it with the fat side facing up so it can render and baste the meat as it cooks.
Ensure the ham fits comfortably in the pan without crowding. Proper placement and temperature help your ham cook evenly, stay moist, and develop a beautiful glaze when it’s ready.
How to Score and Season Your Ham for Maximum Flavor
Before applying any seasonings, it’s important to score your ham properly. Use a sharp knife to make shallow cuts across the surface, creating a diamond pattern.
This helps the seasonings penetrate better and promotes even cooking and easier carving. Be careful not to cut too deep—just through the fat layer.
Once scored, rub your favorite seasonings into the cuts, so the flavors seep into the meat. A simple mix of salt, pepper, garlic powder, and brown sugar works well, but feel free to add herbs or spices.
Rub seasonings into the scores for maximum flavor and tender, well-seasoned ham.
Massaging the seasonings into the score lines maximizes flavor absorption. This prep step ensures each bite is flavorful and tender, setting the stage for a delicious, well-seasoned ham.
How to Glaze and Baste Your Ham for Juicy, Shiny Results
Applying a glaze during the final stages of cooking transforms your ham into a glossy, flavorful centerpiece. Brush the glaze generously over the surface, making sure it’s evenly coated.
Reapply every 20 to 30 minutes so the sugars caramelize and give it that shiny, appealing look. Basting with your ham’s juices or extra glaze helps keep it moist and boosts flavor.
Use a clean basting brush or spoon to avoid contamination. Keep the oven or roaster at a slightly lower temperature during glazing so the sugar doesn’t burn.
For extra shine, brush on a final layer of glaze and let it sit for a few minutes before serving. This method guarantees a juicy, beautifully glazed ham that looks as good as it tastes.
How to Know When Your Ham Is Fully Cooked
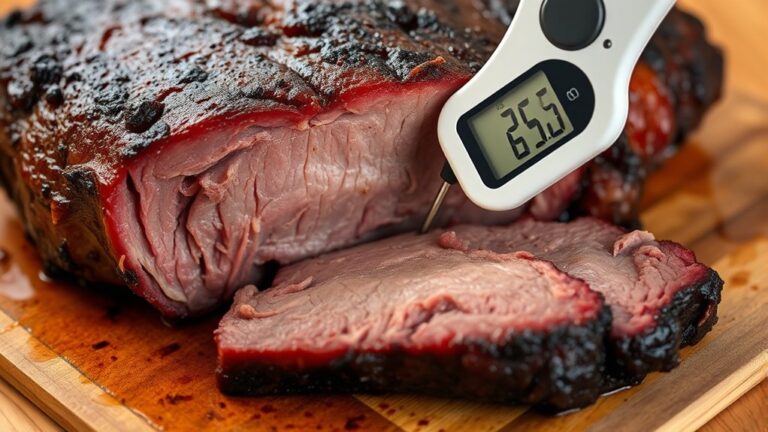
Wondering how to tell when your ham is fully cooked? The key is to check its internal temperature. Use a meat thermometer for accuracy. Aim for an internal temp of 140°F (60°C) for pre-cooked hams.
Here are four signs to confirm doneness:
- The thermometer reads the correct temperature.
- The ham’s juices run clear when pierced with a fork.
- The edges are slightly browned and caramelized.
- The meat feels firm but not tough when pressed.
Don’t rely only on how it looks; temperature is the most reliable. Overcooking can dry out your ham, so keep an eye on the thermometer. Once it hits the right temp, you’re ready to serve.
Why Resting Your Ham Matters and How to Do It Properly
Resting your ham lets the juices redistribute, making each slice more flavorful and juicy. Skipping this step can cause the meat to dry out and lose its tenderness.
To rest properly, tent the ham loosely with foil and wait at least 10-15 minutes before carving.
Enhances Juiciness and Flavor
Allowing your ham to rest after cooking is key to locking in its juices and boosting flavor. When you let it sit, the juices spread out evenly, giving you a moist, tender bite.
Proper resting also enhances the ham’s natural flavors, making each slice more tasty and satisfying. Keep these tips in mind to get the best results:
- Rest for at least 15-20 minutes so the juices can settle.
- Cover loosely with foil to keep it warm without trapping too much moisture.
- Don’t slice right away—cutting too soon causes the juices to escape.
- Use this time to prepare your sides so your ham can rest undisturbed.
This simple step ensures your ham is juicy, flavorful, and perfectly tender.
Prevents Meat Drying Out
Taking the time to rest your ham is essential because it helps prevent the meat from drying out and becoming tough. When you remove the ham from the oven or roaster, the juices are still moving within the meat.
Resting allows these juices to redistribute evenly, ensuring every bite stays moist. If you cut into the ham immediately, the juices escape, leaving the meat dry and less flavorful.
To do it right, cover the ham loosely with foil and let it sit for about 10-15 minutes. This brief pause helps retain moisture and improves tenderness.
Resting isn’t just a step—it’s a vital part of cooking that guarantees your ham stays juicy and tender all the way through.
Tips for Slicing and Serving a Beautiful Ham
To get beautifully sliced ham, start by letting it rest for about 15 minutes after taking it out of the oven. This helps the juices redistribute, making it easier to slice and keeping the meat juicy.
When you’re ready, grab a sharp carving knife for clean, even slices. Slice against the grain for tenderness and a better look.
Use a steady, gentle sawing motion to avoid tearing the meat. Arrange the slices neatly on a platter for an attractive display.
Just before serving, drizzle with glaze or juices to boost flavor and make it look even more tempting. Following these tips will help you serve a professional-looking, delicious ham every time.
Troubleshooting Common Ham Roasting Problems
Even when you follow all the steps for slicing and serving, issues can still come up during roasting. One common problem is the ham drying out. This usually happens if you roast it too long or at too high a temperature.
To fix this, check the internal temperature regularly and take out the ham once it reaches the right level. If your ham isn’t heating evenly, it might be because it’s placed unevenly in the roaster or your oven has cold spots. Try repositioning it or rotating it during cooking.
Sometimes, the glaze burns before the ham is heated through. To prevent this, apply the glaze later in the process or cover the ham loosely with foil. Troubleshooting these issues will help you get a juicy, perfectly cooked ham every time.
Creative Flavors and Variations to Customize Your Ham
Experimenting with unique glaze combinations can give your ham a memorable flavor, from sweet and tangy to spicy and savory.
Savory marinades like apple cider or soy-based blends add depth before roasting. Try mixing different ingredients to customize your ham and impress your guests.
Unique Glaze Combinations
A well-crafted glaze can turn a simple ham into a showstopper, and trying out unique flavor combos makes it even more exciting. Play around with unexpected ingredients to create memorable, personalized flavors.
For example, you might try a Balsamic and Fig glaze to balance sweetness with tang, enriching the ham’s richness. Or go for Maple and Dijon to add a touch of warmth and sharpness for more depth.
Pineapple and Ginger bring tropical zest with a spicy kick, while Honey and Sriracha combine sweet and spicy for a bold, modern flavor. These combos not only taste great but also make your ham visually appealing.
They help your dish stand out and impress your guests with creative flair. Experimenting with different glazes lets you craft a unique culinary experience every time.
Savory Marinade Ideas
Adding a savory marinade is a great way to give your ham bold, complex flavors before cooking. You might try a mix of soy sauce, garlic, and ginger for an Asian-inspired twist.
Or go for a blend of balsamic vinegar, thyme, and black pepper to create a rich, aromatic profile. For a smoky touch, combine Dijon mustard, smoked paprika, and a splash of apple cider vinegar.
Herb-infused marinades with rosemary, sage, and oregano add freshness and depth. If you prefer something tangy, mix Worcestershire sauce, Dijon, and a touch of honey.
These marinades not only boost flavor but also help keep the ham moist during cooking. Feel free to experiment with your favorite herbs, spices, and acids to craft a marinade that suits your taste perfectly.
Cleaning and Maintaining Your Roaster Pan After Cooking
After you’ve finished cooking your ham, cleaning your roaster pan promptly helps prevent stubborn stains and residue buildup. To keep it in top shape, follow these steps:
- Let it cool before cleaning to avoid burns and warping.
- Soak the pan in warm soapy water for 15-20 minutes to loosen food particles.
- Use a non-abrasive scrubber to gently remove any stuck-on bits, preserving the surface.
- Dry thoroughly to prevent rust and corrosion, especially if your pan is metal.
Regular maintenance guarantees even heat distribution and prolongs your pan’s lifespan. Proper cleaning also keeps flavors pure and prevents old residues from affecting future meals. Consistent care means your roaster pan stays reliable and ready for your next cooking adventure.
Frequently Asked Questions About Roasting Ham in a Roaster Pan
You might wonder which ham types work best for roasting in a pan or how long it takes to cook them properly. Knowing these details helps guarantee your ham turns out flavorful and perfectly cooked.
Let’s answer some common questions to make your roasting process smoother.
Best Ham Types
Choosing the right type of ham is key to a successful roast in a roaster pan. Different cuts bring unique flavors and textures, so pick one based on what you want.
Here are four popular options:
- Butt Ham – Known for being meaty and tender, perfect for slicing and serving.
- Shank Ham – Usually has more bone and connective tissue, offering rich flavor if cooked slowly.
- Boneless Ham – Easier to cook evenly and great for a uniform presentation and quick prep.
- Pre-cooked Ham – Needs less cooking time, making it perfect for convenience and immediate serving.
Choosing the right ham guarantees your roast will be flavorful, tender, and just right for your meal.
Cooking Time Tips
Determining the right cooking time is key to making sure your ham turns out tender and flavorful. Usually, for a pre-cooked ham, aim for about 10-15 minutes per pound at 325°F.
Use a meat thermometer to check the internal temperature. For fully cooked ham, look for 140°F. If you’re working with a raw ham, cook it to 145°F and then let it rest.
Keep in mind that larger hams may need a bit more time, so don’t rely on time alone. Always check the thermometer to be safe. Cover the ham loosely with foil to keep it moist and baste occasionally if you want a glaze or extra moisture.
Frequently Asked Questions
Can I Cook a Frozen Ham in a Roaster Pan?
Yes, you can cook a frozen ham in a roaster pan. Just place the frozen ham directly into the pan, add some liquid like water or broth to keep it moist, and cover it tightly.
Keep the oven at a low temperature, around 275°F, and cook until the ham reaches an internal temperature of 140°F.
Be patient, as cooking time will be longer than for a thawed ham.
What Size Roaster Pan Is Best for Different Ham Quantities?
Think of your roaster pan as a stage for your ham’s performance. For small hams, a 16-quart pan acts like a cozy dressing room, perfect for 8-10 pounds.
For larger hams, like 12-16 pounds, a 22-quart pan provides ample space, ensuring even cooking.
When in doubt, go for a slightly bigger pan to avoid overcrowding. Your ham deserves the right setting to shine.
Is It Safe to Cook Ham Uncovered in a Roaster?
Yes, it’s safe to cook ham uncovered in a roaster as long as you keep an eye on the temperature. Leaving the lid off helps the surface brown nicely, which adds flavor.
Just make sure to use a meat thermometer to check that the ham reaches the right temperature—140°F for pre-cooked ham or 145°F for fresh ham.
If you notice it drying out, covering it later can help keep it moist and tender.
How Do I Prevent the Ham From Drying Out During Roasting?
Think of your ham as a delicate treasure that needs protection. To keep it from drying out, baste it often with its juices or a glaze during roasting.
Start by covering it with foil early on, then uncover it near the end to develop a nice glaze. Keeping the oven steady and not overcooking also helps keep your ham moist and tender.
This way, every bite stays juicy and full of flavor.
Can I Cook Multiple Hams at Once in a Large Roaster?
Yes, you can cook multiple hams at once in a large roaster. Just make sure they fit comfortably without touching so the heat circulates evenly.
Arrange them in a single layer if possible, and consider increasing the cooking time slightly because of the extra mass. Keep an eye on the internal temperature to prevent overcooking.
Baste as needed to keep the hams moist and flavorful. This way, you’ll get perfectly cooked hams even when roasting several at once.
Conclusion
Cooking ham in a roaster pan turns a simple cut into a feast. As you baste and glaze, the aroma fills your kitchen, inviting everyone to gather around. It’s like creating a special moment in your home.
With patience and care, your ham becomes a juicy, flavorful centerpiece that’s beautifully caramelized. Each step adds richness and tradition, making the dish truly memorable.
Think of this process as crafting a culinary masterpiece. Using a roaster pan to cook ham transforms it into a celebration everyone will enjoy.