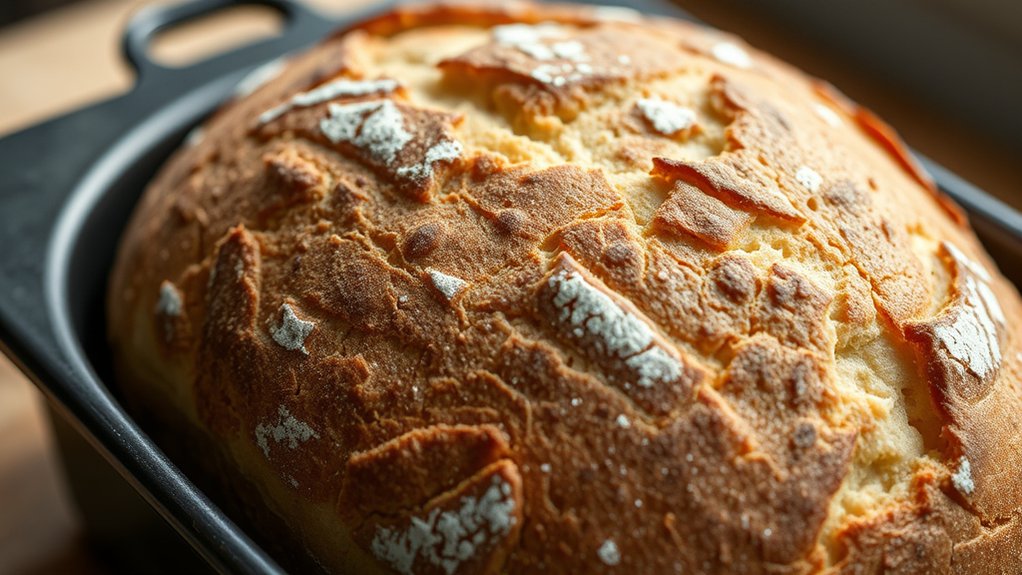
How Do You Bake Sourdough Bread in a Loaf Pan?
Baking sourdough bread in a loaf pan can seem tricky, especially if you’re aiming for that perfect, crusty loaf but keep ending up with uneven slices or dense bread.
You’re not alone—many people struggle with achieving a consistent shape and texture when baking sourdough at home. Luckily, with a few simple steps, you can bake beautiful, uniform loaves right in a loaf pan.
To bake sourdough in a loaf pan, shape your dough into a tight form and proof it until doubled.
Lightly grease or line the pan to prevent sticking, then place the dough inside and cover it to keep moisture.
Bake at 450°F for 35-40 minutes.
Cool on a wire rack and enjoy a uniform, easy-to-slice loaf.
For detailed tips on perfecting crust and troubleshooting, keep exploring further.
Key Takeaways
- Shape the dough into a tight boule or bâtard before placing it in a greased or lined loaf pan.
- Proof the dough until it doubles in size at room temperature. Cover loosely to keep the moisture in.
- Once it has doubled, carefully transfer the dough into your prepared loaf pan. Gently smooth the top if needed.
- Bake at 450°F (232°C) for 35-40 minutes. Make sure your oven heats evenly so the crust turns a nice golden color.
- When it’s done, remove the bread from the oven and let it cool on a wire rack for at least one hour before slicing.
- Proper storage is key. Wrap the bread well or freeze slices if you’re not going to eat it right away to keep it fresh and maintain that lovely texture.
Why Baking Sourdough in a Loaf Pan Makes Life Easier
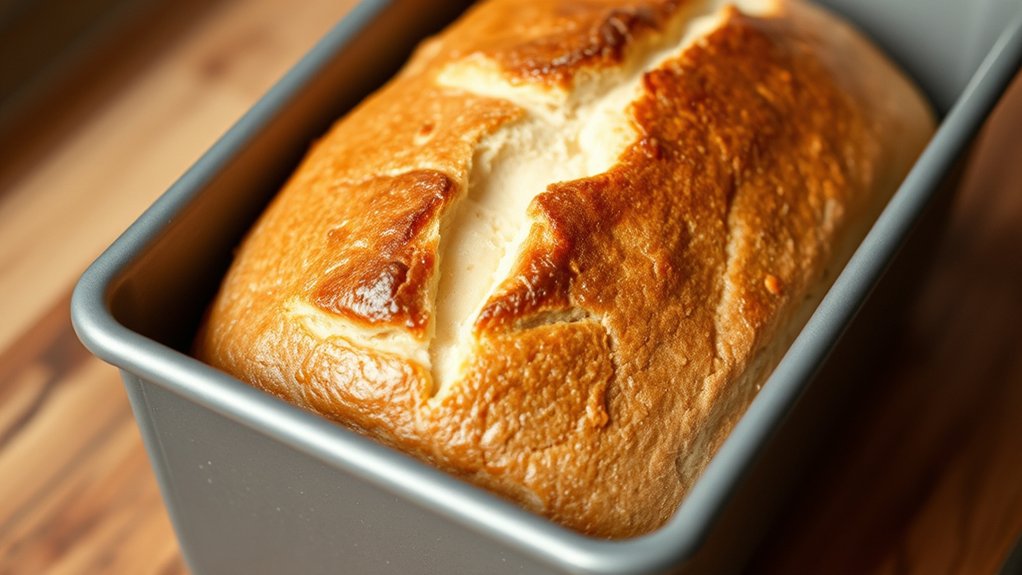
Baking sourdough in a loaf pan makes the process easier by giving you more control over the shape and size of your bread.
With a loaf pan, your bread will have a consistent, uniform shape, which makes it easier to slice and serve.
It also helps prevent spreading and uneven expansion during baking, leading to a more even crumb.
Plus, the pan keeps the dough contained, so it doesn’t over-expand or lose its structure.
This is especially helpful if you’re new to sourdough baking or working in a small kitchen.
How to Choose the Best Loaf Pan for Sourdough Baking
Choosing the right loaf pan can really impact your sourdough baking. Look for a pan made of metal, like aluminum or steel, because they conduct heat well and help your bread bake evenly.
Avoid glass or ceramic pans, as they can cause uneven heat distribution. A pan with straight, tall sides is ideal to help shape your loaf and give it a good rise.
Non-stick coatings are convenient, but they might affect how your crust develops. Consider uncoated pans if you want a better crust.
Size also matters—most sourdough recipes work best in an 8.5×4.5-inch loaf pan. But larger or smaller pans can work if you adjust your baking times and recipe accordingly.
Finally, pick a pan that’s sturdy and easy to handle to ensure stability during baking and when removing your bread.
Getting Your Sourdough Dough Ready for Pan Proofing
Once you’ve chosen your perfect loaf pan, the next step is preparing your sourdough dough for its final rise. First, shape your dough into a tight boule or bâtard. Lightly flour the surface and your hands to prevent sticking.
Gently transfer the dough to a floured proofing basket or bowl, seam side up. Cover it with a damp cloth or plastic wrap to keep the moisture in. Let it proof at room temperature until it has roughly doubled in size, usually 2 to 4 hours.
During the last hour, you can do a gentle stretch and fold to strengthen the dough. Use the table below to track your dough’s progress and key steps:
| Step | Description | Duration |
|---|---|---|
| Shaping | Form into tight ball or loaf | 5-10 minutes |
| Proofing | Final rise before baking | 2-4 hours |
| Handling | Transfer to loaf pan | As needed |
How to Proof Sourdough Correctly in a Loaf Pan
To proof your sourdough correctly in a loaf pan, start by lightly greasing the pan or lining it with parchment paper to prevent sticking. Place your shaped dough into the pan, making sure it’s centered and evenly spread out.
Cover the pan loosely with a damp cloth or plastic wrap to keep humidity up and stop the dough from drying out. Keep it in a warm, draft-free spot, ideally around 75-78°F (24-26°C).
Let the dough rise until it just about doubles in size, usually 1 to 2 hours depending on your room temperature. The dough should feel puffy and slightly spring back when you gently press on it.
Proper proofing helps create the right texture and rise, leading to a beautifully baked loaf.
Step-by-Step: Baking Your Sourdough in a Loaf Pan
Once your dough is proofed and ready, you’ll want to prepare it carefully for baking in your loaf pan. Pay close attention to how you shape and score the dough, making sure it’s smooth and snug in the pan.
Don’t forget to preheat your oven properly so everything bakes evenly. After baking, cooling techniques are super important to get that perfect crust and texture you’re aiming for.
Preparing the Dough Properly
Start by mixing your sourdough starter with flour, water, and salt until you form a rough, shaggy dough. Knead it briefly until everything is well combined, then cover and let it rest for about 30 minutes to 1 hour.
This autolyse step helps develop gluten and improves dough elasticity. After resting, do a series of stretch and folds every 30 minutes for 2-3 hours to strengthen the dough.
Once it reaches a smooth, slightly tacky consistency, shape it into a loaf that fits your loaf pan. Be gentle so you don’t flatten or tear the dough.
Proper preparation guarantees your sourdough will have a good rise, nice texture, and great flavor. It sets a solid foundation for baking in your loaf pan.
Baking and Cooling Techniques
When it’s time to bake, preheat your oven to 450°F (232°C) and place a rack in the middle. For a crispy crust, add a baking stone or an empty metal pan on the lower rack, then pour hot water into it just before baking to create steam.
Place your loaf pan on the middle rack and bake for 35-40 minutes, or until the crust turns deep golden brown. Check the bread’s internal temperature, aiming for around 210°F (99°C), to verify it’s done.
Once baked, remove the loaf from the pan and transfer it to a wire rack. Let it cool for at least an hour before slicing. This helps the crumb set and prevents it from becoming gummy.
Tips for Achieving a Crispy, Golden Crust in a Loaf Pan
Achieving a crispy, golden crust in a loaf pan takes a few simple tricks. First, make sure to preheat your oven thoroughly and place a baking stone or heavy-duty sheet inside to help distribute the heat evenly.
Before baking, brush the top of your dough with water or a light egg wash to encourage browning. You can also add steam during the first few minutes by placing a tray of hot water at the bottom of the oven. This creates a humid environment that helps develop a better crust.
If you’re using a loaf pan with a lid, remove it partway through baking to let the crust crisp up. Finally, cool your bread on a wire rack instead of a surface that traps moisture, which keeps the crust crisp and prevents sogginess.
Troubleshooting Common Sourdough Pan-Baking Problems
Even with careful technique, baking sourdough in a loaf pan can sometimes lead to common issues like a dense crumb, uneven baking, or a crust that’s too soft. If your bread turns out dense, it might be underproofed. Give it more time to rise before baking.
Uneven baking usually results from inconsistent oven temperature or placing the pan too close to heat sources. Try adjusting your oven rack or using an oven thermometer to get a more even bake.
If the crust is too soft, it could be due to overproofing or not scoring enough to let steam escape. Also, make sure you’re baking at the right temperature and using a preheated pan or Dutch oven to help develop a better crust.
Troubleshooting these factors can really help improve your loaf’s texture and appearance.
Flavor Variations and Additions for Pan-Baked Sourdough
Adding flavor variations and ingredients to your sourdough dough can turn a simple loaf into a personalized masterpiece. You can incorporate herbs like rosemary, thyme, or basil to add aromatic complexity.
Enhance your sourdough with herbs, fruits, nuts, or seeds for a personalized, flavorful loaf.
Dried fruits such as raisins, cranberries, or chopped apricots bring a touch of sweetness and texture. Nuts like walnuts or pecans add crunch and richness, while seeds such as sunflower or sesame boost nutrition and flavor.
For a savory twist, stir in roasted garlic, caramelized onions, or crumbled cheese. When adding ingredients, fold them gently into the dough during the final stretch to ensure even distribution.
Keep in mind that extra moisture from ingredients like fruits or cheese may slightly affect your dough’s hydration, so adjust water levels accordingly to maintain proper texture and consistency.
Storing and Slicing Your Loaf for Maximum Freshness
To keep your sourdough loaf fresh for as long as possible, proper storage is key. Once cooled, store the bread in a paper bag or linen bread box to keep the crust crisp and prevent mold.
Avoid plastic bags for short-term storage because they trap moisture and soften the crust. If you’re storing it longer, only slice the bread when you’re ready to eat.
Slicing exposes the interior to air and speeds up staling, so it’s best to wait until then. For several days, wrap slices tightly in plastic wrap or foil and freeze them.
To enjoy later, toast or reheat slices straight from the freezer. Proper slicing with a sharp serrated knife stops squashing and helps your bread stay fresh and attractive longer.
Frequently Asked Questions
Can I Use Any Type of Loaf Pan for Sourdough Bread?
Yes, you can use most standard loaf pans for baking sourdough bread. Look for pans made of metal or heat-retaining materials like cast iron or ceramic, as they distribute heat evenly.
Avoid non-stick or flimsy pans, which might not withstand the high temperatures or provide even baking. Confirm your loaf pan is the right size—around 8 to 9 inches—to give your sourdough enough room to rise and develop a good crust.
How Long Should I Bake Sourdough in a Loaf Pan?
You should bake your sourdough in a loaf pan for about 40-45 minutes. Most home bakers find that baking times can vary by 5-10 minutes depending on their oven.
Keep an eye on the crust. When it turns a deep golden color and sounds hollow when tapped, it’s usually ready. You can also use a thermometer to check; the internal temperature should reach 200°F for perfectly baked bread.
Should I Preheat the Loaf Pan Before Baking?
Yes, you should preheat the loaf pan before baking. Preheating helps create a hot environment that promotes a good rise and forms a nice crust.
Simply place the empty pan in the oven while it preheats to your desired temperature. When you’re ready, carefully remove the hot pan and transfer your dough into it to bake.
This step guarantees even baking and a better bread texture.
How Do I Prevent Sticking of Sourdough in the Loaf Pan?
To prevent sticking, generously grease your loaf pan with butter or oil, then dust it with flour or cornmeal. This creates a barrier that helps the bread release easily.
Another good option is lining the pan with parchment paper, which provides a non-stick surface and makes cleanup easier.
Make sure your dough isn’t too wet, as excess moisture can cause sticking and make removal tricky.
After baking, let the bread cool slightly before removing it from the pan. This helps it release easily without sticking.
Can I Bake Sourdough Without a Lid in a Loaf Pan?
Yes, you can bake sourdough without a lid in a loaf pan. Just preheat your oven and the pan thoroughly before placing your shaped dough inside.
You can score the top if you like, then bake at the recommended temperature. Using a baking stone or a heavy-duty pan can help mimic the steam created by a lid, which helps develop a good crust.
Keep an eye on the baking time to avoid over-browning. This method works well if you’re careful with the timing and temperature.
Conclusion
Baking sourdough in a loaf pan turns your kitchen into a bakery’s symphony, where patience and precision create a loaf that sings with flavor.
With each crackle of the crust and the tender crumb inside, you’re not just baking—you’re making a true masterpiece rooted in tradition.
Embrace the process, and soon your bread will rise like a golden sun, filling your home with warmth and delicious memories.
This method of baking sourdough in a loaf pan is perfect for achieving a uniform shape and a soft, chewy crust.