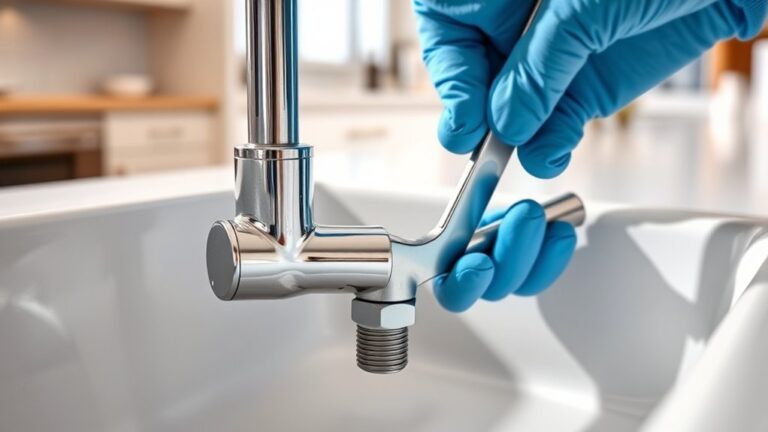
10 Easy Steps to Change Your Kitchen Faucet
Changing your kitchen faucet might seem like a daunting task, especially if you’re worried about leaks or messing up your sink. You’re not alone—many people struggle with DIY plumbing projects.
But the good news is, with a little guidance, you can do it yourself and save money.
To change your kitchen faucet, start by turning off the water supply and removing the old faucet carefully.
Clean the sink and inspect for issues. Connect the new faucet’s water lines, tighten fittings, and then turn the water back on to check for leaks and proper function.
If you encounter any problems, troubleshoot loose connections or worn parts.
Want to learn more about each step? Keep going for a complete guide to a successful faucet swap.
Key Takeaways
- Shut off the main water supply and drain any leftover water from the faucet before you start.
- Next, loosen the mounting nuts with an adjustable wrench to remove the old faucet.
- Take a moment to clean the sink surface and check for any damage or corrosion.
- Now, connect the new faucet’s supply lines to the hot and cold water valves securely.
- Finally, turn the water supply back on, look for leaks, and tighten the fittings if needed.
Decide If You Need to Replace Your Kitchen Faucet
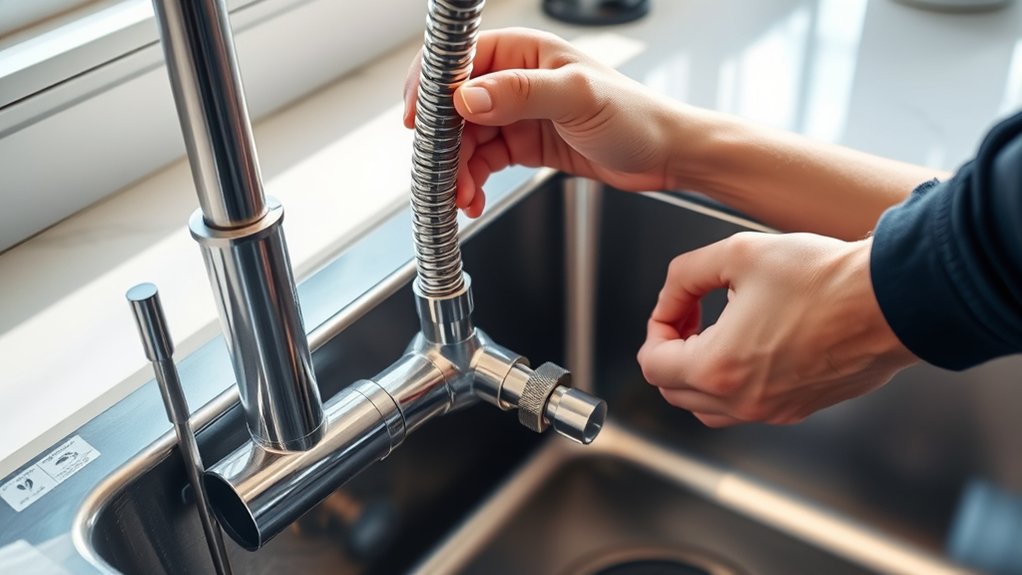
How do you know if it’s time to replace your kitchen faucet? If you notice persistent leaks, drips, or low water pressure that won’t improve with simple repairs, it’s a sign. Rust, corrosion, or mineral buildup can weaken the faucet’s structure and affect its performance.
If the handle becomes difficult to turn or the spout leaks constantly, replacement might be necessary. Also, think about whether your faucet no longer matches your kitchen’s style or lacks modern features you want.
Sometimes, repairs are enough, but if issues keep coming back or the faucet is outdated, replacing it saves you time and future headaches. Trust your instincts—when repairs no longer fix the problem, it’s time for a new faucet.
Gather Tools and Materials for Faucet Replacement
Before you get started, make sure you have the essential tools like an adjustable wrench, screwdriver, and plumber’s tape.
You’ll also need replacement parts such as a new faucet, washers, and supply lines. Gathering everything beforehand helps ensure a smooth and efficient faucet swap.
Essential Tools Needed
To replace your kitchen faucet successfully, you’ll need to gather a few essential tools and materials. First, have an adjustable wrench or slip-joint pliers ready to loosen and tighten fittings.
A screwdriver, either Phillips or flat-head, is necessary for removing mounting screws. You’ll also want a bucket or towels to catch any water that spills during the process.
A utility knife can help cut through sealant or old caulk if needed. Moreover, having plumber’s tape, also known as Teflon tape, helps guarantee a watertight seal on threaded fittings.
Finally, a pair of channel-lock pliers can provide extra grip for stubborn connections. Having these tools on hand makes the job smoother and prevents unnecessary delays or damage.
Required Replacement Materials
Gathering the right replacement materials is just as important as having the tools ready. First, identify your new faucet model to guarantee compatibility. You’ll need replacement supply lines if the old ones are worn or damaged.
Have adjustable wrenches, plumber’s tape, and a bucket nearby to catch any water. Don’t forget to get a basin wrench if your new faucet has hard-to-reach mounting nuts. Check if the faucet kit includes mounting hardware; if not, buy these separately.
You might also need a silicone sealant for a watertight seal. Make certain all parts are clean and free of debris before installation. Having everything prepared prevents delays and makes the replacement smoother.
Double-check your list to confirm you haven’t missed any essential materials.
Turn Off Water Supplies and Prepare Your Workspace
First, find the main water valves under your sink and turn them off to stop the flow.
Next, clear the area around your sink to create a safe workspace.
This preparation helps prevent water spills and makes the replacement process smoother.
Locate Main Valves
Before you start disconnecting your faucet, locate the main water shut-off valves. These control water flow to your entire kitchen.
You’ll usually find them under the sink or nearby on the wall or floor. Turning these off stops water from leaking while you work.
Use a wrench if needed to turn the valves clockwise until they stop. To help you visualize, here’s a quick picture:
| Location | Description |
|---|---|
| Under the sink | Valves on supply lines, usually PVC or metal |
| Basement/Utility Room | Main shut-off valve, often larger and labeled |
| Wall-mounted | Some older homes have valves on the wall |
| Exterior faucet | Sometimes connected outside with a separate valve |
Knowing these spots makes your faucet replacement easier and less messy.
Clear Workspace Area
To get started, turn off the water supplies to prevent any leaks or water damage while working on your faucet. Once the water is off, clear your workspace to make things easier. Imagine a clean, dry countertop with plenty of room to work.
You’ll want to remove any dishes or utensils from the sink area and lay down a towel or rag to catch drips. Grab a bucket or pan for leftover water, and keep your tools organized within reach. Make sure you have good lighting so you can see what you’re doing.
Clearing the area helps you work safely and efficiently, keeping your workspace free of obstacles and messes. Now you’re ready to move on to the next steps of the faucet replacement.
Remove the Old Kitchen Faucet Carefully
Carefully removing your old kitchen faucet helps prevent damage to your sink and makes installing the new one easier. Start by turning off the water supply valves under the sink so no water flows.
Next, open the faucet to drain any remaining water. Use an adjustable wrench to loosen the mounting nuts holding the faucet in place. Be gentle to avoid scratching or cracking the sink surface.
Open the faucet to drain water, then gently loosen mounting nuts with an adjustable wrench to protect your sink.
If the faucet is stuck, try applying a bit of penetrating oil and wait a few minutes before attempting again. Carefully lift the old faucet out, keeping the area steady.
Remove any remaining mounting hardware or rubber gaskets. Taking your time and working slowly will help prevent accidental damage and set the stage for a successful new faucet installation.
Clean and Inspect the Sink for Hidden Problems
Once you’ve removed the old faucet, it’s important to thoroughly clean the sink surface to remove any debris, mineral deposits, or soap scum that could interfere with the new installation. Take a close look for hidden issues that might cause problems later.
Check for cracks, corrosion, or warping around the drain area. Look underneath the sink for leaks or water stains that hint at past issues. Examine the condition of the sink’s surface—scratches, rust spots, or mineral build-up could weaken it.
Imagine the sink’s surface with mineral deposits forming white crusts, rust spots spreading across the basin, cracks running along the edges, water stains pooling in corners, and soap scum layered on surfaces. Addressing these problems now guarantees a smooth, trouble-free faucet upgrade.
Install Your New Kitchen Faucet Properly
Before you start installing your new faucet, make sure your workspace is clean and organized.
Next, connect the water supply lines securely, making sure there are no leaks. Proper preparation and careful connections will help your installation go smoothly and last longer.
Prepare Your Workspace
Clearing your workspace sets the stage for a smooth faucet installation. You want a clean, organized area free of clutter to avoid accidents and damage. Move any utensils, sponges, and small appliances away from the sink.
Cover nearby surfaces with a cloth or towel to catch drips and debris. Keep essential tools like a wrench, screwdriver, and plumber’s tape within reach. Turn off the water supply and place a bucket or towel below the pipes to catch any residual water.
Make sure you have good lighting so you can see clearly. Creating a tidy workspace prevents mishaps and speeds up the process, making your faucet replacement straightforward.
A well-prepared area is the foundation for a successful, hassle-free installation.
Connect Water Supplies
Start by attaching the water supply lines to your new faucet’s inlet connections. Make sure to tighten the fittings securely to prevent leaks, but avoid over-tightening, which can damage components.
Once connected, turn on the water supply valves slowly to check for leaks. If you see drips, tighten the connections a little until they stop. Use a towel or bucket underneath to catch any spills.
To keep everything organized, here’s a quick guide:
| Connection Type | Tips |
|---|---|
| Hot Water | Connect to left inlet |
| Cold Water | Connect to right inlet |
| Check for leaks | Tighten fittings gently |
Double-check all connections before fully using your new faucet.
Connect Water Lines and Test for Leaks
Once you’ve secured the faucet in place, it’s time to connect the water supply lines. Attach the hot and cold water lines to their respective valves, making sure each connection is snug but not over-tightened.
As you tighten, imagine firm but gentle pressure. This guarantees a secure fit without damaging fittings. You should see flexible hoses snaking from the faucet to the shutoff valves.
Make sure the threads match perfectly without cross-threading. You’ll feel slight resistance as the connections tighten. The faucet should sit flush and aligned.
Ensure threads match perfectly and tighten gently for a flush, aligned faucet connection.
Once connected, turn the water valves on slowly. Keep an eye out for drips or leaks at the joints, ready to tighten further if needed. Proper secure connections prevent future leaks and guarantee smooth operation.
Turn Water Back On and Check Functionality
Turn the water supply back on by slowly opening the shutoff valves. As you do, keep an eye out for any leaks around the connections.
Once the valves are fully open, turn on the faucet to let the water flow. Check both the hot and cold handles to make sure the water streams smoothly and freely.
Listen for any unusual noises or sputtering, which could mean air is trapped in the lines. Inspect all the connections for leaks or drips, tightening fittings if needed.
Test the faucet’s function by adjusting the temperature and flow rate. Make sure the water pressure feels steady and strong.
If everything works fine and there are no leaks, you’ve successfully restored the water supply and checked your installation. If problems pop up, go ahead and troubleshoot or double-check your connections.
Troubleshoot Common Faucet Installation Issues
Even with careful installation, faucet issues can still happen, so troubleshooting becomes important. Common problems include leaks, low water pressure, or drips.
Start by checking for loose connections or fittings that might be causing leaks. Look for worn or misplaced o-rings or washers that lead to drips.
Make sure the supply lines are fully open and clear of any blockages. If water pressure is low, inspect the aerator for debris or buildup.
Also, verify that the cartridge or valve assembly is properly seated. Visualize your workspace filled with a dripping faucet, loose supply lines, worn washers or O-rings, a clogged aerator, and a misaligned cartridge.
Addressing these issues step-by-step helps you fix most common installation problems quickly and easily.
Finish Up and Clean Your Kitchen
After completing the installation, it’s important to finish up by thoroughly cleaning your kitchen to remove any debris or fingerprints. Wipe down the sink, faucet, and surrounding countertops with a damp cloth to clear away dust, grime, or leftover residue.
Check for any water splashes or leaks, and wipe those areas dry to prevent water spots. Pay special attention to the faucet handles and base to make sure they’re clean and free of dirt.
If you used plumber’s putty or other sealants, clean any excess material from surfaces. Finally, run the water for a few moments to flush out any debris in the lines and verify everything works properly.
A clean, polished kitchen not only looks great but also helps maintain your new faucet’s longevity.
Frequently Asked Questions
How Do I Determine the Right Size and Style of New Faucet?
To find the right size and style of your new faucet, start by measuring your current faucet’s mounting holes and the distance between them.
Check your sink’s setup to make sure the new faucet will fit properly.
Think about your kitchen’s decor and choose a style that matches or enhances it.
Consider the faucet’s flow rate and handle type to make sure it’s functional for your needs.
Finally, look at manufacturer specs and compare models online or in-store to find the perfect fit.
Can I Replace a Kitchen Faucet Myself Without Professional Help?
Yes, you can replace a kitchen faucet yourself; it’s like putting together a puzzle. Start by turning off the water supply, then disconnect the old faucet.
Follow the new faucet’s instructions carefully, and use basic tools like wrenches. Take your time, stay organized, and double-check all connections.
With patience, you’ll have your new faucet installed, saving money and enjoying a satisfying DIY victory.
What Safety Precautions Should I Take During Faucet Installation?
You should turn off the water supply before starting to prevent leaks or water damage. Wear safety goggles to protect your eyes from debris, and use a bucket to catch any leftover water.
Avoid using too much force on fittings to prevent damage. Work in a well-ventilated area and keep your tools organized to avoid accidents.
Taking these precautions will help ensure your safety and make the installation process go smoothly.
How Long Does a Typical Kitchen Faucet Replacement Take?
Replacing a kitchen faucet is like tuning a guitar. Once you get the strings right, everything sounds perfect. It usually takes about 30 minutes to an hour, depending on your experience and how complex the faucet is.
If you’re familiar with plumbing, you might finish faster. Be patient, follow the steps carefully, and double-check all connections. This way, you’ll have a smooth, leak-free installation.
Enjoy your refreshed kitchen in no time!
Are There Eco-Friendly or Water-Saving Faucet Options Available?
Yes, eco-friendly and water-saving faucets are widely available. You can find models with aerators that reduce water flow without sacrificing performance, helping you conserve water and lower your utility bills.
Look for faucets labeled with WaterSense certification, which meet EPA standards for water efficiency. Installing these options is simple and a great way to make your kitchen more environmentally friendly.
They also help maintain style and functionality, so you don’t have to compromise on appearance while being eco-conscious.
Conclusion
Replacing your kitchen faucet might seem intimidating, but it’s actually pretty straightforward if you follow these steps. Think of it as a small experiment—sometimes even wild ideas like DIY fixes saving money turn out to be true!
With patience and the right tools, you’ll not only upgrade your sink but also show that tackling home projects can be fun and rewarding. So go ahead, dive in, and make your kitchen shine!