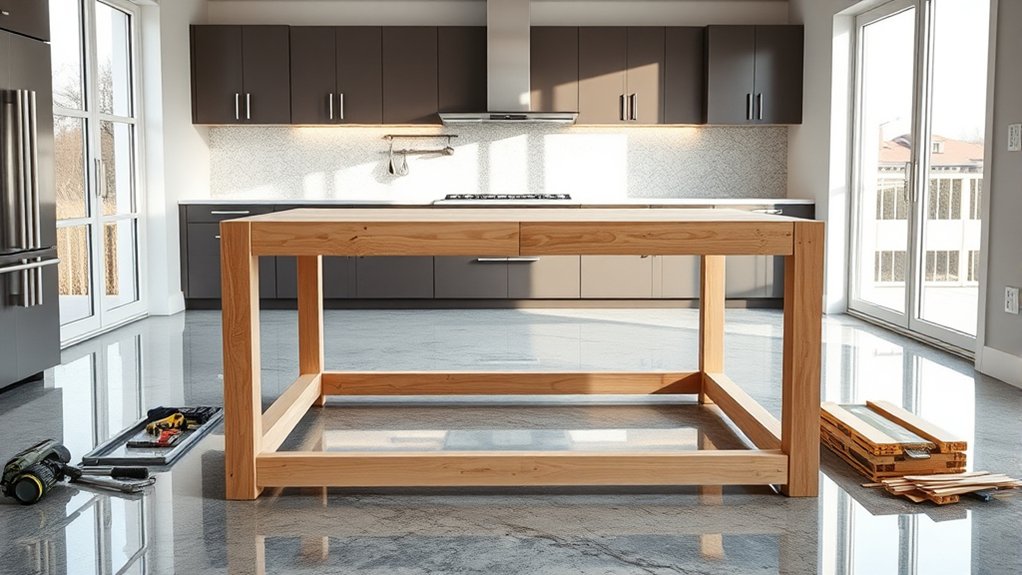
Build Your Kitchen Island in 7 Simple Steps
Many homeowners dream of adding a stylish, functional kitchen island but feel overwhelmed by the process. You’re not alone—building one can seem daunting, especially if you’re unsure where to start.
The good news is, with a little guidance, you can create a beautiful addition to your kitchen in just a few simple steps.
To build your kitchen island in 7 simple steps, start by gathering the necessary materials and tools. Next, design your island with proper measurements to fit your space.
Build a sturdy base frame, then attach a well-prepared countertop. Add storage features like drawers or shelves and finish with paint or stain.
Verify proper installation and maintenance for safety and durability.
If you keep going, you’ll find detailed tips to create a stylish and functional addition to your kitchen.
Key Takeaways
- Gather all the materials, tools, and safety gear you’ll need before you start. Organize your workspace so everything is within easy reach.
- Design your island with the right measurements, shape, height, and features that match your kitchen’s space and your needs.
- Build a sturdy base frame using accurate cuts, quality materials, and secure fasteners. Take your time to ensure everything lines up properly.
- Attach a prepared countertop to the frame. Then, add storage features like shelves or drawers. Finish it off with paint or stain to give it a nice look.
- Install the island securely in your kitchen. Make sure it’s level and stable. Do a quick maintenance check, and organize your space for easy use.
Gather Materials and Tools for Your DIY Kitchen Island
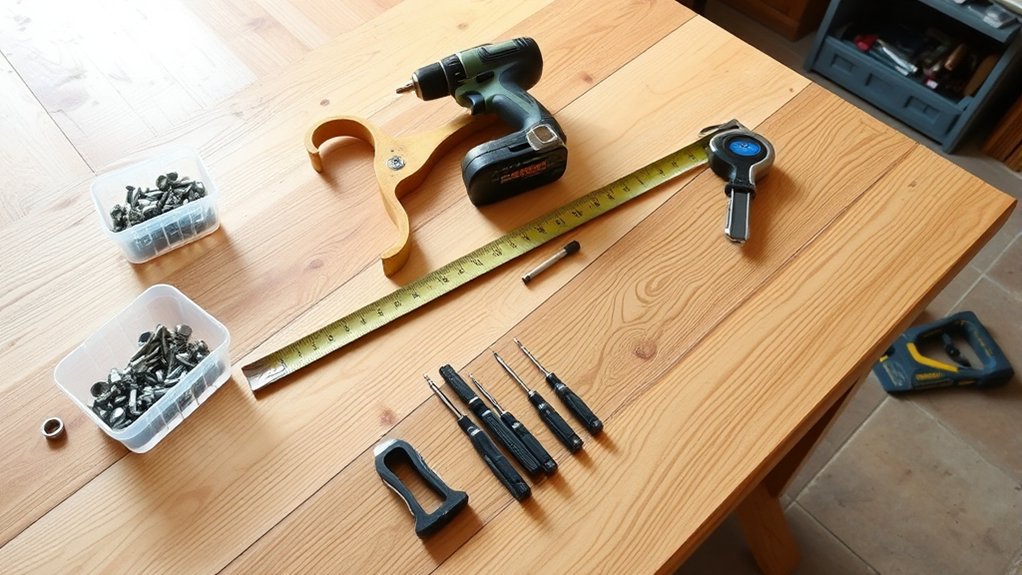
Before you start building your DIY kitchen island, gather all the materials and tools you’ll need. Make sure you have basic supplies like wood, screws, nails, and wood glue.
Have a saw, drill, screwdriver, measuring tape, square, and level ready to go. A sander or sandpaper is important for a smooth finish, and clamps will help hold pieces in place during assembly.
Gather essential tools like a saw, drill, measuring tape, and clamps for a smooth DIY kitchen island build.
Don’t forget safety gear like goggles, gloves, and a dust mask to protect yourself. Depending on your design, you might also need brackets, drawer pulls, or casters.
Organize everything in your workspace so you can work efficiently. Having all your materials and tools ready before you start makes the building process smoother and more enjoyable.
Design Your Kitchen Island and Decide Dimensions
Start by visualizing how you want your kitchen island to function and fit into your space. Think about whether you need extra prep area, seating, or storage.
Measure your kitchen to determine the available space, leaving enough room for movement around the island—typically at least 36 inches on all sides. Decide on the size that best suits your needs, balancing functionality with your kitchen’s layout.
Consider the shape—rectangular, square, or even a rounded edge for a softer look. Determine the height based on its purpose: a standard counter height about 36 inches works for prep and seating, while a lower height around 28-30 inches can be more casual.
Clear planning now will make the construction process smoother later.
Build the Base Frame and Structure
Choose sturdy materials that suit your design and make sure they can support the weight of your island.
Carefully measure and mark your cuts so everything fits perfectly.
When assembling the frame, tighten all connections securely to create a stable base.
Select Appropriate Materials
Selecting the right materials for building your kitchen island’s base frame and structure is key to ensuring stability and durability. You want sturdy, quality wood like hardwood or heavy-duty plywood that can support weight without warping or breaking.
Avoid softwoods that may bend or weaken over time. If your kitchen is humid or prone to spills, consider moisture-resistant options to keep everything secure.
For added strength, use corrosion-resistant fasteners like galvanized or stainless steel screws and nails. If you’re after a specific look, choose materials that match your décor, such as reclaimed wood for a rustic vibe or sleek plywood for a modern style.
Measure and Mark Carefully
Before assembling your kitchen island, take careful measurements and mark your cuts precisely. Use a tape measure to find the exact length and width of each piece, referencing your plan.
Mark these measurements clearly with a pencil, making sure your lines are straight and accurate. Double-check your measurements before making any cuts to avoid mistakes.
Use a square or straightedge to draw clean, precise lines where you’ll cut. If you’re cutting multiple pieces to the same size, mark each one carefully to keep everything consistent.
Accurate measuring and marking are key to building a stable, level structure. Take your time and double-check your work—precise measurements will make assembly easier and give you a professional-looking kitchen island.
Assemble Frame Securely
Start by laying out your cut pieces on a flat surface, aligning them according to your plan. Use clamps to hold the pieces steady as you prepare to join them.
Drill pilot holes to prevent splitting, then secure the frame with screws. Make sure each joint is tight and square.
Check that the corners are flush and the structure remains level. Use a carpenter’s square to verify right angles, adjusting as needed.
Tighten all screws firmly but avoid over-tightening, which can damage the wood. For extra stability, consider reinforcing joints with corner brackets or wood glue.
Take your time to ensure each connection is secure, as this foundation will support the entire kitchen island. Once assembled, double-check measurements before attaching the top or additional components.
Attach the Countertop to Your Kitchen Island
To attach the countertop, start by preparing its surface to make sure it’s clean and smooth.
Then, apply the adhesive evenly and secure the piece with clamps to keep it in place.
Once it’s set, you’ll have a sturdy, seamless countertop on your kitchen island.
Prepare the Countertop Surface
Attaching the countertop to your kitchen island is a key step for stability and durability. Before securing it, you need to prepare the surface for proper adhesion and a clean look.
Start by cleaning the countertop thoroughly, removing dust, grease, or debris. If the surface is sealed or glossy, lightly sand it to create a better grip for the adhesive.
Check for any uneven spots or imperfections, and sand or level them as needed. Then, measure and mark the placement to ensure the countertop aligns perfectly with your island frame.
Proper preparation helps prevent issues like shifting or gaps, giving you a seamless, professional finish.
Apply Adhesive Properly
Applying adhesive properly is key to making sure your countertop stays securely in place.
Start by spreading a generous, even layer of adhesive on the top surface of your island. Use a notched trowel to create consistent grooves, which help the adhesive bond better.
Work quickly because some adhesives set fast. Carefully position the countertop, aligning it just right before pressing down.
Press firmly and evenly across the entire surface to ensure full contact between the countertop and the island.
Once it touches the adhesive, avoid sliding or shifting the piece to prevent gaps or misalignment.
Check for excess adhesive around the edges and wipe it away promptly with a damp cloth.
Doing this right now will help create a sturdy, durable connection later.
Secure With Clamps
Once you’ve spread the adhesive and positioned the countertop, securing it with clamps guarantees it stays firmly in place as the glue sets. Place clamps evenly around the edges, applying steady pressure to confirm a tight bond. Be careful not to over-tighten, which could crack the countertop or damage the surface.
Use scrap wood or padding between the clamps and the countertop to prevent marks. Check the alignment regularly to keep everything straight. Leave the clamps in place for the recommended drying time, usually at least 24 hours.
Proper clamping confirms a strong, durable connection that won’t shift or loosen over time. Position clamps evenly around the countertop and use padding to protect the surface. Tighten clamps gradually for even pressure and monitor alignment during drying.
Add Storage, Shelves, and Extra Features
Adding storage, shelves, and extra features transforms your kitchen island into a functional centerpiece. You can maximize space by incorporating drawers, cabinets, or open shelves to keep utensils, cookware, and ingredients within reach.
Consider adding hooks or racks for towels and utensils. Extra features like wine racks or spice drawers enhance usability and style.
To make your choices clear, here’s a quick comparison:
| Feature | Benefits |
|---|---|
| Open Shelves | Easy access and displays decorative items |
| Drawers/Cabinets | Conceals clutter and provides ample storage space |
Finish and Paint Your Kitchen Island for a Polished Look
To give your kitchen island a sleek, finished look, start by choosing the right paint or stain that complements your overall kitchen decor. Consider a neutral color for versatility or bold hues for a statement piece.
Before painting, sand the surface lightly to guarantee smoothness and remove any dust. Apply a primer if you’re using paint for better adhesion and durability.
Use quality brushes or rollers for an even finish, and consider sealing with a clear topcoat for added protection.
- Select a color that matches or contrasts with your cabinets
- Sand surfaces for smooth application
- Use primer for better adhesion
- Finish with a clear sealant for durability
Tips for Installing and Using Your DIY Kitchen Island
Installing your DIY kitchen island takes some planning to ensure it’s stable and safe. First, check if your floor can support the weight by looking for levelness and a solid foundation.
Use a level during installation to keep the island even. If needed, secure it to the floor or wall, especially for larger units, to prevent any movement.
Make sure to connect any plumbing or electrical fixtures before you finalize the placement. When using your island, avoid overloads and uneven weight distribution to prevent damage or tipping.
Regularly check that all screws and bolts stay tight, especially after moving items around or on it. Keep the surface clean and maintained to keep it looking good and working properly.
Following these tips will help your DIY kitchen island stay safe and practical as a central feature in your space.
Frequently Asked Questions
How Do I Ensure My Kitchen Island Is Wheelchair Accessible?
To make sure your kitchen island is wheelchair accessible, leave at least 30 inches of space around it so you can move easily. This gives enough room to turn and navigate comfortably.
Keep the countertop height between 28 and 34 inches. That height feels most comfortable for most wheelchair users and makes cooking and prep easier.
Choose a design with open space underneath the island. This allows a wheelchair to roll right under so you can work at the counter without obstacles.
Use accessible storage options like lower shelves or pull-out drawers. These are easier to reach and help keep everything within arm’s reach.
What Safety Precautions Should I Take During Construction?
You should wear sturdy safety goggles, gloves, and a dust mask—think of them as armor for your hands, face, and lungs—while you cut, drill, or assemble. Keeping your workspace clean is key to avoiding tripping hazards.
Make sure all your tools are in top shape before use to prevent accidents. Use clamps and guides to help with precision, and don’t rush through your tasks. Stay alert and follow the manufacturer’s instructions.
Lastly, ensure proper ventilation so your environment stays healthy and your project stays safe.
Can I Customize the Height for Ergonomic Comfort?
Yes, you can customize the height of your kitchen island for ergonomic comfort.
Start by measuring your standing height and think about the tasks you’ll do most often. This will help you find the best counter height for you.
Usually, 36 inches is a good starting point, but feel free to adjust it a few inches up or down based on what feels comfortable.
Just make sure to use sturdy materials and precise measurements to keep everything safe and comfortable.
How Do I Prevent Water Damage to the Countertop?
You can prevent water damage to your countertop by sealing it with a high-quality, waterproof sealant suitable for your material. Always wipe up spills promptly and avoid placing hot or wet items directly on the surface.
Use coasters and cutting boards to protect the countertop, and remember to reapply the sealant as recommended by the manufacturer. This routine maintenance helps keep your countertop looking new and damage-free.
What Are Budget-Friendly Material Alternatives?
If you’re looking for budget-friendly material options, consider laminate for your kitchen island.
For example, Sarah saved hundreds by choosing laminate over granite, and her island still looks stylish and durable. Laminate is affordable, easy to clean, and available in various designs.
It’s a smart choice if you want a cost-effective, attractive surface that resists everyday wear and tear, making it perfect for a DIY project.
Conclusion
As you step back and admire your new kitchen island, it’s funny how often the simplest projects turn into the most rewarding. Just when you thought you’d hit a snag, a quick fix or clever idea brought it all together.
Now, every time you cook or gather around it, you’ll remember the satisfaction of building something with your own hands. It’s proof that even DIY beginners can create something truly special, especially when it’s a beautiful kitchen island.