How You Can Freeze Mac and Cheese in an Aluminum Pan
Ever find yourself craving homemade mac and cheese but then get overwhelmed trying to store leftovers or prepare meals ahead of time? You’re not alone—many people struggle with keeping their favorite comfort foods fresh and ready to go.
Luckily, freezing mac and cheese in an aluminum pan is a simple way to enjoy delicious leftovers anytime.
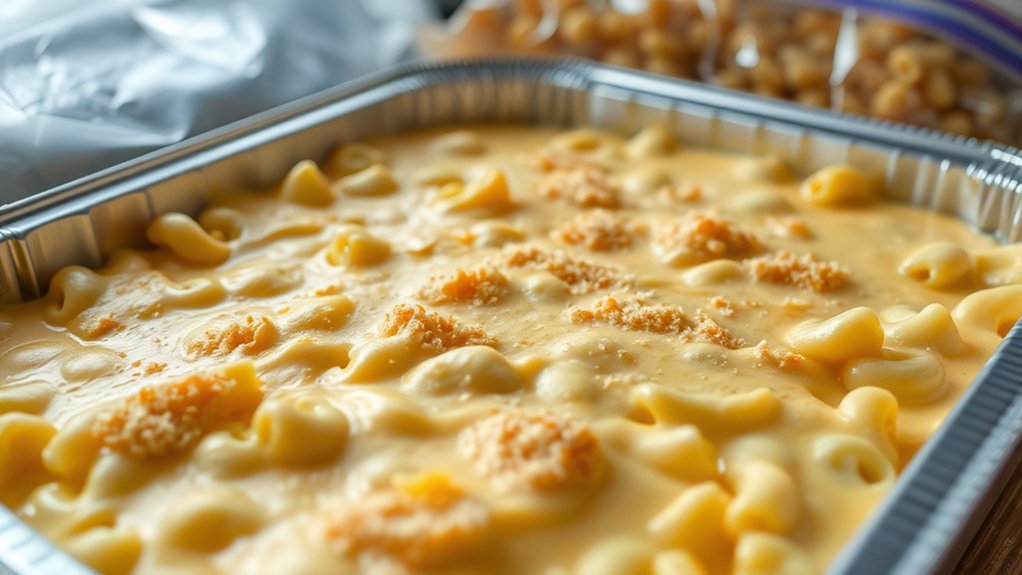
To freeze mac and cheese in an aluminum pan, first cook the pasta al dente and prepare a creamy cheese sauce. Spread it evenly in a durable, food-grade aluminum pan, then let it cool completely at room temperature.
Once cooled, portion into manageable sizes, seal tightly with plastic wrap and foil, and label with the date. For best results, store it for up to two months.
Keep going to uncover tips for thawing and reheating perfectly.
Key Takeaways
- Cool the mac and cheese completely before freezing. This helps prevent ice crystals and keeps the texture nice and creamy.
- Wrap the dish tightly with plastic wrap and then cover it with heavy-duty aluminum foil. This double layer helps prevent freezer burn and keeps the flavors locked in.
- Leave about half an inch of space at the top of the pan. This gives the mac and cheese room to expand as it freezes.
- Don’t forget to label the pan with the freezing date. It’s a good way to keep track of how long it’s been in the freezer.
- For the best quality and safety, store the mac and cheese in the freezer for up to 2-3 months.
Why Freezing Mac and Cheese in Aluminum Pans Works Best
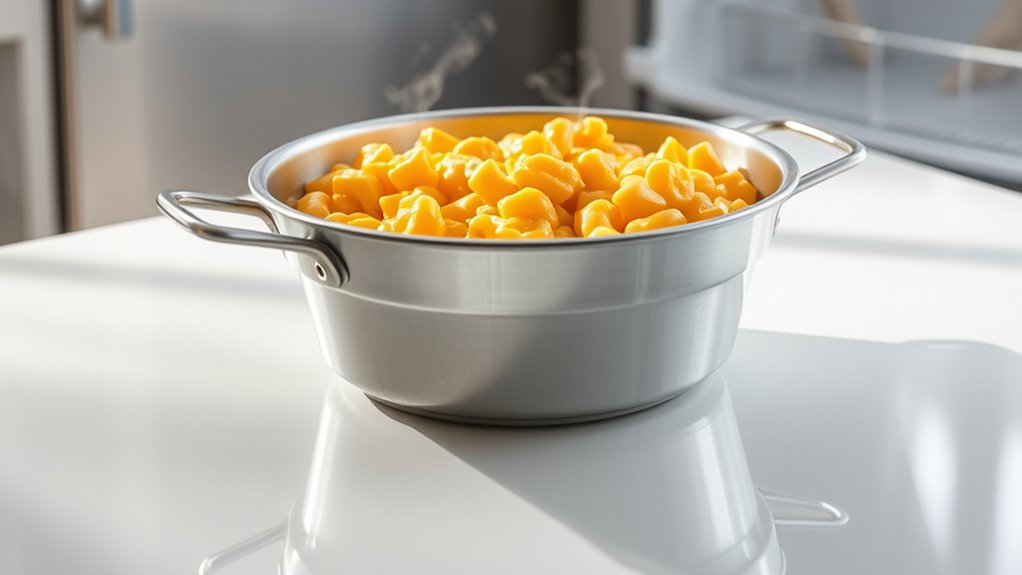
Aluminum pans are a great choice for freezing mac and cheese because they conduct heat quickly and evenly. This helps your dish freeze uniformly and avoids cold spots that could mess with the texture or cause spoilage.
Their thin, lightweight design makes them easy to handle when moving the pan in and out of the freezer. Plus, aluminum is resistant to rust and corrosion, so your food stays safe and uncontaminated.
These pans are durable enough to reuse multiple times without worries. Using aluminum also means quick cooling, which cuts down the risk of bacteria growth.
How to Choose the Right Aluminum Pan for Freezing
When choosing an aluminum pan for freezing mac and cheese, think about its durability and safety. You want a pan that won’t warp or leach harmful substances into your food during freezing.
Pick a size that matches your portion so the dish freezes flat and thaws evenly. This helps keep your meal fresh and intact through the whole freezing process.
Material Durability and Safety
Choosing the right aluminum pan is key for safe and effective freezing of mac and cheese. You want a pan that’s tough enough to handle freezing temperatures without cracking or warping.
Look for high-quality, food-grade aluminum that’s thick enough to resist bending or breaking. Safety is a top priority—you need a pan free from harmful coatings or additives that could leach into your food.
Choose pans with smooth edges and sturdy construction. Here’s a quick comparison:
| Feature | Important Consideration |
|---|---|
| Material Thickness | Thicker aluminum resists warping |
| Food Safety | Food-grade, non-toxic coatings |
| Temperature Resistance | Capable of withstanding freezer temps |
| Durability | Long-lasting, resistant to cracking |
This way, your pan will be safe, durable, and reliable for freezing mac and cheese.
Proper Pan Size Selection
Selecting the right pan size guarantees your frozen mac and cheese maintains its quality and is easy to store. Choose a pan that fits the amount you’re freezing, avoiding pans that are too big or too small.
A pan that’s too large may expose more food to air, which can cause freezer burn. On the other hand, a tiny pan might make handling and portioning tricky.
For single servings, go for small, individual-sized pans. If you’re freezing larger portions for family meals, pick a pan that holds enough but still leaves some space for expansion.
Think about the shape too—rectangular or square pans fit better in freezers and stack easily. Proper sizing helps with even freezing, reduces waste, and makes reheating simpler.
Always leave a little space at the top of the pan to allow for expansion during freezing.
How to Prepare and Cook Mac and Cheese for Freezing
To guarantee your mac and cheese freezes well, start by preparing it properly for storage. First, cook the pasta until just al dente; overcooked pasta becomes mushy after freezing.
Next, prepare your cheese sauce, making sure it’s smooth and well-seasoned. Once combined, transfer the mixture to your aluminum pan, spreading it evenly.
Finally, do not bake it yet; instead, let the dish cool slightly. This helps prevent condensation and ice crystals, which can affect the texture when frozen.
This guarantees the texture remains intact when frozen. Remember, a good foundation—proper pasta, cheese, and cooling—sets the stage for a delicious, freezer-ready mac and cheese.
Proper preparation keeps the dish flavorful and prevents freezer burn, ensuring your meal stays fresh until you’re ready to enjoy it.
How to Cool Mac and Cheese Properly Before Freezing
Before freezing, make sure your mac and cheese cools completely to avoid ice crystals forming.
Spreading it out in shallow containers can help it cool faster.
Don’t cover the dish while it’s cooling—letting heat escape is key.
This also helps prevent condensation from forming on the surface.
Allow Mac and Cheese to Cool
Cooling your mac and cheese properly is key to keeping its texture just right. First, let it sit at room temperature for about 30 minutes to start cooling down gradually. This helps it go from hot to a safer temperature without shocking it.
Next, move the pan to a cool, well-ventilated spot away from direct sunlight or heat sources. This stops uneven cooling that can mess with the texture.
Finally, don’t cover it tightly while cooling. Trapped heat can cause condensation and make it soggy. Instead, leave a slight gap or loosely cover with foil so heat can escape.
Use Shallow Containers for Cooling
Using shallow containers is key for cooling your mac and cheese efficiently. They help heat escape quickly, which stops bacteria from growing and makes it safe to freeze.
When you transfer your mac and cheese to a shallow container, spread it out evenly to get more surface area. This helps it cool faster than in a deep container.
Make sure the container can handle heat if your dish is still warm, and don’t overfill it. Leaving some space allows for better and more even cooling.
Placing the container in a cool spot or near a fan can speed things up. Proper cooling stops ice crystals from forming and keeps the texture and flavor just right.
Avoid Covering While Cooling
To guarantee your mac and cheese cools quickly and safely, avoid covering it while it’s cooling down. Covering traps heat and moisture, slowing down the cooling process and increasing the risk of bacteria growth.
Instead, let the dish breathe to help heat escape more efficiently.
Here’s what you should do:
- Place the pan on a wire rack or a heat-resistant surface to promote airflow.
- Leave the lid off or loosely cover the pan with a paper towel or foil.
- Stir the mac and cheese occasionally to release heat and prevent a skin from forming.
This method ensures even cooling, reduces moisture buildup, and prepares your dish safely for freezing.
How to Portion and Pack Mac and Cheese in Aluminum Pans
Start by dividing your mac and cheese into individual portions that fit comfortably in your aluminum pans. Use a spoon or scoop to portion out equal amounts, keeping in mind how much you or your family typically eat in one serving.
Divide your mac and cheese into individual, manageable portions for easy freezing and reheating.
Place each portion into separate aluminum pans or containers, leaving about half an inch of space at the top for expansion during freezing. If you’re stacking multiple pans, make sure each one is packed tightly to prevent movement.
Label each pan with the date and contents so you can easily keep track of freshness. For easier handling later, consider pre-measuring portions and stacking them in a larger container or bag for quick access.
Proper portioning helps with even freezing, reheating, and reduces waste.
How to Cover and Seal Mac and Cheese for Freezing
To keep your mac and cheese fresh in the freezer, you need to cover it properly. Use airtight wrap to prevent air exposure, then seal it tightly with aluminum foil.
This double layer helps preserve flavor and prevents freezer burn.
Use Airtight Wrap
Covering your mac and cheese securely is key to preventing freezer burn and keeping it tasting fresh. Using airtight wrap creates a tight seal that preserves flavor and texture.
To do this effectively, tear a sheet of plastic wrap large enough to cover the entire surface of the dish. Press the wrap directly onto the surface, smoothing out any air bubbles.
Wrap the dish tightly multiple times, making sure there are no gaps or loose areas. Ensure the wrap extends over the edges and is pressed down firmly.
This prevents air from reaching the cheese and pasta, keeping it moist and flavorful. Properly wrapped mac and cheese stays fresh longer and keeps its creamy texture during freezing.
Seal With Aluminum Foil
After wrapping your mac and cheese with plastic wrap, the next step is to add an extra layer of protection by sealing it with aluminum foil. Tightly cover the entire surface, making sure there are no gaps or openings.
Press the foil around the edges of the pan to create a secure seal. This extra layer keeps air out, helping prevent freezer burn and keeping your dish fresh. Be sure to smooth out any wrinkles for a snug fit.
Using heavy-duty aluminum foil is best because it’s more durable and acts as a better barrier. Once sealed, label the foil with the date so you know how long it’s been in the freezer.
Proper sealing with aluminum foil ensures your mac and cheese stays flavorful and in top condition until you’re ready to reheat and enjoy.
How to Label Your Frozen Mac and Cheese With Date
Have you ever frozen mac and cheese and then forgotten when you made it? Labeling is key to keeping track of freshness and avoiding waste. To do this right, grab a permanent marker and a piece of masking tape or a label.
Start by writing the date you froze the mac and cheese clearly on the label. If you want, include extra info like “Creamy” or “Baked” to tell different batches apart.
Stick the label securely onto the aluminum pan, making sure it’s visible and won’t peel off in the freezer. This simple step helps you quickly identify your frozen meals and enjoy them at their best quality.
How to Freeze Mac and Cheese Without Losing Creaminess
To freeze mac and cheese without losing its creamy texture, it’s important to cool it quickly and store it properly. First, let it come to room temperature for no more than 30 minutes, then transfer it to shallow containers for faster cooling.
This helps prevent ice crystals from forming, which can break down the cheese’s smooth consistency. Before freezing, gently stir in a little milk or cream to help keep it moist and creamy.
Cover the dish tightly with plastic wrap and aluminum foil or use an airtight container to prevent freezer burn. Be sure to label it with the date so you can keep track of freshness.
When done correctly, your mac and cheese will stay creamy and delicious, ready to reheat without losing its texture.
How Long Can You Keep Mac and Cheese Frozen in Aluminum Pans?
Storing mac and cheese in aluminum pans is quick and convenient, but it’s important to know how long it stays safe and tasty in the freezer. Usually, you can keep frozen mac and cheese for up to 2 to 3 months without losing quality.
After that, it might start to develop freezer burn or lose its texture. To give you a clear picture:
- 0-2 months: The best quality, creamy texture, and full flavor.
- 2-3 months: Still good, but slight changes in texture or flavor might happen.
- Beyond 3 months: Risk of freezer burn, dryness, or flavor deterioration increases.
For the best taste, try to eat it within the first two months. Proper sealing and airtight storage will help keep it fresh longer.
How to Thaw and Reheat Frozen Mac and Cheese for Best Results
Wondering how to preserve the creamy goodness of your frozen mac and cheese? The best way is to thaw it slowly in the refrigerator overnight. This gentle process keeps the texture smooth and prevents separation.
If you’re in a hurry, you can reheat directly from frozen using a stovetop or oven. For stovetop reheating, add a splash of milk or cream, then stir frequently over low heat until hot and creamy.
In the oven, cover the pan with foil and bake at 350°F for about 20-30 minutes, stirring halfway through. For microwave reheating, place a portion in a microwave-safe dish, add a little milk, cover loosely, and heat in short intervals, stirring often until heated evenly.
These methods help maintain the original flavor and texture.
Troubleshooting Common Freezing and Reheating Issues
Even with careful freezing and reheating, you might run into some common issues that affect the texture and flavor of your mac and cheese. To troubleshoot, consider these potential problems:
Even with careful prep, reheated mac and cheese can sometimes lose its perfect texture—here’s how to troubleshoot common issues.
- Soggy or mushy texture: This usually happens if the dish is frozen without proper drainage or if it gets overcooked during reheating. Using a gentle reheating method and avoiding excessive heat can help keep the texture nice.
- Separation of cheese and sauce: Freezing can cause the cheese to split or become greasy. Stirring the dish well during reheating or adding a splash of milk can help restore its creaminess.
- Dry or crusty edges: This happens if the surface dries out or gets overcooked. Covering the dish with foil during reheating or adding extra sauce can prevent this.
Creative Ideas for Using Your Frozen Mac and Cheese
Once you have your frozen mac and cheese ready, you can get creative with how you serve it beyond the classic bowl. Try turning it into a baked casserole by adding breadcrumbs and extra cheese on top, then baking until golden.
You can also mix in cooked veggies, shredded chicken, or bacon for a hearty twist. Use it as a filling for stuffed peppers or burritos for a quick, cheesy meal.
Another idea is to layer it in a casserole dish with tomato sauce and bake for a lasagna-style dish. For a snack, scoop small portions into muffin tins and bake until crispy for cheesy mini bites.
These ideas help you enjoy your frozen mac and cheese in new, delicious ways that go beyond reheating.
Frequently Asked Questions
Can I Freeze Homemade and Store-Bought Mac and Cheese Together?
Yes, you can freeze homemade and store-bought mac and cheese together. Just make sure both types are cooled completely before combining them in a freezer-safe container.
Mix them well to prevent separation, then cover tightly with plastic wrap or foil. Label the container with the date so you know how long it’s been in the freezer.
When you’re ready to eat, thaw in the fridge overnight and reheat thoroughly. This way, you preserve the flavors and textures effectively.
Does Freezing Affect the Texture of Baked Versus Stovetop Mac and Cheese?
Freezing can change the texture of mac and cheese, especially baked versus stovetop versions.
Studies show that baked mac and cheese tends to become slightly crumbly and dry after freezing, while stovetop keeps its creaminess better.
If you want a smooth, saucy dish, stovetop is the way to go.
Baked mac and cheese might need extra sauce or careful reheating to bring back its original texture.
What Are the Best Reheating Methods to Preserve Flavor and Texture?
To reheat mac and cheese while keeping its flavor and texture, it’s best to use gentle methods like the stovetop or oven. Cover it with foil and reheat at 350°F until warmed through, stirring occasionally.
If you’re in a rush, the microwave on medium power works well, just remember to stir halfway through to heat evenly. Adding a splash of milk or extra cheese during reheating helps keep it creamy.
Avoid using high heat because it can dry out or overcook your mac and cheese, ruining its texture. Slow and gentle reheating is the key to preserving that delicious, cheesy goodness.
Can I Add Extra Toppings After Freezing and Reheating?
Yes, you can add extra toppings after freezing and reheating your mac and cheese. Once you’ve reheated the dish to your liking, sprinkle on toppings like extra cheese, herbs, bacon bits, or breadcrumbs.
Doing so lets you customize each serving and keeps toppings fresh. Just verify the toppings are suitable for reheating or add them just before serving for the best flavor and texture.
How Do I Prevent Aluminum Pan Corrosion During Freezing and Storage?
Did you know aluminum reacts with certain foods and acids, causing corrosion over time? To prevent this, coat your aluminum pan with a thin layer of non-stick spray or line it with plastic wrap before freezing.
Avoid storing highly acidic or salty foods in uncoated aluminum for long periods. Proper wrapping and quick use will extend your pan’s life and keep your mac and cheese tasting fresh.
Conclusion
Now that you know how to freeze mac and cheese in aluminum pans, you’re basically a culinary freezer wizard. Just remember, freezer burn is your enemy, and patience is your best friend.
So go ahead, stash that cheesy goodness away because nothing says “adulting” like planning your meals months in advance.
Happy freezing, and may your leftovers stay cheesy, creamy, and utterly irresistible until you decide to defrost and devour them, of course!
And that’s how you can freeze mac and cheese in an aluminum pan like a pro.