7 Simple Steps to Snake Your Kitchen Sink Like a Pro
Dealing with a clogged kitchen sink is a common headache that many people struggle with. Whether it’s slow draining or water backing up, it can be frustrating and messy. Don’t worry—you’re not alone, and with the right tools and techniques, you can tackle this problem yourself.
To snake your kitchen sink like a pro, start by identifying if it’s slow or backed up, noting signs like foul odors or water rising.
Gather a drain snake, pliers, a bucket, and a flashlight. Insert the snake into the drain carefully, feeding it slowly while feeling for resistance. Rotate and push gently to break up the clog.
Remove the snake, test the flow, and flush with hot water. If problems persist, more expert advice awaits.
Key Takeaways
- Gather your essential tools: a drain snake, pliers, a bucket, a flashlight, and some gloves. These will help keep you safe and make the job easier.
- Next, remove or loosen the drain cover so you can access the pipe opening. Take your time and be gentle to avoid damaging anything.
- Carefully insert the drain snake into the drain. Feed it slowly and gently, feeling for any resistance as you go.
- As you push the snake, rotate it to break up or dislodge the clog. Once you feel you’ve cleared the blockage, carefully pull the snake back out.
- Finally, test your drain by running water. If it’s still slow, try pouring boiling water or a mix of baking soda and vinegar for extra cleaning.
How to Tell if Your Kitchen Sink Is Clogged or Slow
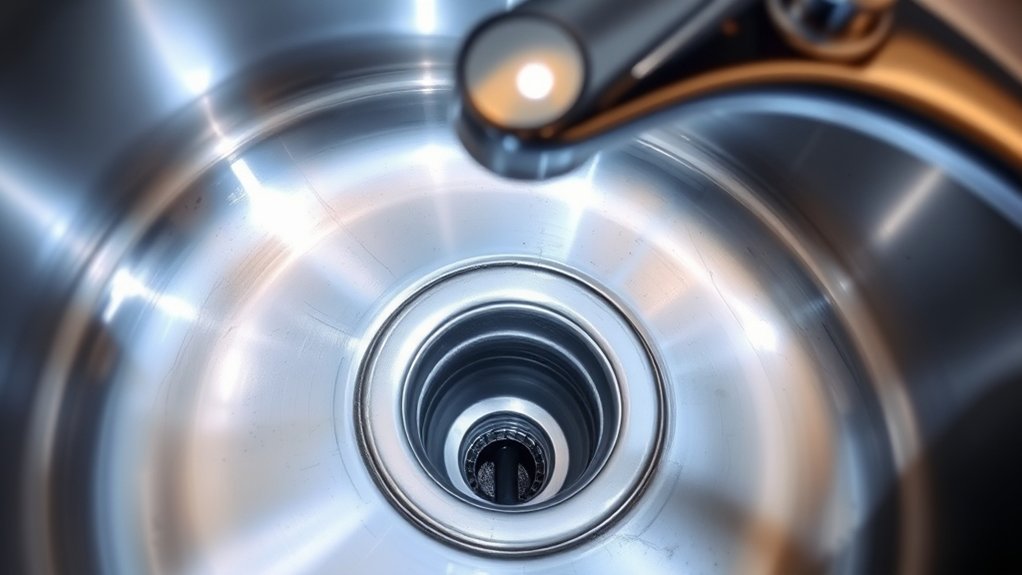
Wondering if your kitchen sink is clogged or just slow? You’ll notice the difference when water drains slowly but still eventually clears.
If water backs up or pools instead of draining, that’s a sign of a clog. Keep an eye out for foul odors too — these often come from trapped debris causing a blockage.
If you see water rising in the sink when you use the dishwasher or nearby fixtures, it indicates a deeper clog in the drain line.
Sometimes, a slow drain is just a minor buildup, but persistent sluggishness or recurring backups point to a clog that needs snaking.
Recognizing these signs helps you decide whether to troubleshoot yourself or call in a professional.
Tools and Materials You Need to Snake Your Kitchen Sink
To snake your kitchen sink effectively, you’ll need some essential plumbing tools like a drain snake or auger. It’s also helpful to have cleaning supplies on hand, such as rubber gloves and a bucket, to keep things tidy.
Make sure you gather everything before you start. This way, the process will be smoother and more efficient when it’s time to unclog the sink.
Essential Plumbing Tools
Having the right tools makes snaking your kitchen sink much easier and more efficient. First, you’ll need a sturdy drain snake or auger, which is essential for breaking up clogs.
Second, a pair of slip-joint pliers helps loosen fittings if needed.
Third, a bucket catches water and debris when you disconnect pipes.
Fourth, a flashlight illuminates dark pipe areas for better visibility.
These tools streamline the process and prevent unnecessary frustration.
With a reliable drain snake, you can target stubborn blockages directly.
Pliers give you an advantage to detach parts, while the bucket keeps your workspace clean.
The flashlight guarantees you don’t miss hidden clogs.
Together, these tools form a basic but effective arsenal for snaking your kitchen sink like a pro.
Recommended Cleaning Supplies
When snaking your kitchen sink, having the right cleaning supplies makes the job a lot easier. You’ll need a drain snake or auger, which is key for breaking up clogs.
Wear rubber gloves to protect your hands and keep things sanitary. A bucket or bowl will catch any water or debris that comes out.
A flashlight helps you see into tight spaces, while pliers can help remove stuck parts or the snake itself. Keep a rag or paper towels nearby for cleanup.
If you plan to use chemical drain cleaners, use them sparingly and follow the instructions carefully. Having these supplies ready before you start makes the unclogging process faster and more efficient.
How to Insert the Drain Snake Correctly
Insert the drain snake carefully into the drain opening, guiding it slowly to prevent damage to the pipe or the tool. As you insert, keep a firm grip and gently push the cable forward.
To guarantee proper placement, follow these steps:
- Align the snake’s tip with the drain opening, making sure it’s centered.
- Slowly feed the cable into the pipe, feeling for resistance.
- Maintain steady pressure without forcing it if resistance is met.
- Keep the cable straight to avoid snagging or damaging the pipe walls.
This careful insertion helps you reach the clog effectively while avoiding damage. Take your time, stay patient, and make sure the snake moves smoothly through the pipe.
Rotating and Pushing the Snake to Break Up the Blockage
Once the snake is properly positioned, start applying controlled rotations to break up the blockage.
As you turn the handle, gently push the snake forward to work through the clog.
Keep a steady motion until you feel the resistance lessen or the blockage clears.
Properly Position the Snake
To effectively break up a clog, you need to properly position the snake by rotating and pushing it into the blockage. First, insert the snake until you feel resistance—that’s when you’ve hit the clog.
Next, gently turn the handle clockwise or counterclockwise to latch onto or loosen the debris. Then, push the snake forward with steady pressure, guiding it deeper into the blockage.
Finally, carefully pull the snake back while twisting slightly to help dislodge the debris. Visualize this process as:
- Inserting the snake until resistance is felt
- Rotating the handle to latch onto or break up the clog
- Pushing the snake forward with controlled pressure
- Retracting while twisting to loosen debris
Proper positioning ensures maximum contact with the clog, making your snaking more effective.
Apply Controlled Rotations
Start rotating the handle smoothly while applying gentle pressure to the snake. Keep the motion steady so you don’t damage your pipes. As you turn, the snake’s coil will work against the blockage, breaking it apart.
Use controlled, deliberate rotations to prevent sudden jerks that could cause damage. After each turn, gently push the snake forward to help move the debris. This combination of turning and pushing increases your chances of dislodging the clog effectively.
Here’s a quick guide to keep in mind:
| Action | Purpose |
|---|---|
| Rotate handle smoothly | Break up the blockage |
| Apply gentle pressure | Prevent pipe damage |
| Push the snake forward | Move loosened debris |
| Maintain steady pace | Maximize efficiency |
Push Through the Blockage
As you keep rotating the snake, gently push it forward to help loosen the debris. This puts pressure on the blockage to break it apart. You’ll likely feel some resistance, so steady pressure is important.
Try to push and rotate at the same time—use gentle force along with twisting motions. Pay attention to whether the blockage shifts or starts to break up. Keep the pressure steady and avoid forcing or rushing.
If the resistance feels too strong, pull back slightly and then push again. Reassess often to see how things are going. Stay patient and keep a firm grip.
With controlled force and steady rotation, you’ll loosen or break the clog. Once it clears, water should start flowing smoothly again.
Removing the Snake and Testing the Drain
Carefully remove the drain snake from the pipe, making sure to keep a firm grip so it doesn’t slip back in. As you pull it out, look for any debris or buildup attached to the tool—this shows you’ve cleared part of the clog.
Once it’s free, wipe the snake clean with a cloth or rag to remove any residue. Then, run water through the drain to see if it flows smoothly.
Wipe the snake clean and run water to check if the drain flows smoothly again.
If the water drains well, the blockage is gone. If it’s still slow or backs up, you might need to repeat the snaking or try other steps.
Make sure the pipe is clear before putting everything back together. Testing the drain helps confirm you’ve cleared the clog and that water flows properly again.
Flushing the Drain With Hot Water or Cleaning Solution
To effectively flush your drain, boil a pot of water and carefully pour it directly into the drain opening. This helps dissolve grease and loosen debris.
For added cleaning power, follow with one of these options:
- Pour a cup of baking soda down the drain, then slowly add a cup of vinegar. Let it fizz for 10-15 minutes before rinsing with hot water.
- Use a commercial drain cleaner, following the manufacturer’s instructions for safe and effective use.
- Mix equal parts hot water and dish soap, then pour it into the drain to help break down greasy buildup.
- For a natural solution, combine hot water with lemon juice or essential oils for a fresh scent and minor disinfecting effect.
This approach keeps your drain clear and fresh.
When to Call a Plumber for Persistent Clogs
Sometimes, despite your best efforts with hot water and cleaning solutions, a clog just won’t clear. If you’ve tried snaking the drain and the water still drains slowly or not at all, it’s time to call a plumber.
Persistent clogs often mean there’s a bigger problem, like a deep blockage or damaged pipes. You might notice gurgling sounds, bad odors, or water backing up in other fixtures.
Don’t keep pouring chemicals or trying DIY fixes that could damage your pipes. A professional plumber has the tools and expertise to diagnose the issue accurately and fix it safely.
If your efforts haven’t worked after several attempts or if the clog keeps coming back, don’t hesitate to call in an expert. This can prevent further damage and make sure your sink drains smoothly.
Frequently Asked Questions
How Often Should I Snake My Kitchen Sink to Prevent Clogs?
You should snake your kitchen sink every six months to prevent stubborn clogs and buildup. Regular maintenance helps keep your pipes clear and working smoothly.
If you notice slow drainage, that’s a sign you might need to snake it sooner. Don’t wait until it’s completely blocked—catching issues early makes cleaning easier.
Doing this regularly can save you from costly repairs later. Make it a routine to keep your kitchen sink healthy and clog-free.
Can I Use a Power Auger Instead of a Manual Drain Snake?
Like a knight wielding a sword, you can definitely use a power auger instead of a manual drain snake. Power augers are more powerful and can clear stubborn clogs faster, especially deep or tough blockages.
However, they require caution. If used improperly, they can damage pipes. Always follow safety instructions and consider your pipe material before opting for a power auger.
It’s a modern tool for modern problems.
What Are Common Mistakes to Avoid When Snaking a Sink?
You should avoid forcing the snake, as applying too much pressure can damage your pipes or make the clog worse.
Don’t forget to wear gloves and goggles for safety. Be careful not to push the snake too deep, which could cause damage.
Also, avoid rushing the process; take your time to gently work through the clog.
Finally, make sure to clean the snake thoroughly after use to prevent future buildup.
Are There Eco-Friendly or Chemical-Free Methods to Clear Clogs?
Yes, you can clear clogs using eco-friendly methods. Start by pouring hot water down the drain to loosen grease and debris.
Follow with a mixture of baking soda and vinegar. Pour the baking soda first, then add the vinegar, and let it fizz for 15-30 minutes before flushing with hot water.
These natural solutions are safe, effective, and free of harsh chemicals. They’re a great choice for environmentally conscious cleaning.
How Can I Prevent Future Sink Blockages After Snaking?
To prevent future sink blockages, make sure to run hot water down the drain regularly, especially after cooking with greasy or starchy foods. It helps keep things flowing smoothly.
Use a drain strainer to catch hair, food particles, and other debris. Also, avoid pouring fats, oils, or coffee grounds directly into the sink—they tend to stick and cause clogs.
Every now and then, flush the drain with a mixture of baking soda and vinegar. It helps break down buildup and keeps your pipes clear.
Doing these simple maintenance steps can really cut down on the need for snaking and keep your sink running freely.
Conclusion
A clogged sink can be a real hassle, but with these simple steps, you’re ready to handle it yourself. Did you know that over 90% of household clogs are caused by hair, grease, or food debris?
By snaking your drain promptly, you save money and avoid future plumbing problems. Taking action today helps keep your kitchen running smoothly.
Don’t wait until a minor clog turns into a costly repair. Regular snaking can keep your sink clear and prevent those pesky backups.