7 Simple Steps to Install Your Kitchen Backsplash
Are you dreaming of a beautiful kitchen backsplash but feeling overwhelmed by where to start? You’re not alone—many people struggle with turning their vision into reality without professional help.
The good news? With a little guidance, you can achieve a stunning, professional-looking backsplash on your own.
To install your kitchen backsplash, start by preparing the walls—clean, patch, and gather all supplies.
Next, choose a material that suits your style and lifestyle, then measure and plan your layout carefully.
Cut your tiles or panels to fit, making precise cuts with the right tools.
Apply adhesive evenly, then press and align the pieces securely.
Finish with grout and a protective sealant.
Keep going to uncover more tips for a flawless, professional look.
Key Takeaways
– Prepare your walls by cleaning them thoroughly and patching any holes or imperfections.
Gather all the tools and materials you’ll need before you start.
– Next, choose a backsplash material that matches your kitchen style and meets your needs.
Think about color, texture, and durability to find the perfect fit.
– Measure your wall dimensions carefully.
Plan your layout pattern before cutting any tiles so everything fits nicely.
– When cutting tiles, be precise.
Use the right tools and make sure they fit around outlets and along edges.
– Apply adhesive evenly on the wall.
Install the tiles using spacers to keep everything aligned.
Once the tiles are set, grout to finish off with a smooth, polished look.
Prepare Your Walls and Gather Supplies
Before you start installing your backsplash, make sure your walls are ready and you have all the supplies you need. First, clear the area and remove any obstructions like outlet covers or fixtures.
Next, clean the wall thoroughly with soap and water to get rid of grease, dirt, or dust that could mess with the adhesive. If your walls are uneven or have holes, patch them up and sand everything smooth.
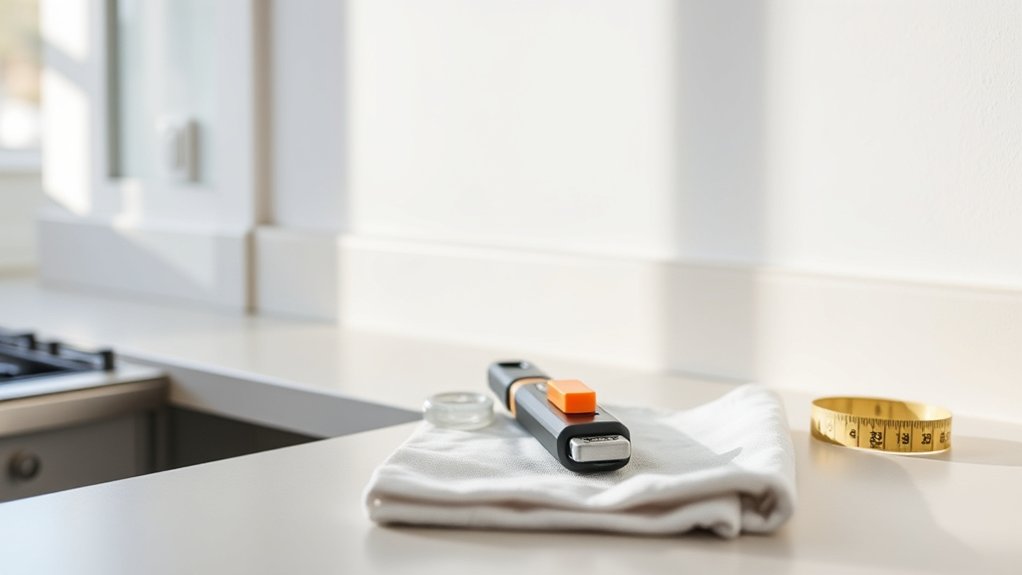
Gather your supplies, including tiles, adhesive, grout, a level, spacers, a notched trowel, measuring tape, pencil, and a wet saw or tile cutter. Double-check you have everything before you begin.
Proper prep makes the installation smoother and helps you achieve a professional-looking finish. Taking these steps now will save you headaches down the line.
Choose the Best Backsplash Material for Your Kitchen
Choosing the right backsplash material is an essential step that can improve your kitchen’s style and functionality. You’ll want a material that matches your design, fits your lifestyle, and is easy to maintain.
Selecting the perfect backsplash enhances your kitchen’s style, functionality, and ease of maintenance.
For a classic look, subway tiles offer timeless appeal and are versatile. If you prefer durability, ceramic or porcelain tiles resist moisture and stains effectively.
For a modern, sleek appearance, glass backsplashes reflect light and make your space feel larger. Metal or stainless steel can add an industrial vibe, while natural stone provides texture and warmth.
Consider your cooking habits. If you cook frequently, opt for heat- and stain-resistant options. Ultimately, pick a material that complements your overall decor and suits your maintenance preferences.
This will help ensure your backsplash remains beautiful and functional for years.
Measure and Plan Your Backsplash Layout
Start by measuring your wall dimensions carefully to figure out how much material you’ll need.
Then, explore different design pattern options to find one that matches your kitchen style. Planning these details now will make the installation go smoothly later.
Measure Wall Dimensions
To make sure your backsplash fits perfectly, carefully measure the wall area where you plan to install it. Use a tape measure to record the width and height, taking measurements at different points to account for any unevenness.
Write down all the dimensions clearly, including any cutouts for outlets or switches. If your wall isn’t perfectly straight, measure across several points to find the smallest dimensions so your backsplash fits snugly.
Remember to add a few extra inches to your measurements for cutting allowances and mistakes. Double-check all measurements before purchasing materials to avoid any surprises.
Accurate measurements will help you prevent gaps or overlaps and ensure your backsplash looks clean and professional.
Design Pattern Options
Once you’ve measured your wall and gathered your materials, it’s essential to plan the layout of your backsplash to achieve a cohesive and visually appealing design. Consider different pattern options like running bond, herringbone, or grid.
Running bond is a classic choice, with tiles offset in each row, creating a timeless look. Herringbone adds a zigzag pattern, bringing in visual interest and texture. Grid pattern lines up tiles directly for a clean, modern vibe.
Think about your overall kitchen style and the impact you want. Bold patterns make a statement, while subtle layouts suit a minimalist vibe. Use paper templates or tile spacers to visualize your pattern before installation.
Planning your pattern ensures your backsplash enhances your space and helps you avoid costly mistakes.
Cut and Prepare Your Backsplash Pieces
Before you start cutting, lay out all your backsplash pieces and measure carefully to make sure each cut is accurate. Use a pencil to mark your measurements clearly on each tile or panel.
Pick the right tools, like a wet saw or tile cutter, depending on your material. Make straight, steady cuts, and double-check measurements before cutting each piece.
Here’s a simple overview to help you visualize:
| Piece Type | Measurement | Cut Needed? |
|---|---|---|
| Full Tile | 24” x 6” | No |
| Edge Piece | 6” x 6” | Yes, cut to size |
| Corner Piece | 3” x 6” | Yes, cut to fit |
Getting your cuts right will help ensure a seamless, professional-looking installation.
Apply Adhesive and Install Your Backsplash
Begin by applying a generous, even layer of adhesive to the back of each backsplash piece using a notched trowel. Make sure the adhesive covers the entire surface to guarantee a secure hold.
Hold the tile at a slight angle and press it firmly onto the wall, starting from your designated starting point. Use a level to keep each piece straight as you work your way across.
Hold each tile at a slight angle, press firmly, and use a level for perfect alignment.
If you notice excess adhesive squeezing out, wipe it away with a damp cloth before it dries. Adjust the tiles as needed to maintain even spacing and alignment.
Work methodically, pressing each piece into place and ensuring full contact with the wall. Take your time to achieve a smooth, professional-looking installation.
Seal and Finish for a Professional Look
After the adhesive has fully dried and the tiles are securely in place, it’s time to focus on sealing and finishing your backsplash. First, apply a high-quality grout sealer to prevent stains and moisture from seeping in.
Use a clean, damp sponge to wipe away excess sealer from the tile surface before it dries. Once the sealer is dry, inspect the grout lines and touch up any spots that need extra sealing.
For a polished look, consider applying a clear, protective finish over the entire surface. This not only improves the appearance but also adds durability.
Take your time to verify even coverage, and allow the finish to cure according to the manufacturer’s instructions. The result will be a professional, sleek-looking backsplash that lasts.
Maintain and Clean Your New Backsplash
Maintaining and cleaning your new backsplash regularly helps it stay looking fresh and prevents buildup that can damage the surface. To keep it in top shape, wipe it down daily with a microfiber cloth or sponge and mild soap. Avoid harsh chemicals or bleach that might scratch or dull the finish.
For stubborn stains, use a mixture of baking soda and water, gently scrubbing with a non-abrasive pad. Check grout lines regularly for damage or cracks and repair as needed to stop water from seeping behind panels. Seal grout lines periodically to keep everything protected.
Clean spills immediately to prevent staining, and deep clean with a vinegar solution once a month. This routine will help your backsplash stay beautiful and in great condition for years to come.
Frequently Asked Questions
How Long Does a Typical Backsplash Installation Take?
A typical backsplash installation takes about one to three days, depending on your kitchen size and the design complexity. You’ll usually spend the first day preparing the walls, measuring, and cutting tiles.
The actual tiling and grouting generally happen on the next day. If you’re doing it yourself and run into challenges, it might take a bit longer.
Hiring a professional can help you get it done faster and more efficiently within this timeframe.
Can I Install a Backsplash Over Existing Tiles?
Yes, you can install a backsplash over existing tiles, but make sure they’re in good shape, clean, and dry first. If any tiles are loose or damaged, fix or remove them before you start.
Use a high-quality adhesive that’s designed for tile-to-tile bonding. Applying a primer can also help improve how well the new tiles stick.
This method saves time and effort, giving your kitchen a fresh, updated look without having to take out the old tiles.
What Tools Are Essential for a DIY Backsplash Project?
You’ll need a few trusty tools to conquer your backsplash project because everyone loves a good DIY adventure. Grab a level to keep things straight, a utility knife for those tricky cuts, and a notched trowel to spread adhesive like a pro.
Don’t forget a measuring tape for precision and a sponge for cleanup. If your tiles need securing, a drill will come in handy. With these tools, you’re all set to transform your kitchen with flair!
How Do I Remove a Damaged or Outdated Backsplash?
To remove a damaged or outdated backsplash, start by turning off the water and power if you’re working near plumbing or electrical outlets.
Use a putty knife or chisel to gently pry off the tiles or panels, working from a corner or edge. If the adhesive is stubborn, apply heat with a heat gun to loosen it up.
Carefully work your way across the surface, taking care to minimize damage to the wall behind.
Are There Any Safety Precautions I Should Follow?
Yes, you should always wear safety goggles to protect your eyes from debris and gloves to shield your hands when handling sharp tools or broken tiles.
Make sure the area is well-ventilated, especially if you’re using adhesives or grout with fumes. Turn off the power to prevent electrical hazards when working near outlets or behind walls.
Keep your workspace clean to avoid slips and accidents, and follow all manufacturer safety instructions.
Conclusion
Think of your backsplash as the jewelry for your kitchen—adding personality and style. Just like a well-chosen necklace completes an outfit, a properly installed backsplash transforms your space.
When I first installed mine, I felt like I had given my kitchen a fresh new look overnight. It’s amazing how a simple upgrade can make such a big difference.
With these easy steps, you can do the same—turning a challenging project into a rewarding DIY masterpiece. Your kitchen’s new sparkle is just a few steps away.