Mastering Kitchen Shears – Step-by-Step Sharpening Guide
Many home cooks and professional chefs alike know the frustration of struggling with dull kitchen shears. You’re not alone—keeping them sharp can be a challenge.
Luckily, with a little know-how, you can master sharpening your kitchen shears and make precise cuts a breeze.
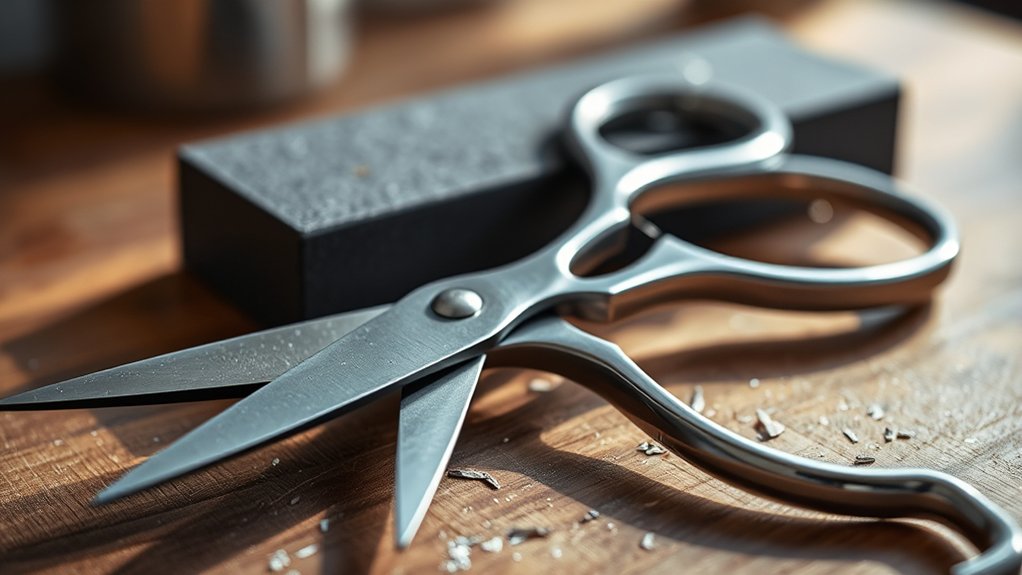
To master sharpening kitchen shears, start by cleaning them thoroughly and drying completely. Hold the blades at a 20-30 degree angle and use a sharpening stone or file with smooth, steady strokes from pivot to tip.
Check your progress often and avoid applying too much pressure. After sharpening, use a honing stone to refine the edges and keep them sharp longer.
If you continue this, you’ll gain confidence in maintaining perfect cuts every time.
Key Takeaways
– Keep an eye out for signs of dullness, like needing more force to cut or uneven slices.
It’s a good idea to check your shears regularly for these hints before you start sharpening.
– When you’re ready to sharpen, use a sharpening stone or file.
Hold the blade at a 20-30 degree angle and use smooth, controlled strokes.
– Before you begin, make sure to clean and dry your shears thoroughly.
This helps prevent rust and keeps debris from getting in the way.
– After sharpening, test the blades by slicing through some paper or checking how clean the cut is.
Regular checks like these will help you maintain sharpness over time.
– Lastly, keep your shears in top shape by cleaning, oiling, and storing them properly.
This will help them stay sharp longer and perform better when you need them.
Why Sharpening Kitchen Shears Is Essential for Your Cooking
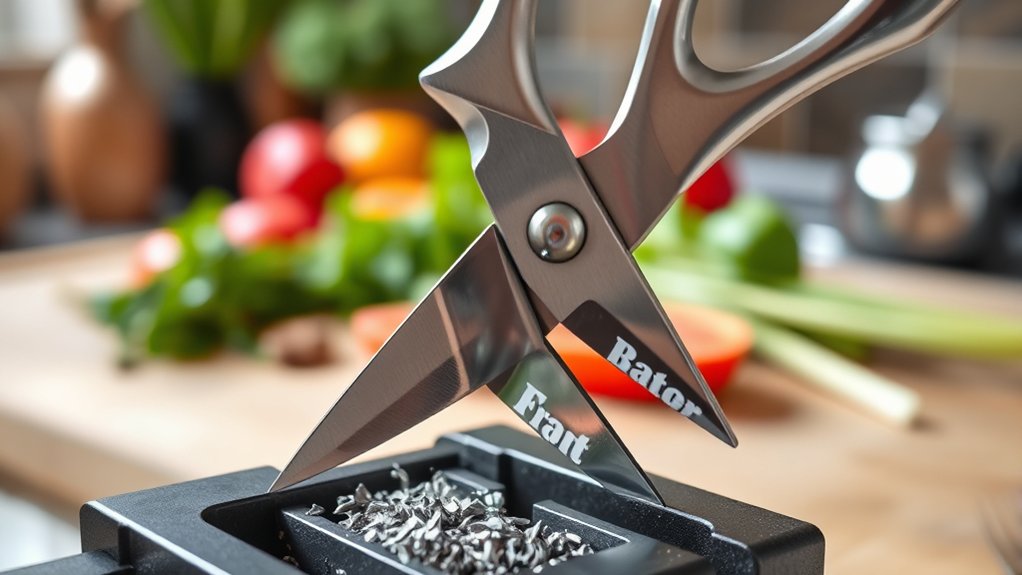
Sharpening your kitchen shears is essential because dull blades can slow you down and even cause accidents. When your shears are dull, you have to use more force to cut, which increases the chance of slipping and hurting yourself.
Sharp shears cut smoothly, saving you time and effort, especially with tough or fibrous foods. Clean blades also help prevent cross-contamination because they need fewer passes to get a clean cut.
Plus, sharp shears help keep your ingredients looking their best by avoiding tearing or crushing. Regular sharpening makes sure your shears always work well, making cooking safer, faster, and more precise.
Keeping your shears sharp is a simple step that really improves your overall cooking experience.
How Do You Know When Your Kitchen Shears Need Sharpening?
How can you tell if your kitchen shears are due for a sharpen? First, notice if they struggle to cut through food like cooked chicken or thick vegetables. Dull shears may require more force, risking slips or uneven cuts.
You might also see frayed or torn edges along the blades, which indicates dullness. To check, try cutting a piece of paper—if it tears instead of slicing cleanly, sharpening is needed.
Consider these signs:
| Cutting Resistance | Edge Condition | Cutting Quality |
|---|---|---|
| Increased effort to cut | Dull, chipped, or bent blades | Jagged or uneven cuts |
If you notice these issues, it’s time to sharpen your shears for safer, more efficient use.
What Tools Do You Need to Sharpen Kitchen Shears?
To sharpen your kitchen shears effectively, you’ll need essential tools like sharpening stones or a guided sharpening system.
You might also want additional supplies such as cleaning cloths and lubricants to maintain your shears afterward.
Having these tools on hand guarantees a smooth and precise sharpening process.
Essential Sharpening Tools
You only need a few essential tools to effectively sharpen your kitchen shears. First, a sharpening stone or whetstone is vital; choose one with a fine grit for a smooth edge.
A sharpening file can also help reshape and refine the blades. Furthermore, a small flat or ceramic honing stone works well for honing the blades after sharpening.
You’ll also want a cloth or towel to clean the blades and remove debris during the process. Some prefer a dedicated pair of tweezers or pliers to hold the shears securely while sharpening.
Finally, a lubricant like honing oil or water helps reduce friction and guarantees smooth sharpening. With these tools, you’re equipped to restore your shears’ sharpness effectively and safely.
Additional Maintenance Supplies
In addition to sharpening tools, having the right maintenance supplies helps keep your kitchen shears in top shape. You’ll want a clean, soft cloth to wipe the blades after sharpening, removing debris and honing residue.
A fine grit honing stone or ceramic rod can help maintain the sharp edge between sharpenings. Light machine oil or a specialized blade lubricant is essential for keeping the pivot joint smooth and preventing rust.
A small screwdriver or Allen wrench may be needed to tighten any loose screws or rivets. Keep a pair of gloves handy for safety, and store your supplies in a dry, organized space to prolong their effectiveness.
These supplies ensure your shears stay sharp, functional, and safe to use over time.
How to Sharpen Kitchen Shears: A Step-by-Step Guide
To sharpen your kitchen shears effectively, you’ll want to choose the right sharpening tool and prepare your shears beforehand.
Then, follow the proper technique to ensure a sharp, clean edge. I’ll walk you through each step to make the process easy and successful.
Choose Appropriate Sharpening Tool
Choosing the right sharpening tool is essential for maintaining the effectiveness of your kitchen shears. You want a tool that matches the blade material and edge type.
For metal blades, a sharpening stone or honing rod works well, offering precise control. Ceramic or diamond-coated tools are great for tougher, dull blades because they remove material efficiently.
If your shears have a fine or serrated edge, avoid aggressive sharpening tools that might damage the teeth. Instead, opt for a specialized ceramic rod or a sharpening stick designed for scissors.
Always select a tool with a grit appropriate for the dullness level—coarser for heavily dulled blades, finer for touch-ups. Picking the right tool guarantees a sharp, clean cut without damaging your shears.
Prepare the Shears Properly
Start by cleaning your shears thoroughly to remove any dirt, debris, or sticky residues that could interfere with sharpening. Use warm water and dish soap, then scrub with a brush or cloth to make sure all buildup is gone.
Dry the shears completely, as moisture can cause rust or damage during sharpening. Check the blades for nicks, dents, or corrosion. If you find any, take care of these issues before moving on.
Lubricate the pivot screw with a drop of oil if needed to ensure smooth movement. Handle the shears carefully to avoid injury. Proper cleaning and preparation create a clean, smooth surface that helps with more effective sharpening and keeps your tools in good shape.
Follow Correct Sharpening Technique
Before you start sharpening your kitchen shears, make sure you have the right tools like a sharpening stone, honing rod, or a shear sharpener. Set up a clean, stable workspace to keep things safe and easy.
To do it the right way, hold the shears at a 20-30 degree angle to the sharpening surface. Use smooth, steady strokes, moving from the pivot to the tip on each blade.
Keep the same angle during each pass to get an even edge. Do about 10-15 strokes per blade, checking your progress regularly.
Don’t press too hard, as that can damage the blades. After sharpening, always clean the shears thoroughly.
Following these steps will give you a sharp, effective cut every time.
Tips for Keeping Your Kitchen Shears Sharp After Every Use
To keep your kitchen shears sharp after every use, it’s important to clean and dry them thoroughly. Use warm water and mild soap to remove any food residues or sticky substances.
Clean and dry kitchen shears thoroughly after each use to maintain their sharpness and prevent rust.
Next, use a soft brush or cloth to reach between the blades and clean the pivot area. Avoid harsh abrasives that could damage the blades.
Once clean, dry the shears completely to prevent rust or corrosion. Wiping the blades with a light coat of oil, like mineral or sewing machine oil, adds a protective layer.
Store your shears in a dry place, preferably in a sheath or protective cover, to prevent dulling or nicks. Regular maintenance after each use keeps your shears sharp, functional, and safe to handle.
Common Mistakes to Avoid When Sharpening Kitchen Shears
Are you aware of the common pitfalls that can ruin your efforts when sharpening kitchen shears? One mistake is applying uneven pressure, which can damage the blades instead of sharpening them. Second, using the wrong sharpening tool, like a dull or incompatible stone, can do more harm than good.
Third, neglecting to clean the blades before sharpening can cause debris to interfere with the process. Finally, sharpening at the wrong angle often results in a blunt edge, reducing effectiveness.
To avoid these errors, always maintain consistent pressure, select the appropriate tool, clean blades thoroughly first, and follow the correct sharpening angle. Being mindful of these pitfalls guarantees your shears stay sharp and functional for longer.
Home Methods for Sharpening Kitchen Shears
You don’t need professional tools or skills to sharpen your kitchen shears at home. One simple method is to use a fine-grit whetstone or sharpening stone.
First, open your shears and carefully run the beveled edge along the stone at a consistent angle, about 20-30 degrees. Repeat this motion several times on each blade, maintaining steady pressure.
You can also use aluminum foil as a quick fix—fold a piece of foil multiple times, then cut through it several times with your shears. This helps smooth out dull edges.
Finally, a dedicated sharpening tool designed for scissors can be effective. Just follow the manufacturer’s instructions, usually involving running the blades through the sharpener a few times.
These methods are affordable, straightforward, and safe for home use.
When Should You Seek Professional Help for Sharpening?
While DIY methods can keep your kitchen shears sharp for everyday use, there are times when seeking professional help becomes necessary. If your shears show any of these signs, it’s a good idea to consult an expert:
- The blades are chipped or cracked.
- Despite sharpening, they don’t cut smoothly or cleanly.
- You notice rust or corrosion that won’t come off.
- The shear alignment feels off or they don’t close properly.
Professional sharpeners use specialized equipment and techniques to restore even severely damaged blades. If you’re unsure about the damage or your DIY efforts haven’t improved performance, it’s best to turn to the pros.
Experts use specialized tools to restore severely damaged blades for optimal safety and performance.
Properly sharpened shears ensure safety, efficiency, and a longer lifespan for your tools.
Troubleshooting Dull or Damaged Kitchen Shears
When your kitchen shears start to cut less effectively, it’s important to figure out what’s wrong so you can fix it. Dull blades are usually the main culprit, often caused by frequent use or not cleaning them properly.
Look for visible nicks, chips, or signs of rust, which suggest damage. If the blades feel sticky or won’t close smoothly, debris or hardened residue might be blocking them.
Sometimes, misaligned or bent blades cause poor cutting. In those cases, you might need to realign the blades or get professional help. Avoid forcing the shears through tough materials, as that can cause more damage.
Regular cleaning and proper storage help prevent dullness and damage. Taking care of your shears early on makes sure they stay sharp and work efficiently.
Frequently Asked Questions
Can All Types of Kitchen Shears Be Sharpened at Home?
Yes, most kitchen shears can be sharpened at home, but it depends on the type. Detachable shears are generally easier to sharpen yourself, either with a sharpening stone or a file.
For non-detachable shears, you might need a specialized sharpening tool or even professional help. Always check the manufacturer’s instructions first.
Some shears have blades that need delicate handling or specific sharpening techniques to avoid damage. So, it’s good to be cautious and informed before you start.
How Often Should I Sharpen My Kitchen Shears?
Like a sword in a knight’s hand, your kitchen shears need regular care. You should sharpen them every 3 to 6 months, depending on how often you use them.
If you do heavy-duty tasks or use them frequently, sharpen them more often. Keep an eye on how they perform—if they start tearing or have trouble cutting, it’s time to sharpen.
Proper maintenance keeps them sharp, safe, and ready for your next culinary adventure.
What Signs Indicate My Shears Are Beyond DIY Sharpening?
You’ll know your shears are beyond DIY sharpening when they no longer cut cleanly, leaving jagged or uneven edges. If they require excessive force or the blades are visibly dull, it’s time to seek professional help.
Rust, corrosion, or persistent misalignment also indicate they’re beyond simple home sharpening. Trying to fix severely damaged blades yourself can do more harm than good.
Consider replacing them or consulting a professional for proper sharpening if you’re unsure. It’s better to get expert help than risk damaging your shears further.
Are There Safety Tips for Sharpening Kitchen Shears?
Think of sharpening your kitchen shears like tending a delicate garden. Always wear cut-resistant gloves to protect your fingers from sharp blades, and secure the shears firmly on a stable surface.
Use consistent, gentle strokes along the beveled edge, avoiding excessive force. Keep your tools clean and dry to prevent slipping.
How Long Does a Typical Sharpening Process Take?
The sharpening process usually takes about 10 to 15 minutes, depending on the shears’ condition and your experience.
You’ll need to carefully run the blades along the sharpening tool or stone, maintaining a consistent angle.
If your shears are quite dull or damaged, it might take a bit longer.
Make sure to test the blades frequently to verify they’re sharp enough without over-sharpening.
Conclusion
Keeping your kitchen shears sharp isn’t just about cutting smoothly. It’s also about safety and efficiency. Did you know dull blades can require up to 50% more force? That increases the risk of accidents in the kitchen.
Regular sharpening helps you get cleaner cuts and makes your shears last longer. With the right tools and techniques, you can easily master sharpening at home. It’s a simple skill that makes a big difference.
Stay vigilant, sharpen regularly, and don’t hesitate to seek professional help if needed. Properly sharpened shears are safer and more effective, so your kitchen tools will thank you.