7 Simple Steps to Replace Your Kitchen Sink
Many homeowners find replacing a kitchen sink to be a daunting task, but you’re not alone. It’s a common project that can seem overwhelming at first, especially if you’re worried about leaks or making mistakes.
To replace your kitchen sink, start by turning off the water and clearing your workspace. Gather essential tools like a wrench, screwdriver, and plumber’s putty.
Disconnect the plumbing and remove the old sink, taking care to catch any drips. Install the new sink, then connect the plumbing securely.
Seal all connections to prevent leaks, and finally, test everything to ensure proper operation.
Keep going, and you’ll uncover detailed tips for a smooth, successful installation.
Key Takeaways
- Turn off the water supply, drain any remaining water, and clear your workspace before you start removing the sink.
- Next, disconnect the water supply lines and remove any clips or brackets holding the old sink in place.
- When installing the new sink, connect the drain components first. Use plumber’s putty to seal around the edges and tighten all fittings securely.
- After everything’s connected, turn the water back on and check for leaks. Tighten any connections if you notice dripping.
- Lastly, keep your new sink in top shape by cleaning it regularly. Inspect the fittings from time to time and avoid harsh chemicals that could damage it.
Turn Off Water and Prepare Your Workspace
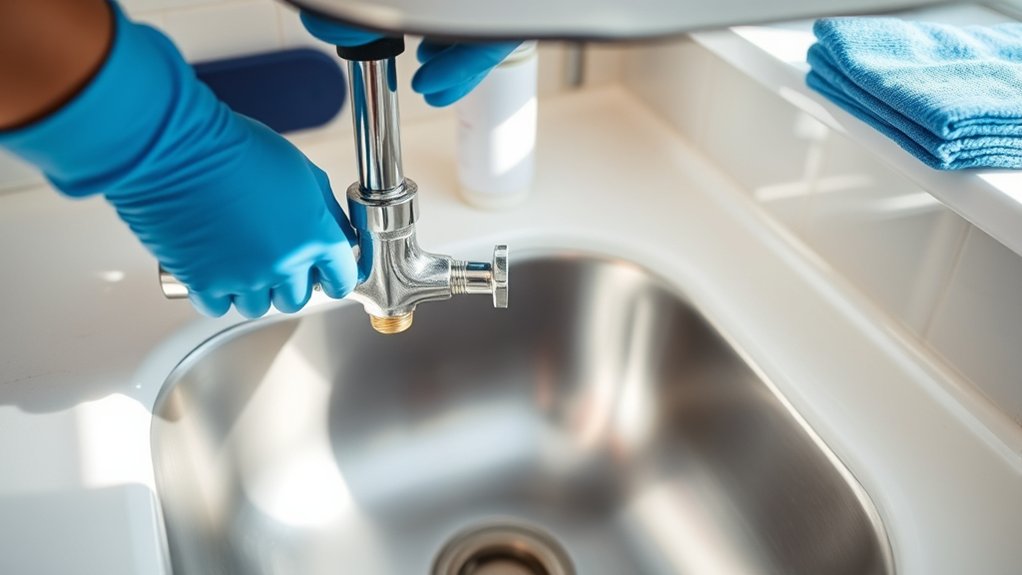
Before starting the removal, turn off the water supply to avoid leaks and water damage. Find the shut-off valves under your sink—usually small knobs or levers connected to the water lines. Turn them clockwise until tight to stop the flow of water.
Next, open the faucet to release any remaining water pressure and drain leftover water. Clear the area around your sink by removing dishes, cleaning supplies, and items stored nearby.
Protect your countertops by laying down a towel or cloth. This keeps your workspace organized and prevents damage. Make sure you have good lighting so you can see all the connections clearly.
With your workspace ready and water shut off, you’re all set to disconnect the plumbing and continue with the removal process.
Gather Tools and Materials for Sink Replacement
Gathering all the necessary tools and materials beforehand guarantees your sink replacement goes smoothly and efficiently. Make sure you have everything on hand before starting.
Essential tools include a wrench, screwdriver, pliers, and a utility knife. You’ll also need materials like a new sink, plumber’s putty, Teflon tape, and sealant. Having these ready prevents interruptions.
To emphasize, here’s a quick overview:
| Tool/Material | Purpose | Alternative/Tip |
|---|---|---|
| Adjustable wrench | Loosen or tighten fittings | Use slip-joint pliers |
| Screwdriver | Remove or install screws | Phillips or flat-head |
| Plumber’s putty | Seal drain connections | Silicone caulk if you prefer |
| Teflon tape | Prevent leaks at fittings | Wrap clockwise around threads |
| New sink | The replacement component | Check measurements beforehand |
Being prepared saves time and helps avoid surprises during the job.
Remove the Old Sink and Disconnect Plumbing
Start by turning off the water supply valves beneath the sink to prevent any leaks during removal. Next, open the faucet to drain any remaining water.
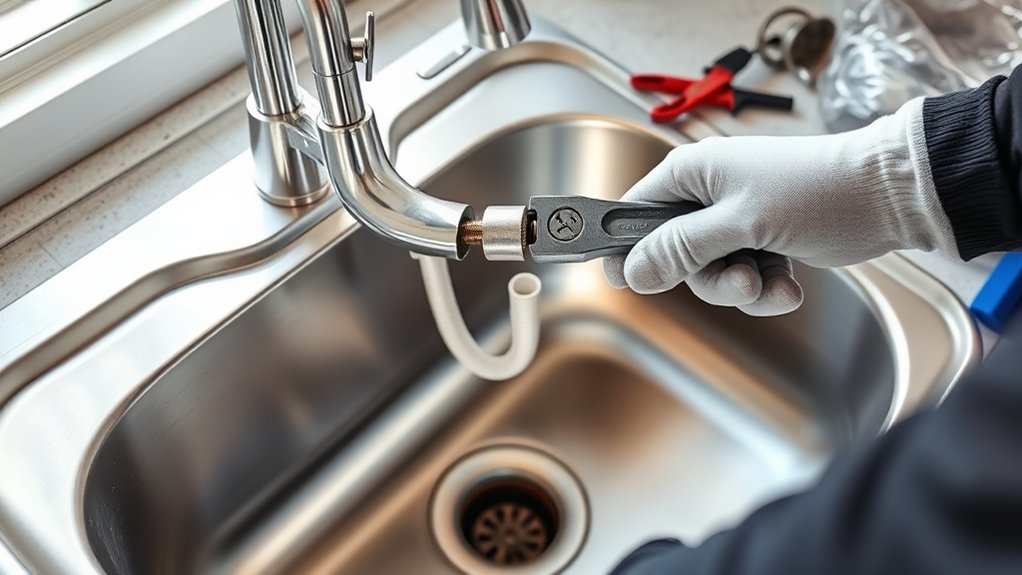
Use a wrench to loosen and disconnect the water supply lines from the faucet and shut-off valves. Place a bucket or towel underneath to catch drips.
Loosen water supply lines with a wrench, then catch drips with a bucket or towel.
Then, remove the P-trap by loosening the slip nuts on the drain pipe. Carefully lift out the old sink, supporting it from underneath if necessary.
If the sink is secured with clips or brackets, unscrew or unclip them. Check for any adhesive or caulking around the sink’s edges and gently cut through it with a putty knife.
Once everything is disconnected, lift the old sink out and set it aside.
Install Your New Kitchen Sink and Connect Plumbing
Now that your sink is in place, you’ll need to connect the drainage system securely and make sure there are no leaks.
Next, attach the water supply lines tightly to prevent drips and keep the flow smooth.
Double-check all your connections before turning on the water to avoid any surprises.
Connecting Drainage System
To connect the drainage system, start by fitting the sink’s drain tailpiece into the sink drain opening and secure it with a slip nut. Make sure the tailpiece lines up properly to prevent leaks.
Next, attach the P-trap to the tailpiece, tightening the slip nuts securely but not too tight to avoid damage. Connect the trap arm to the wall drain outlet, ensuring it fits snugly.
Use plumber’s tape or sealant on threaded connections for a better seal. Double-check each connection to make sure it’s tight and properly aligned.
Then, run water into the sink to check for leaks. If you see any drips, tighten the slip nuts a little more until everything is secure. Properly connected, your drainage system should work efficiently without leaks.
Securing Water Supply
After securing the drainage system, it’s time to connect the water supply lines to your new kitchen sink. First, turn off the main water supply before you start.
Next, locate the hot and cold water valves under the sink. Attach the flexible supply lines to their respective valves, making sure you connect the hot line to the hot valve and the cold to cold.
Tighten the fittings securely with a wrench, but be careful not to over-tighten, as this could cause damage. Once everything is connected, turn on the water supply slowly and check for leaks.
If you notice any drips, tighten the fittings a little more until they stop. Finally, run the faucet to flush out any debris and make sure both hot and cold water flow smoothly.
This completes your water supply connection, and your sink is now ready for regular use.
Seal and Secure Your Sink to Prevent Leaks
Securing your sink properly is essential to prevent leaks and water damage. Start by applying a bead of silicone sealant around the edge of the sink opening before placing it into the countertop.
Press the sink firmly into place, making sure it sits evenly. Use clips or brackets underneath to secure the sink, tightening them gradually to avoid uneven pressure.
Double-check that the sealant forms a continuous, smooth line without gaps. Tighten all fasteners securely but be careful not to over-tighten, which could crack the sink or damage the seal.
Wipe away any excess sealant immediately with a damp cloth. Proper sealing and securing create a waterproof barrier and prevent water from seeping underneath, avoiding long-term damage.
Test Your Sink and Troubleshoot Common Problems
Once you’ve secured and sealed your sink properly, it’s time to test how well it works. Turn on the water supply and let the sink fill up. Keep an eye out for any leaks around the connections, drain, or seals. Check underneath the sink for drips or water pooling.
If you notice leaks, tighten the fittings or reapply sealant as needed. Run both hot and cold water to make sure the faucet works smoothly and doesn’t drip. Listen for any strange noises or vibrations that might mean parts are loose.
If the drain isn’t clearing properly or the water drains slowly, check for clogs or incorrect installation. Troubleshooting common issues early on helps prevent damage and makes sure your sink works perfectly. Fix problems quickly to enjoy a leak-free, fully functional kitchen sink.
Maintain Your New Sink for Long-Lasting Performance
To keep your new sink performing well, clean it regularly with gentle cleaners and avoid harsh abrasives.
Implementing preventative maintenance, like checking for leaks and tightening fittings, can prevent bigger issues later.
Using your sink properly, such as avoiding pouring grease or heavy debris, helps extend its lifespan and keeps it looking good.
Regular Cleaning Practices
Regular cleaning is essential to keep your new kitchen sink looking its best and working properly over time. After each use, rinse the sink to wash away food particles and soap residue.
Use a soft sponge or cloth with mild dish soap to wipe down surfaces regularly. This helps prevent stains and buildup. Avoid harsh abrasives or bleach, as they can damage the finish.
For stubborn stains or mineral deposits, mix baking soda with water to create a paste. Gently scrub the area, then rinse thoroughly. Keep the drain clear by pouring boiling water down it once a week and removing debris from the strainer.
Regular maintenance prevents odors and keeps your sink shiny and new. It also helps ensure your sink lasts for years to come.
Preventative Maintenance Tips
Implementing preventative maintenance is key to keeping your new sink functional and looking great for years to come. Regularly check the faucet, drains, and seals for leaks or signs of wear.
Keep the sink surface free of debris and avoid harsh chemicals that could damage the finish. Use a gentle cleaner and soft cloth to wipe down surfaces daily.
Prevent clogs by not pouring grease or large food particles down the drain, and consider installing a drain strainer to catch debris.
Tighten loose fittings promptly to prevent water damage. Periodic checks of plumbing connections help catch issues early.
Proper Usage Techniques
Proper usage techniques are essential for ensuring your new sink performs well over the years. Always avoid pouring harsh chemicals or grease down the drain, as these can cause clogs or damage the pipes.
Use a sink grid or mat to protect the surface from scratches and heavy impacts. When cleaning, opt for gentle, non-abrasive cleaners and a soft cloth to preserve the finish.
Be mindful of what you put in the sink; avoid placing extremely hot items directly in it, which could damage the material. Regularly check for leaks or loose fittings, tightening them as needed.
Finally, don’t overload the sink with heavy or bulky items. Proper handling and care will extend the lifespan of your sink and keep it looking new longer.
Frequently Asked Questions
How Do I Choose the Best Kitchen Sink Material?
You should choose a kitchen sink material based on durability, style, and budget. Stainless steel is popular because it’s affordable and resistant to stains.
Fireclay offers a classic look and is highly durable, making it a great choice if you want something timeless. Granite composite provides a scratch-resistant surface, perfect for busy kitchens.
Think about your cooking habits and aesthetic preferences. If you want low-maintenance options, stainless steel or granite might suit you best.
Ultimately, pick a material that balances function, appearance, and cost to fit your needs.
Can I Replace a Sink Without Professional Help?
Absolutely, you can replace a sink without professional help—if you enjoy turning a simple task into a plumbing adventure.
Just remember, DIY projects need patience, tools, and a good sense of humor. Follow clear instructions, turn off the water, and be ready for some surprises.
If you love a challenge and don’t mind a few leaks, go ahead. Otherwise, it might be smarter to call in a pro before water ends up everywhere!
What Are Common Signs My Sink Needs Replacement?
You’ll notice your sink needs replacing if it’s cracked, stained, or develops persistent leaks that can’t be fixed easily.
If water drains slowly despite cleaning, or if there’s a foul odor that won’t go away, these are signs of damage or buildup.
Rust or corrosion around the fixtures also indicates it’s time for a new sink.
Addressing these issues promptly prevents further damage and keeps your kitchen functioning and clean.
How Long Does a Typical Sink Installation Take?
A typical sink installation usually takes about 2 to 4 hours, but it really depends on your experience and how complex the job is.
You’ll start by removing the old sink, then fitting and securing the new one, connecting the plumbing, and testing everything for leaks.
If you’re comfortable with basic plumbing tasks, it might go faster. But if unexpected issues pop up, it could take longer.
Planning ahead can help make the process smoother and less stressful.
Are There Eco-Friendly Options for Kitchen Sinks?
Are you worried about harming the environment? Luckily, eco-friendly kitchen sinks are available! You can choose models made from recycled materials, bamboo, or low-impact composites.
These options help reduce waste and cut down on energy use during manufacturing. Isn’t it rewarding to make a greener choice every time you cook or clean?
Conclusion
Replacing your kitchen sink might seem intimidating, but it’s surprisingly straightforward if you follow these steps. Think of it as a small experiment—you remove, replace, and test to see how well it works.
Some say DIY projects are just myths, but with patience, you’ll find out it’s entirely doable. So, go ahead, trust the process, and enjoy the satisfaction of a fresh, functional sink that’s all your own.