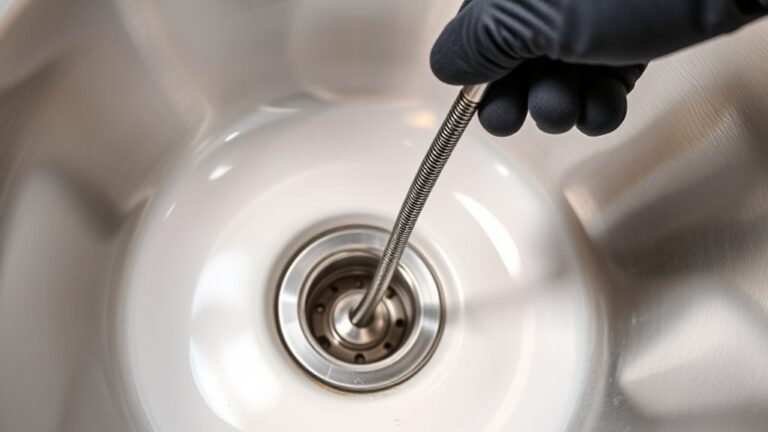
10 Simple Steps to Remove a Kitchen Faucet
Are you tired of dealing with a stubborn kitchen faucet that just won’t budge? You’re not alone—many people struggle with removing and replacing faucets, but don’t worry, it’s easier than you think. With the right tools and a little patience, you can tackle this project yourself.
To remove a kitchen faucet, start by turning off the water supply and opening the faucet to release pressure.
Gather your tools like wrenches, screwdrivers, and towels. Carefully disconnect supply lines, then remove handles and mounting screws.
Check for hidden hardware and loosen stubborn parts with penetrating oil if needed.
Clean the area before installing a new faucet, dispose of the old one properly, and follow instructions carefully.
If you continue, you’ll find more helpful tips to complete the job smoothly.
Key Takeaways
- Turn off the water supply valves and open the faucet to drain any remaining water.
- Next, remove the faucet handles and spout using screwdrivers or Allen wrenches.
- Loosen and disconnect the supply lines with an adjustable wrench or basin wrench.
- Then, detach the mounting nuts or clips that secure the faucet to the sink.
- Carefully lift out the old faucet and get the area ready for installing the new one.
Why Removing a Kitchen Faucet Carefully Matters
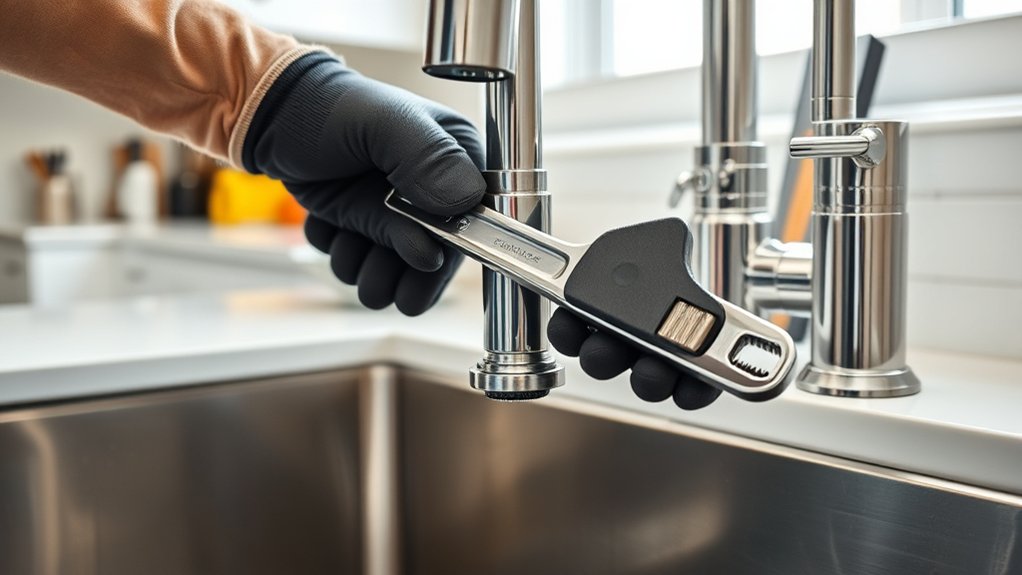
Removing a kitchen faucet carefully is important because rushing the process can lead to costly damage or leaks. If you’re too hasty, you might strip threads, crack fittings, or damage the sink. These mistakes can cause water leaks that lead to water damage or expensive repairs.
Taking your time ensures you don’t force parts apart or loosen connections too much. Being precise helps prevent damaging the plumbing, which could mean leaks or needing professional repairs. A careful removal keeps the sink and plumbing system in good shape.
It also makes reinstalling the new faucet easier and more secure. Rushing might seem to save time at first, but it can cause bigger problems down the line. So, patience during removal helps you avoid unnecessary costs and headaches later on.
Gather the Tools and Supplies You Need
Before you start, make sure all your essential tools and supplies are within reach. Check off items like a wrench, screwdrivers, and plumber’s tape from your list.
Gather any extra materials you’ll need so you’re prepared. Being ready helps keep the removal process smooth and avoids unnecessary delays.
Essential Tools Checklist
Gathering the right tools is key to making faucet removal smooth and efficient. You’ll want an adjustable wrench or basin wrench to loosen fittings securely. A Phillips and flat-head screwdriver will help remove screws and fittings.
Keep a bucket or towel nearby to catch any water drips and prevent messes. Pliers can help with stubborn connections, and a utility knife might be needed to cut through sealant or caulk. Having a rag or cloth on hand allows you to wipe up spills quickly.
If your faucet has a cartridge, you might need an Allen wrench or hex key. Make sure all your tools are in good condition to avoid slipping or damaging parts. Having everything ready saves time and makes the removal safer and more effective.
Necessary Supplies List
Having the right supplies on hand makes removing the faucet much easier. Before you begin, gather these essential items to ensure everything goes smoothly and safely.
- Adjustable wrench for loosening nuts and fittings
- Bucket or container to catch any water that drips
- Towels or rags to clean up spills and wipe surfaces
- Pipe wrench or pliers for handling stubborn connections
Make sure your tools are in good condition and within easy reach. Having everything ready beforehand helps prevent delays and frustration. Double-check that you have the correct size wrench for your fittings.
With these supplies, you’ll be prepared to remove your kitchen faucet efficiently and safely. This sets the stage for a smooth replacement process.
Turn Off the Water Supply to Your Kitchen Faucet
To begin removing your kitchen faucet, you need to turn off the water supply to prevent leaks and water damage.
Locate the shut-off valves under the sink—these are usually small handles or knobs connected to flexible hoses.
Turn each valve clockwise until it’s fully closed. Don’t force them if they feel stuck. If there are no local shut-off valves or they don’t work, you’ll need to turn off the main water supply to your home.
This main valve is typically found near the water meter or where the main pipe enters your house. Once the water is off, open the faucet to release any remaining pressure and water in the lines.
Confirm no water flows before proceeding to the next step.
Identify and Remove the Faucet Handles and Spout
With the water supply turned off and the lines drained, you can now focus on identifying and removing the faucet handles and spout. First, find the screws or nuts holding the handles in place—these are usually visible or under decorative caps.
Next, use a screwdriver or Allen wrench to loosen and remove the handles. Then, check the spout for mounting screws or clips; these are often accessible from above or beneath.
Carefully lift out the handles and spout, being mindful of any connecting springs or washers. By following these steps, you’ll free up the main components and be ready for the next part of the faucet removal.
Check for Hidden Mounting Hardware
Sometimes, mounting hardware isn’t immediately visible, so it’s important to look carefully. Check around the base of the faucet and beneath the sink for any screws, nuts, or brackets that might be securing it in place.
These fasteners can be hidden behind decorative caps or clips, which you’ll need to remove to access them. Use a flashlight to illuminate dark areas and a mirror if needed, so you don’t miss any hidden hardware.
Sometimes, mounting bolts are located underneath the sink, holding the faucet from below. Carefully inspect all sides and underneath the faucet assembly.
Removing these hidden fasteners is essential before attempting to lift the faucet away. This will prevent unnecessary force or damage during removal.
Detach the Faucet From the Sink or Countertop
Once you’ve removed any hidden mounting hardware, you can start detaching the faucet from the sink or countertop. First, loosen the nuts or bolts holding the faucet in place using a wrench.
Then, carefully lift the faucet straight up, being mindful of any remaining connections. Next, disconnect any supply lines attached to the faucet by loosening the fittings with a wrench or pliers.
Finally, gently wiggle the faucet free, making sure you don’t damage the sink or surrounding surfaces. Keep a bucket or towel nearby to catch any leftover water.
Troubleshooting Common Problems When Removing a Faucet
When removing a faucet, you might run into leaks, rusted parts, or stubborn fittings that won’t budge. Finding where the leaks are coming from helps you know whether to tighten or replace seals.
Handling rusted components takes patience and the right tools. Sometimes, you need to give those fittings a little extra force carefully to avoid damage.
Managing tight fittings often means applying some penetrating oil to loosen them up. Just be cautious and go slow to prevent stripping or damaging the fittings.
Identifying Leaking Connections
Before removing your kitchen faucet, it’s important to check for any leaking connections, as they can make the process tricky and cause water damage.
Leaks usually mean loose fittings or damaged washers. To spot problems, start by looking under the sink for water drips or puddles around the fittings.
Next, gently tighten any loose nuts or connections with a wrench. Also, check for corrosion or mineral buildup around the joints.
Finally, turn on the water supply briefly to see if any drips appear at the connection points. This helps identify leaks before you start removing the faucet.
Handling Rusted Components
Rusted components are common obstacles when removing a kitchen faucet, especially if fittings haven’t been maintained regularly. Rust can cause nuts and bolts to seize, making removal tricky.
To handle this, spray penetrating oil like WD-40 onto the rusted parts and let it sit for 10-15 minutes. Use a rust remover or a wire brush to loosen any rust buildup if needed.
Apply steady, even pressure with the right tools—such as a basin wrench or adjustable pliers—to avoid stripping fittings. If a part won’t budge, don’t force it, as this can cause damage.
Reapply penetrating oil and wait longer if necessary. Patience and the right tools are key to safely loosening rusted components without causing further issues.
Managing Tight Fittings
Tight fittings are a common challenge when removing a kitchen faucet, often needing extra effort and the right techniques to loosen them without causing damage. To manage these tight spots:
Use a wrench with adjustable jaws for a better grip.
Apply penetrating oil to loosen rust or mineral buildup, letting it sit for 10-15 minutes.
Tap gently around fittings with a rubber mallet to help loosen stubborn connections.
Wrap a cloth around fittings before turning with a wrench to prevent scratching or damaging surfaces.
Clean the Area Before Installing Your New Faucet
Start by thoroughly cleaning the sink area to remove any dirt, grime, or debris that could interfere with the installation. Use a mild cleaner and a soft cloth to wipe down the sink, faucet base, and surrounding surfaces.
Make sure to remove soap scum, mineral deposits, and any leftover residue from previous fittings. Pay special attention to the faucet holes and the area underneath, where debris might hide.
Clearing the area guarantees a smooth installation process and helps prevent leaks caused by dirt or grime trapped between fittings. Dry the surface completely with a clean towel.
A clean, dry workspace provides a solid foundation for your new faucet, reducing the risk of issues later on and making the whole installation easier and more effective.
Properly Dispose of the Old Faucet
Once you’ve removed the old faucet, it’s important to dispose of it properly to avoid environmental harm or clutter. You don’t want it sitting around or ending up in a landfill unnecessarily. Here’s how to do it right:
Check if your local recycling center accepts metal fixtures like faucets.
Verify with your local recycling center if they accept metal fixtures like faucets.
Consider donating it if it’s still in good condition. Salvage yards or community charities might want it.
Remove any attached parts, like aerators or hoses, before disposal.
Wrap the faucet in old newspapers or a bag to prevent injuries and mess during transport.
Following these steps ensures you’re environmentally responsible and keeps your space tidy. Proper disposal helps reduce waste and supports recycling efforts.
Tips for Installing Your New Kitchen Faucet Smoothly
Before you start installing your new faucet, make sure your workspace is clean and well-organized to avoid any mistakes.
Gather all the tools you’ll need so you’re not wasting time searching during the process.
Finally, carefully follow the manufacturer’s instructions to ensure a smooth and successful installation.
Prepare Your Workspace Properly
Preparing your workspace properly is key to ensuring a smooth installation. First, clear the area around your sink so you can access all sides easily.
Next, lay down a towel or a bucket beneath the pipes to catch any drips or leftover water. Then, turn off the water supply to avoid any accidental leaks.
Gather a clean cloth or sponge to wipe up messes quickly as needed. Doing these things keeps you from scrambling for tools or dealing with water spills.
Taking a few minutes to organize your workspace makes the job safer and more efficient. Once your area is prepped, you can confidently move on with removing and replacing your faucet.
Gather Necessary Tools
Gather all the necessary tools before you start to guarantee a smooth installation process. You’ll need a wrench or pliers to loosen fittings, a screwdriver to remove screws, and an Allen wrench if your faucet has hex screws. Have a bucket or towels handy to catch any water drips.
A utility knife can be helpful for cutting through sealant or old caulk. Don’t forget to gather replacement parts like new washers and mounting hardware if needed. It’s also wise to have plumber’s tape to secure a tight seal.
Organizing your tools beforehand saves time and prevents frustration. Double-check that you have everything within reach before you begin so you won’t have to pause mid-project searching for tools. Being prepared makes the removal process smoother and more efficient.
Follow Manufacturer Instructions
Following the manufacturer’s instructions carefully is key to a smooth installation process. These guidelines are tailored to your specific faucet model, ensuring proper fit and function.
To stay on track, keep these tips in mind:
- Read the instructions thoroughly before starting, so you understand each step.
- Gather all parts and tools listed in the manual to avoid interruptions.
- Follow the recommended torque settings to prevent damage.
- Use the suggested sealants or plumber’s tape as instructed for a leak-proof seal.
Sticking to these instructions minimizes mistakes and saves time. Remember, manufacturers design these steps for ideal performance and safety.
Skipping or improvising can lead to issues down the line, so follow their guidance closely.
Frequently Asked Questions
How Do I Identify the Type of Faucet I Have?
To identify your faucet type, start by looking closely at its design and mounting style. Check if it has a single handle or separate ones for hot and cold water.
Next, examine the base. See if it’s secured with a mounting nut from above or below, or if it’s a deck-mounted or wall-mounted faucet. These details can give you clues about its type.
Also, pay attention to the shape of the spout and how it connects to the sink. These features help you figure out whether it’s a cartridge, compression, or ball faucet.
Can I Remove a Kitchen Faucet Without Turning off the Water Supply?
No, you shouldn’t remove a kitchen faucet without turning off the water supply. Doing so risks water spraying everywhere, causing a mess and potential water damage.
First, find the shut-off valves under the sink and turn them clockwise to cut off the water flow. Then, open the faucet to release any remaining water pressure.
Only after making sure the water is off should you proceed with removing the faucet.
What Tools Are Best for Stubborn or Corroded Fittings?
When dealing with stubborn or corroded fittings, a pair of locking pliers or a pipe wrench can be your best friends. These tools grip tightly and give you more leverage.
Applying penetrating oil like WD-40 is a good idea. It helps loosen rust and buildup, making removal easier.
If the fittings are really stubborn and won’t budge, try using a hacksaw or reciprocating saw. They can cut through severely corroded fittings when nothing else works.
How Long Does the Removal Process Typically Take?
The removal process usually takes about 30 minutes to an hour, depending on your experience and the faucet’s condition.
If fittings are stubborn or corroded, it might take longer—especially if you need to use penetrating oil or extra tools.
Take your time, stay patient, and work carefully to avoid damaging the plumbing.
With the right tools and approach, you’ll be able to remove the faucet efficiently.
Is It Necessary to Replace Plumbing Parts During Removal?
Think of your plumbing as the veins of your kitchen—delicate, essential, and sometimes needing a refresh.
You don’t always have to replace parts when removing your faucet, but it’s a good idea to inspect them first.
If you notice corrosion, leaks, or wear, replacing those parts can prevent future issues.
Staying proactive helps ensure your new faucet fits perfectly and works smoothly, just like a well-oiled machine.
Conclusion
Removing a kitchen faucet might seem intimidating, but with patience and the right steps, you’ll master it in no time. Think of it as untangling a knot. Once you loosen the last twist, everything flows smoothly again.
I once struggled with a stubborn faucet, but taking it slow turned the task into a satisfying victory. Remember, each step you take brings you closer to a fresh, functional kitchen.
So stay confident and enjoy the process of removing your kitchen faucet. With the right approach, you’ll have it out in no time and be ready for a new faucet installation.