10 Essential Tips to Pack Your Kitchen for Moving
Moving can be overwhelming, especially when it comes to packing up your kitchen. Many people struggle with organizing everything efficiently while trying to avoid broken dishes and lost essentials. If you’re feeling stressed about the process, you’re not alone — with some simple tips, packing can become much smoother.
To pack your kitchen efficiently, gather sturdy boxes, packing materials, and labels. Declutter by removing duplicates and organize items into categories.
Pack fragile dishes carefully with bubble wrap and label boxes as fragile. Maximize space by filling gaps with packing paper and stacking dishes vertically.
Create a quick-access setup for moving day essentials. Follow proper labeling and organization steps to make unpacking smoother.
Keep these tips in mind, and you’ll find it easier to shift to your new space.
Key Takeaways
- Use sturdy boxes, packing materials, and labels to protect fragile kitchen items efficiently.
- Declutter and categorize your kitchen items to make packing and unpacking easier.
- Wrap fragile items individually with packing paper or bubble wrap. Fill any gaps to prevent breakage.
- Label boxes clearly with categories and handle with care, especially if they contain fragile items.
- Pack essential tools and supplies separately so you can easily access them during the first days after moving.
Gather Essential Kitchen Packing Supplies
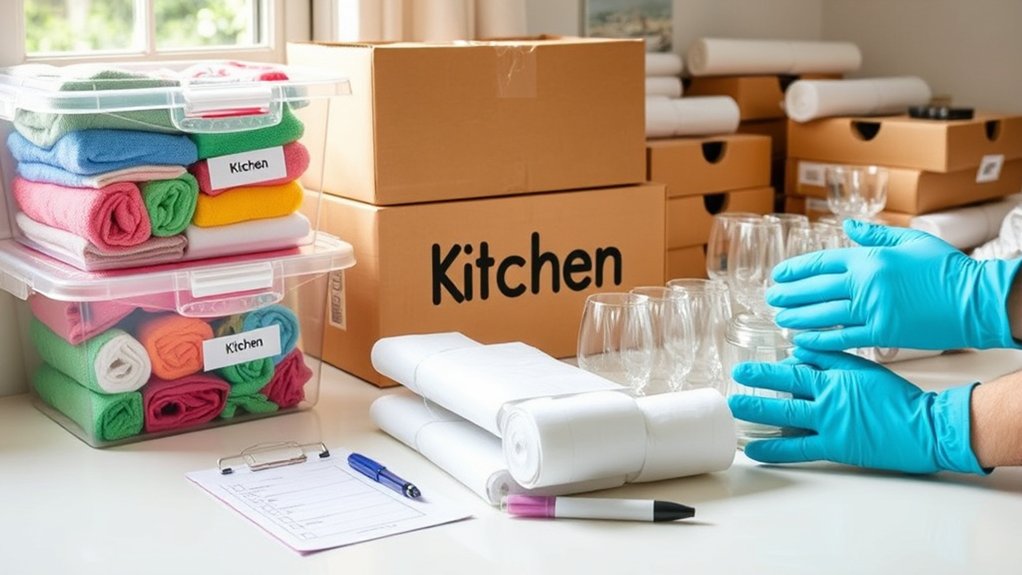
Before you start packing your kitchen, it’s important to gather all the supplies you’ll need. Begin with sturdy boxes that can handle the weight of dishes and appliances—double-walled boxes are the best choice.
Start by gathering sturdy, double-walled boxes to safely pack dishes and appliances.
Get plenty of packing paper, bubble wrap, or foam sheets to protect your fragile items. You’ll also need packing tape to seal boxes securely and a marker to label each box clearly.
Consider using dishcloths or towels to cushion delicate glassware and pots. Clear plastic bins can be helpful for organizing smaller items, making unpacking easier.
Don’t forget scissors or box cutters to open and close boxes easily. Having these supplies ready will help you pack efficiently, protect your belongings, and make unpacking smoother at your new home.
Declutter and Organize Your Kitchen Before Packing
To make packing easier, start by decluttering and organizing your kitchen. Go through your belongings and get rid of anything you no longer use or need. This way, you’ll have less to pack and unpack later.
Next, sort items into groups like utensils, cookware, and pantry items. This helps you see what you have duplicates of and decide what to donate or toss. Using clear bins or labels can keep everything organized and easy to find.
Be sure to clean each area thoroughly before packing. This keeps your kitchen fresh during the move and makes unpacking smoother.
Here are four simple steps to follow:
- Sort through all kitchen items and eliminate unnecessary duplicates.
- Categorize everything into groups for easier packing.
- Use labeled containers to organize and identify contents.
- Clean surfaces and items before packing for a fresh start.
Pack Fragile Dishes and Glassware Safely
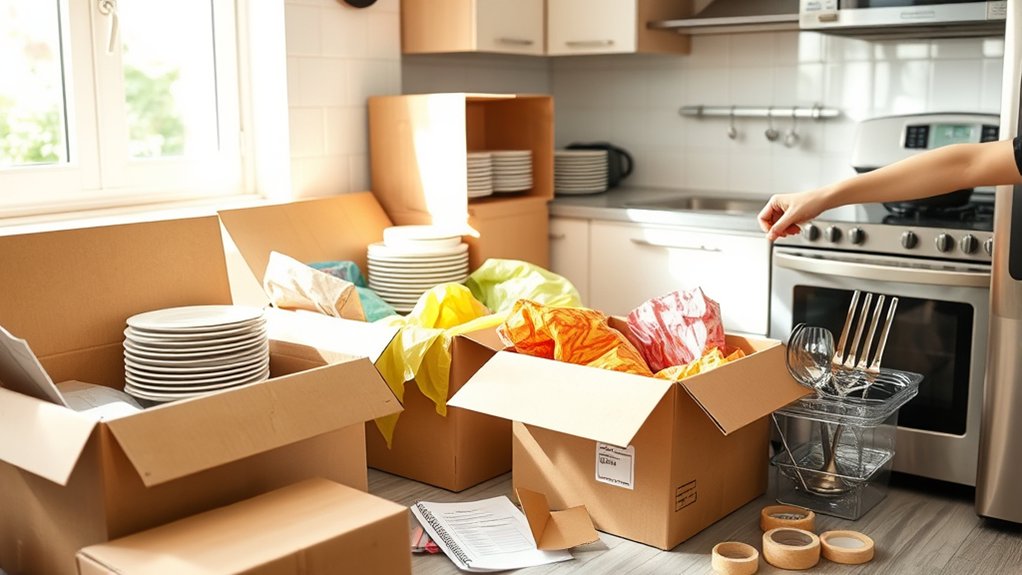
Once you’ve organized and decluttered your kitchen, it’s time to focus on packing your fragile dishes and glassware carefully. Start by wrapping each piece individually with packing paper or bubble wrap to prevent chips and breaks.
For added protection, place a layer of packing paper or crumpled newspaper at the bottom of your box. Stack dishes vertically, not flat, to reduce pressure.
Fill gaps with crumpled paper to keep items from shifting. Wrap glasses by holding the stem and covering the bowl, then place them upright in sturdy, appropriately sized boxes.
Label boxes clearly as fragile. Handle each piece gently, and avoid overpacking boxes to prevent crushing or breaking during transit. Proper packing helps guarantee your delicate items arrive intact and ready to use.
Protect Your Valuables and Breakables During Transit
To keep your valuables and breakables safe during transit, use proper packing materials like sturdy boxes and bubble wrap. Be sure to label fragile items clearly so you handle them with care.
Wrap each piece securely and tightly to prevent movement. Taking these steps helps protect your belongings from damage during the move.
Use Proper Packing Materials
Choosing the right packing materials is essential for safeguarding your valuables and fragile items during transit. Using proper supplies guarantees your items arrive intact and undamaged.
Start with sturdy boxes designed for moving, which prevent crushing. Wrap delicate items in bubble wrap for cushioning, and use packing paper for added protection around fragile surfaces.
Fill empty spaces in boxes with packing peanuts or crumpled paper to prevent shifting. Finally, use strong packing tape to securely seal boxes, especially at seams and openings.
Label Fragile Items Clearly
Clearly labeling your fragile items is essential for making sure they’re handled with care during the move. Use bright, noticeable labels like “Fragile” or “Handle with Care” on boxes that contain breakables.
Place labels on multiple sides of each box so they’re visible from different angles. This helps alert movers to treat these boxes gently and avoid stacking heavy items on top.
Be specific about what’s inside, especially for delicate dishes, glassware, or electronics. You can also add arrows to indicate which side should stay upright.
Proper labeling helps prevent accidents and reduces the risk of damage. Take your time to double-check that all fragile boxes are clearly marked before loading them onto the truck.
Clear labels make sure everyone understands which items need delicate handling during transit.
Wrap Items Securely and Tightly
Wrap each item securely and tightly to prevent movement and damage during transit. Use appropriate packing materials like bubble wrap, packing paper, or foam to cushion delicate items.
Wrap smaller valuables individually, then reinforce with tape to keep everything in place. Fill empty spaces in boxes with crumpled paper or packing peanuts to prevent shifting.
Use sturdy boxes designed for shipping, and avoid overpacking, which can cause breakage. When wrapping fragile items like glassware or ceramics, double-wrap for extra protection.
Label boxes containing breakables clearly to alert movers. Confirm lids or covers are tightly secured on bottles and jars. Proper wrapping minimizes the risk of damage, keeping your valuables safe during the move.
Maximize Space in Kitchen Cabinets
To make the most of your kitchen cabinet space, use uniform storage containers that stack neatly and save room.
Implement vertical stacking to fully utilize every inch of available space.
These simple tricks can help you organize efficiently and pack more items in less room.
Use Uniform Storage Containers
Using uniform storage containers can really help you organize your kitchen cabinets better and make the most of every inch of space. When all the containers are the same size and shape, stacking becomes simpler, and gaps are minimized.
This creates a neat, streamlined look while maximizing storage efficiency. To improve your organization, consider these tips:
- Pick containers with airtight lids to keep your food fresh and prevent spills.
- Use clear containers so you can easily see what’s inside without opening each one.
- Choose stackable designs to save vertical space.
- Label each container for quick access and to avoid digging around.
Implement Vertical Stacking
Implementing vertical stacking in your kitchen cabinets is a great way to make the most of your space. By stacking items like plates, bowls, and cups, you can use the full height of your cabinets instead of leaving gaps.
Use risers or shelf inserts to create multiple levels within a single cabinet, which helps you store more items neatly. Group similar items together and stack them securely to prevent tipping or falling.
Clear storage containers are helpful because you can see what’s inside without taking everything out. Plus, stacking keeps your cabinets organized and makes unpacking easier during your move.
With vertical stacking, you’ll maximize every inch of your cabinet space, making your kitchen more functional and easier to navigate both now and after your move.
Pack Utensils, Gadgets, and Small Appliances Efficiently
Start by gathering your utensils, gadgets, and small appliances and organize them by category. This makes packing more efficient and helps prevent damage.
Use sturdy boxes and fill gaps with packing paper or towels to keep items stable. Wrap each small gadget individually with bubble wrap or packing paper to prevent scratches.
Consider using utensil dividers or small containers to keep similar items together. For small appliances, secure cords and pack them upright to avoid damage.
Label boxes clearly so you can find what you need quickly. Wrap fragile gadgets with bubble wrap and pack upright, and use dividers or small containers for utensils.
Secure cords with twist ties or rubber bands. Fill empty spaces with packing paper to prevent shifting during transport.
Label and Categorize Kitchen Boxes for Easy Unpacking
Once your kitchen items are securely packed, labeling and categorizing each box makes unpacking much easier. Use clear, bold labels on all sides so you can see what’s inside at a glance.
Group similar items together, like utensils, dishes, or pantry goods. Assign each category a specific color or label style to keep things organized.
Keep a master list or inventory to track what’s in each box. This makes unpacking simpler and helps you find what you need quickly.
For example, label a box “Cooking Tools” or “Breakfast Supplies” to prioritize unpacking essentials first. Proper labeling can save you time and frustration.
It also prevents you from rummaging through multiple boxes just to find basics like cups or utensils. Clear categorization keeps the whole process smooth and organized.
Set Up a Moving Day Kitchen for Convenience
On moving day, set up a mini kitchen with your essential cooking tools and everyday items to make meal prep easier.
Keep these items in a designated, easily accessible spot so you don’t have to search through boxes.
This simple setup saves time and helps you avoid feeling overwhelmed during the chaos.
Prepare Essential Cooking Tools
As you prepare for moving day, gathering your essential cooking tools ensures you can quickly make meals or snacks without digging through boxes. Focus on items you’ll need right away at your new home.
Start with the basics like a versatile chef’s knife, a cutting board, a can opener, and a spatula. These tools help you prepare simple meals without any hassle.
Pack them in a clearly labeled, easily accessible box so you can find them quickly. Including a small set of utensils—like a spoon, fork, and knife—also comes in handy.
Having these essentials ready will help you avoid frustration and stay nourished during your busy moving day. Prioritize convenience to make your move smoother and less stressful.
Organize Daily Use Items
Setting up a designated spot for your daily use items ensures you can grab everything quickly on moving day. Gather essentials like utensils, plates, mugs, and everyday cooking tools, then put them all in one easy-to-reach place.
Use a sturdy bin or a dedicated box to keep these items together so they don’t get lost in the shuffle. Pack the items you use most often last, so they’re on top when it’s time to load up.
Label the container clearly so you know exactly where your daily essentials are when unpacking. Keep this area near the entrance or your packing zone for quick access.
This setup reduces hassle, saving you time and effort during the busy moving process.
Designate Easy Access Storage
Designating easy access storage for your moving day kitchen helps streamline the process and reduces stress. You want to quickly grab essentials without rummaging through boxes.
Start by choosing a dedicated box or bin labeled “Moving Day Kitchen.” Keep this container near the front of your packing area for quick access.
Include items like basic utensils and a can opener, a few plates, cups, and utensils for immediate use. Pack non-perishable snacks and bottled water as well.
Don’t forget essential small appliances like a microwave or coffee maker. This setup lets you prepare simple meals or snacks without unpacking everything.
Unpack Your Kitchen Quickly and Organize It Effectively
Start by labeling each box with its contents and designated room to make unpacking easier. This way, you’ll know exactly where everything goes and avoid unnecessary searching.
As you unpack, focus on one area at a time, starting with essentials like utensils, cookware, and basic pantry items. Keep items you’ll need right away accessible and set them aside.
Use clear bins or containers for small items to stay organized and prevent clutter. Take the chance to toss out broken or unused items to declutter your space.
Arrange your kitchen thoughtfully, placing frequently used tools within easy reach. Once everything is unpacked, wipe down surfaces and set up your appliances.
This focused approach helps minimize chaos, speeds things up, and makes settling into your new kitchen quick and easy.
Avoid Common Kitchen Packing Mistakes
Avoiding common kitchen packing mistakes can save you time and prevent damage to your belongings. First, don’t overpack boxes; too much weight can cause breakage or make lifting difficult.
Second, avoid mixing fragile items with heavy or sharp objects, which increases the risk of damage. Third, skip using non-ventilated containers for perishables—these can lead to spoilage or leaks.
Finally, don’t forget to label boxes clearly, especially when packing similar items, so you can quickly identify contents and handle them carefully. Properly packing with these tips keeps your kitchen items safe and organized during the move.
Being mindful of these mistakes can make the entire process smoother and less stressful.
Frequently Asked Questions
How Should I Handle Perishable Food Items During Moving?
You should finish your perishable food items before moving or donate unopened, non-expired goods to friends or local charities. If you need to transport perishables, keep them cold using a cooler with ice packs and pack them last to guarantee they stay fresh.
Avoid packing perishable items too early, and plan your move so you can unpack and refrigerate or discard food promptly upon arrival. This way, everything stays fresh and safe during your move.
What Is the Best Way to Pack Bulky Kitchen Appliances?
Did you know that properly packed appliances can save you up to 30% in moving costs? To pack bulky kitchen appliances, start by cleaning and drying them thoroughly. Secure removable parts and pack them separately.
Wrap appliances in bubble wrap or moving blankets for protection, then tape them securely. Use sturdy boxes or crates, and label everything clearly.
This guarantees safe transport and makes unpacking easier.
How Do I Prevent Pest Infestations During Kitchen Packing?
To prevent pest infestations while packing your kitchen, make sure to clean all items thoroughly before boxing them up. This helps remove crumbs and residues that attract pests.
Seal food in airtight containers or dispose of it altogether to avoid drawing pests into your packing area. Keep your space clean and free of crumbs or spills that can lure bugs.
Use pest-proof bins for trash and store boxes off the floor to reduce hiding spots for pests. Regularly check your boxes during packing for any signs of pests, so you can catch problems early.
Keeping your packing area tidy and staying vigilant makes a big difference in preventing unwanted pests in your kitchen.
Should I Disassemble Furniture and Fixtures in the Kitchen Before Moving?
Yes, you should disassemble furniture and fixtures in the kitchen before moving. It makes packing much easier and helps prevent damage during transport.
Taking apart items like cabinets, shelves, and appliances allows you to fit everything securely into boxes or moving containers. Keep screws and small parts in labeled bags so you don’t lose anything.
This process also makes reassembly at your new place simpler. Plus, it helps ensure nothing gets broken or misplaced along the way.
How Can I Safely Transport Liquids Like Oils and Sauces?
To safely transport liquids like oils and sauces, make sure each container is tightly sealed to prevent leaks.
Wrap bottles in bubble wrap or towels for extra protection, then place them in sturdy, leak-proof boxes or containers.
Label the boxes as “fragile” and keep them upright during transport. Handle with care, and avoid overpacking to prevent spills or breakage.
This way, your liquids will arrive safely at your new home.
Conclusion
By mastering these tips, you’ll turn packing your kitchen from chaos into a smooth, stress-free process. Imagine your kitchen perfectly organized, with each dish and gadget snug as a bug in a rug, ready to dazzle in your new home.
With these strategies, you’ll dodge disasters, save time, and make unpacking feel like a breeze—almost like magic! Get ready to conquer your move and transform your kitchen into a haven of order and efficiency.