Step-by-Step Guide to Replace Your Kitchen Sink Faucet
Are you tired of dealing with a leaky or outdated kitchen sink faucet? You’re not alone—many people struggle with replacing faucets, but it’s a manageable DIY project.
With a few tools and some guidance, you can upgrade your kitchen faucet and improve your space.
To replace your kitchen sink faucet, start by turning off the hot and cold water shut-off valves, then drain any remaining water.
Use tools like a wrench and screwdriver to disconnect and remove the old faucet, and clean the area.
Install your new faucet, connect the supply lines tightly, and turn on the water to check for leaks.
If you want detailed steps and tips for a successful replacement, keep going.
Key Takeaways
- First, turn off the water supply valves and drain any remaining water before removing the old faucet. It’s a good idea to open the faucet to let out any leftover water.
- Next, disconnect the supply lines and remove the mounting hardware. This will allow you to lift out the old faucet easily.
- Now, position your new faucet onto the sink and make sure it’s aligned properly. Once in place, secure it firmly but don’t overtighten.
- After everything is tight, turn the water back on. Check for leaks and give the faucet a test run to make sure it works smoothly.
Tools and Materials Needed to Replace Your Kitchen Sink Faucet
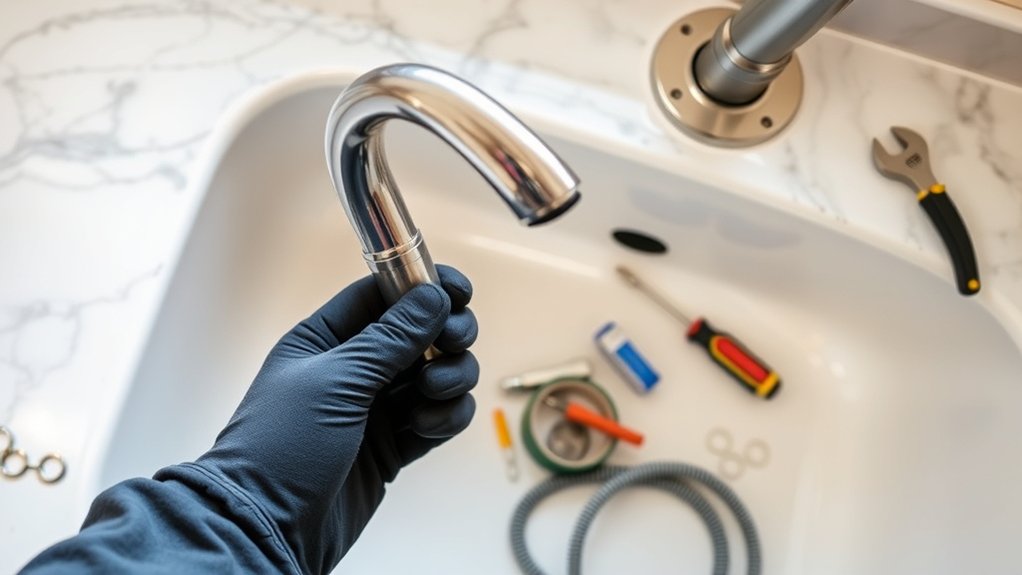
Before you start replacing your kitchen sink faucet, gather all the tools and materials you’ll need. An adjustable wrench or basin wrench is essential for loosening fittings.
Have a screwdriver, either Phillips or flat-head, ready for removing mounting screws. Keep a bucket or towel nearby to catch any water drips.
Plumber’s tape is useful for sealing connections, and don’t forget to have replacement O-rings and washers on hand for a tight fit. You might also need a utility knife to trim old sealant.
Make sure you have the new faucet, along with mounting hardware and supply lines. Having everything ready saves time and helps prevent frustration.
Check that all your tools and materials are in good condition before you begin. Being prepared makes each step in the replacement process smoother.
How to Turn Off Water and Prepare Your Sink Area
To start preparing your sink area, you need to turn off the water supply to prevent any leaks or flooding. Locate the shut-off valves beneath your sink—usually one for hot water and one for cold. Turn each valve clockwise until they stop; this cuts off water flow.
If your home has main water shut-off valves, you can turn those off instead. Once the water is off, open the faucet to drain any remaining water and relieve pressure. Clear out the area beneath the sink to give yourself room to work.
Place a towel or bucket underneath the pipes to catch any drips. Preparing the area guarantees a safer, cleaner process when removing your old faucet.
Removing Your Old Faucet Step by Step
Start by turning off the water supply to prevent leaks. Then, disconnect the plumbing connections attached to your faucet.
Next, loosen and remove the mounting nuts or screws securing the faucet to the sink. Once these steps are done, you can lift out the old faucet and get ready for the new one.
Turn Off Water Supply
Turning off the water supply is the first step before removing your old faucet. Find the shutoff valves under the sink that control the hot and cold water lines.
Turn each valve clockwise until they stop to shut off the water flow. If your sink doesn’t have shutoff valves, you’ll need to turn off the main water supply for your home.
Before moving forward, turn on the faucet to release any remaining water pressure and drain residual water from the lines. Double-check that no water will flow during removal.
These precautions help prevent water spills and potential damage. Once the water is off, you’re ready to safely disconnect the faucet from the plumbing.
Disconnect Plumbing Connections
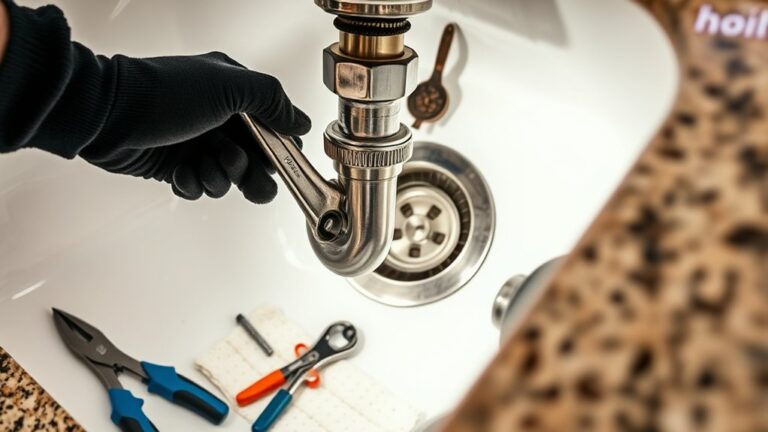
Begin by placing a bucket or towel underneath the plumbing connections to catch any residual water. Next, use an adjustable wrench to loosen the nuts securing the supply lines to the faucet.
Turn the nuts counterclockwise until they’re free, but don’t force them if they’re stuck—apply a little penetrating oil if needed. Once disconnected, gently wiggle the supply lines free.
If you encounter any stubborn fittings, use pliers carefully to avoid damaging the pipes. Keep track of the nuts and washers as you remove them—they’ll be useful during reinstallation.
Be prepared for some water to drain from the lines, so have your bucket or towel ready. With the plumbing connections disconnected, you’re ready to proceed to removing the faucet itself.
Remove Faucet Mounting
To remove your old faucet, find the mounting nuts under the sink that hold the faucet in place. Use a wrench to loosen and take off these nuts, usually by turning counterclockwise.
Keep a bucket or towel nearby to catch any water or debris that might drip down. Once the nuts are off, gently lift the faucet straight up from the mounting holes.
If the faucet is stuck, wiggle it slightly to loosen it. Be careful not to damage the sink or nearby fixtures.
After removing the old faucet, clean the mounting area thoroughly before installing the new one. Removing the hardware properly makes installing the new faucet much easier.
Cleaning and Inspecting Your Sink for a Smooth Installation
Before installing your new faucet, it’s important to thoroughly clean and inspect your sink to guarantee a smooth process. Start by removing any debris, grease, or soap scum from the basin and surrounding area using a mild cleaner and a scrub brush.
Check the sink’s surface for cracks, chips, or damage that could interfere with the installation or cause leaks later. Make sure the drain and supply lines are clean and free of buildup. Wipe down all surfaces to create a clean, dry workspace.
Inspect the mounting holes for any corrosion or debris, and clear them if necessary. Taking these steps helps prevent leaks, guarantees proper fitting, and makes the installation quicker and easier. A clean, undamaged sink sets the foundation for a successful faucet replacement.
Installing Your New Kitchen Sink Faucet
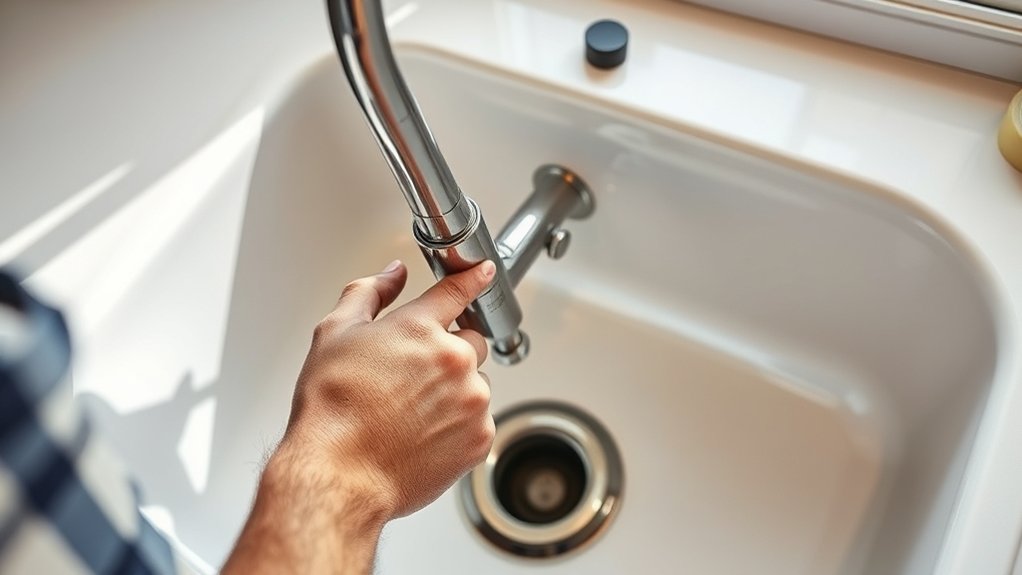
With the sink cleaned and inspected, you’re ready to start installing your new kitchen faucet. Begin by placing the faucet onto the mounting holes, making sure it’s aligned properly.
Secure it with the mounting hardware from underneath, tightening it firmly but not too much. Double-check that the faucet sits straight and level.
Use the table below to keep track of your steps:
| Step | Action |
|---|---|
| 1 | Position the faucet on the sink |
| 2 | Secure with mounting nuts underneath |
| 3 | Check that the faucet is level and aligned |
| 4 | Tighten all fittings securely |
Following these steps will give you a stable, leak-free installation, ready for the next connection.
Connecting Water Supply Lines and Checking for Leaks
Now, you’ll want to tighten the water line connections to prevent any leaks. Make sure everything is secure and snug but avoid over-tightening.
Once everything is connected, turn on the water supply and carefully look for drips or moisture around the fittings.
If you notice any leaks, just tighten the connections a bit more. Then, test the faucet to make sure it’s working properly.
Securing Water Line Connections
Once you’ve connected the water supply lines to your new faucet, it’s important to tighten the connections to prevent leaks. Start by hand-tightening the nuts on each connection, making sure they’re snug but not overtightened, which could damage the fittings.
Next, use a wrench to give each connection an extra quarter turn. This helps ensure a good seal without risking any damage to the fittings. Finally, double-check that the supply lines aren’t twisted or kinked, as that could cause issues later.
To keep everything secure, follow these steps:
- Hand-tighten all nuts on the connections.
- Use a wrench for an additional quarter turn.
- Make sure the lines are straight with no kinks or twists.
Following these simple steps will help keep your connections secure and reduce the risk of leaks or water damage.
Testing for Leaks
After securing the water line connections, it’s time to check for leaks and make sure everything is sealed properly. Turn on the water supply valves slowly, watching the fittings closely.
Look out for drips or moisture around joints. Use a dry cloth to wipe the connections and see if any water appears. If you notice leaks, gently tighten the fittings until they’re snug.
Here’s what you might see during testing:
| Leak Indicator | Action to Take |
|---|---|
| Dripping water | Tighten fittings slightly |
| Moisture buildup | Check for loose connections |
| Hissing sounds | Verify proper sealing |
| No water flow | Check shut-off valves |
| Water pooling | Inspect for cracks or damage |
Perform these checks for a few minutes to make sure everything is secure and leak-free.
Final Tips for a Proper Faucet Function
To make sure your new faucet works well and lasts a long time, double-check all connections for tightness and leaks before finishing the installation. Once everything is secure, follow these tips for the best performance:
Ensure all connections are secure and leak-free for optimal faucet performance and longevity.
- Test water flow and temperature. Turn on the faucet and check that the water flows smoothly and the temperature adjusts correctly.
- Inspect for leaks. Look underneath the sink and around all connections for any signs of dripping or moisture.
- Regular maintenance. Clean the aerators and cartridges now and then to prevent buildup and keep everything functioning smoothly.
Troubleshooting Common Faucet Replacement Issues
Even with careful installation, you might run into issues when replacing your faucet. Leaks are common and usually caused by loose fittings or damaged washers. Check all connections and tighten them gently, being careful not to overtighten, which can cause damage.
If water keeps leaking, inspect the cartridge or O-rings for wear and replace them if needed. Low water pressure might be due to clogged aerators or supply lines. Remove and clean the aerator or check the shut-off valves for any blockages.
If the faucet isn’t turning on smoothly, the cartridge could be misaligned or faulty. Always make sure the water supply is fully turned on and that all connections are secure. Troubleshooting these common issues will help ensure your faucet works properly.
Frequently Asked Questions
How Long Does a Kitchen Sink Faucet Replacement Typically Take?
Replacing a kitchen sink faucet usually takes about 1 to 2 hours, depending on your experience and the faucet’s complexity. If you’re familiar with plumbing, it might go faster.
But if you run into stubborn fittings or need to turn off water supply lines carefully, it could take a bit longer. Make sure you have all your tools ready beforehand.
This way, you’ll avoid delays and make the replacement process smooth and efficient.
Can I Replace My Faucet Without Professional Plumbing Experience?
You can definitely replace your faucet without professional plumbing experience. It’s often said, “Practice makes perfect.”
Start by gathering the right tools and carefully following a step-by-step guide.
Take your time and don’t rush through the process. If you run into unexpected issues, seek advice or consider calling a pro.
With patience and attention, you’ll learn new skills and successfully complete the job, saving money while gaining confidence in your DIY abilities.
What Are Signs My Faucet Needs Immediate Replacement?
You should replace your faucet immediately if it leaks constantly despite tightening or if you notice persistent drips, as they waste water and increase your utility bills.
Also, if the handle becomes difficult to turn or if the faucet is corroded, cracked, or shows signs of rust, it’s time for a replacement.
These issues can lead to further damage or water damage, so addressing them promptly is essential.
Are There Eco-Friendly Faucet Options Available?
Yes, eco-friendly faucet options are available. You can choose faucets with WaterSense labels, which use at least 20% less water without sacrificing performance.
Look for models with aerators that reduce water flow or those made from sustainable materials like recycled metal or eco-friendly plastics. Installing a low-flow faucet helps conserve water, saves money on your utility bills, and reduces your environmental impact.
How Do I Prevent Future Leaks After Installation?
To prevent future leaks after installation, make sure you tighten all connections securely but don’t overtighten, as that can damage seals.
Check the fittings to ensure proper alignment, and replace any worn washers or O-rings as needed. Regularly inspect your faucet for signs of leaks or drips, and fix issues quickly when you notice them.
Using plumber’s tape on threaded connections can also help create a watertight seal and prevent leaks over time.
Conclusion
With these simple steps, securing a sink that’s sleek and sound, you’ll save time and handle problems with confidence. Grab your tools, stay focused, and enjoy the process.
Patience and precision are key to preventing issues and ensuring everything fits perfectly. Take your time and follow each step carefully.
So, dive into this DIY project with enthusiasm and care. You’ll end up with a faucet that works flawlessly and enhances your kitchen’s great look.
Enjoy the satisfaction of a job well done. Happy fixing!