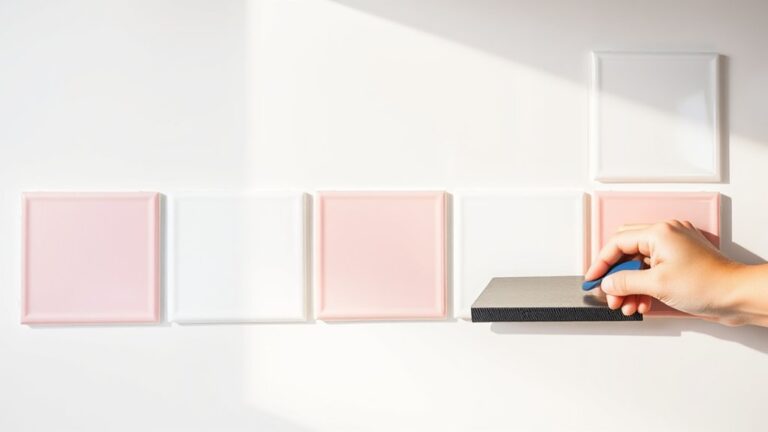
Step-by-Step Guide to Installing a Kitchen Backsplash
Thinking about updating your kitchen with a new backsplash? You’re not alone—many homeowners find the process exciting but also a bit overwhelming.
Choosing the right materials and getting everything just right can feel like a big task, but don’t worry.
To install a kitchen backsplash, start by choosing your material based on style and cleaning habits.
Prepare the surface by cleaning and patching any cracks. Measure carefully, then lay out your tiles to plan the pattern.
Cut tiles precisely using safety gear, and apply adhesive with a notched trowel before setting tiles and using spacers.
Finish with grout, sealant, and regular cleaning to keep it looking fresh.
Continue exploring each step for a smooth, professional result.
Key Takeaways
- Measure the backsplash area carefully and plan your tile layout before you start cutting or sticking anything.
- Make sure the surface is spotless by cleaning it thoroughly. Fix any cracks and remove dust so the tiles stick properly.
- When cutting tiles, use the right tools like a tile cutter or wet saw. Measure and mark everything carefully so your cuts are precise.
- Spread the adhesive evenly with a notched trowel. Then press the tiles firmly into place, using spacers to keep the joints even.
- Once the tiles are set, seal the grout and any porous surfaces. Clean the backsplash regularly to keep it looking fresh and ensure it lasts a long time.
Explore Your Kitchen Backsplash Options and Materials
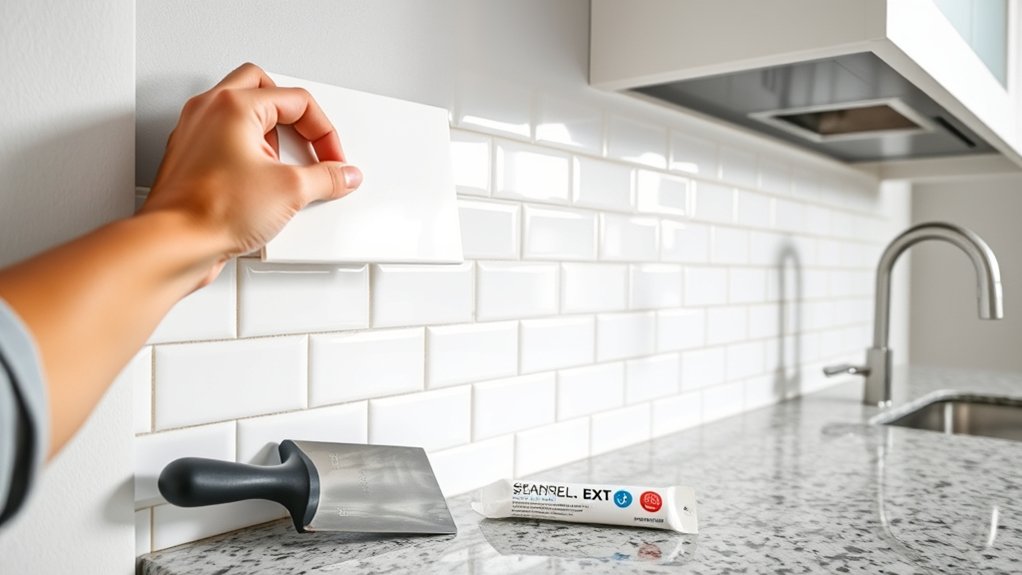
When exploring your kitchen backsplash options, it’s important to think about both style and function. Consider how the material will match your overall kitchen look and hold up to daily use.
Ceramic and porcelain tiles are popular choices because they’re durable, easy to clean, and come in lots of colors and patterns. Glass tiles give a sleek, modern vibe and bounce light around, making your space feel brighter.
Natural stone like granite or slate offers a timeless, textured look, but keep in mind you’ll need to seal it to prevent stains. Metal backsplashes, such as stainless steel, give a contemporary touch and are highly resistant to moisture and heat.
Natural stone adds timeless texture but requires sealing; stainless steel offers sleek durability against moisture and heat.
Think about your lifestyle and cleaning habits to pick a material that looks great and meets your practical needs.
Prepare Your Surface for a Flawless Installation
Before you install your backsplash, make sure to clean the surface thoroughly to get rid of dust and grease.
Check for any cracks or holes and fix them so you have a smooth, even base to work with.
Doing these simple steps will help your backsplash look great and stay securely in place.
Clean Surface Thoroughly
Start by thoroughly cleaning the surface to guarantee a strong bond for your backsplash. A clean, dust-free surface makes sure the adhesive sticks properly and your tiles stay in place.
Grab a mild detergent or an all-purpose cleaner and wipe down the entire area, removing grease, grime, and residue. Rinse with water and dry completely to prevent moisture from causing issues later.
Feel confident knowing your effort creates a flawless foundation. Remember, a spotless surface:
- Eliminates bubbles and uneven spots
- Prevents tiles from slipping or falling
- Guarantees long-lasting adhesion
- Gives you peace of mind for a professional look
Taking the time to clean meticulously makes all the difference. Your backsplash will look stunning and last for years to come.
Repair Surface Imperfections
Even the tiniest surface imperfections can affect how your backsplash looks in the end. It’s important to fix them before moving forward. Fill cracks, holes, and dents with a good-quality spackle or filler.
Once dry, sand the area smooth. Make sure the surface is even and clean. Smoothing out imperfections helps the paint or tiles stick better and gives a sleek, professional look.
Use a putty knife for precise application, and don’t rush the drying time. For stubborn bumps, reapply filler and sand again. Keep your workspace dust-free to prevent debris from settling into the surface.
Here’s a quick overview:
| Imperfection Type | Repair Method | Drying Time |
|---|---|---|
| Cracks | Spackle & Sand | 1-2 hours |
| Dents | Filler & Sand | 1-3 hours |
| Holes | Patch & Sand | 2-4 hours |
| Bumps | Reapply & Sand | 1-2 hours |
Figure Out Your Backsplash Layout and Measurements
Determining your backsplash layout and measurements is a key step that helps everything go smoothly. Take your time to picture the final look and double-check your measurements are accurate. Measure the area carefully, including outlets or fixtures, and write down all the numbers.
Think about the pattern you want—whether it’s classic brick, herringbone, or staggered grid—to create a balanced design. Make sure your tiles will fit well without awkward cuts or gaps.
Feeling confident about your plan means fewer mistakes and less waste. You’ll enjoy seeing your vision come to life and look forward to your beautiful, personalized space.
Preparing everything carefully helps avoid stress and makes the installation more enjoyable.
Cut and Handle Tiles Safely and Accurately
Handling tiles carefully and accurately is essential to achieving a professional-looking backsplash. Start by wearing safety goggles and gloves to protect your eyes and hands.
Measure and mark your tiles precisely using a ruler and pencil, especially for cuts around outlets or edges. Use a straightedge or tile cutter for straight cuts, applying steady pressure to avoid chipping.
For intricate cuts or curves, switch to a wet tile saw or tile nippers. Always support the tile properly to prevent slipping or breaking. Keep your workspace clean to avoid debris that could cause mistakes.
Take your time with each cut, double-check measurements before cutting, and handle each tile gently to keep it in pristine condition. This careful approach guarantees a seamless, professional finish.
Apply Adhesive and Set Your Tiles Properly
Before you start setting your tiles, make sure to prepare the adhesive properly to ensure a strong bond.
When applying the adhesive, work in small sections to keep things manageable and prevent it from drying out too quickly.
Carefully place each tile, checking for even spacing to create a smooth, professional-looking backsplash.
Preparing the Adhesive Properly
To guarantee your tiles stick securely and look professional, it’s essential to prepare the adhesive correctly. Start by choosing the right type of adhesive for your tile material and surface.
Mix the adhesive according to the manufacturer’s instructions, ensuring a smooth, workable consistency. Proper mixing prevents weak spots and guarantees strong bonding. Keep the adhesive covered as you work to prevent it from drying out.
Remember, patience is key. Using the right amount and applying it evenly makes a big difference.
Feel confident knowing you’re creating a solid foundation for your beautiful backsplash. Avoid future cracks or tiles coming loose.
It also saves you time by preventing rework or adjustments. Plus, you’ll enjoy the satisfying progress as your project takes shape.
Ensuring Even Tile Placement
Once your adhesive is prepared and ready, it’s time to focus on placing your tiles evenly. Start by applying the adhesive with a notched trowel, working in small sections.
Press each tile firmly into the adhesive, twisting slightly to ensure good contact. Use tile spacers consistently to keep the gaps between tiles uniform.
Regularly check your work with a level to keep tiles straight and flat. Adjust tiles as needed before the adhesive sets. If you notice any unevenness, lift and reposition tiles quickly.
Keep a damp sponge nearby to wipe away excess adhesive right away. Taking your time during this step helps make your backsplash look professional and stay solid.
Doing it right now saves you from fixing problems later.
Grout and Seal for a Professional Finish
Applying grout and sealing your backsplash are key steps that give your project a polished, professional look. Proper grouting fills gaps, strengthens the installation, and enhances the overall appearance.
Use a rubber float to spread the grout evenly, pressing it into the joints. Wipe away any excess grout with a damp sponge before it dries.
Once the grout is dry, apply a high-quality sealant to protect against moisture, stains, and mold. Sealing helps keep your backsplash looking great and makes cleaning easier.
Feel confident in your work as you:
- Achieve a seamless, clean finish
- Protect your investment from water damage
- Improve the durability of your backsplash
- Enjoy a sleek, professional kitchen look
Fix Common Backsplash Installation Problems
Even with careful planning, installation problems can still come up during your backsplash project. You might notice uneven tiles, gaps, or adhesive oozing out.
To fix uneven tiles, gently tap them with a rubber mallet to level them or remove and reposition if needed. For gaps, add more grout or use color-matched caulk to fill them securely.
If adhesive oozes out between tiles, wipe it off right away with a damp sponge before it dries. Smooth the joint for a clean look. Sometimes, tiles crack or break; in that case, carefully remove the damaged tile and replace it with a new one.
Always double-check measurements and alignment as you go to prevent issues from becoming major problems.
Care and Maintenance Tips for Your New Backsplash
After successfully installing your backsplash, keeping it looking its best is all about regular care and attention. Clean it gently with a soft cloth and mild soap regularly to preserve its beauty.
Avoid abrasive cleaners that can scratch or dull the surface. Wipe up spills immediately to prevent stains or damage, and use a soft brush or toothbrush to clean grout lines and corners.
If your backsplash is porous, seal the surface periodically to prevent stains and moisture buildup. Be cautious around harsh chemicals, as they can weaken the finish.
Feel proud every time you look at your spotless backsplash. Enjoy the confidence of a clean, fresh kitchen and protect your investment to keep it shining brightly.
Create a welcoming space for family and friends by maintaining your backsplash with care.
Frequently Asked Questions
What Tools Are Essential for Installing a Kitchen Backsplash?
You’ll need a few essential tools for installing a kitchen backsplash. Grab a tile cutter or wet saw for precise cuts, a level to keep your tiles straight, and a notched trowel for spreading adhesive evenly.
You’ll also want a rubber mallet, grout float, spacers, and a sponge for finishing touches. Don’t forget a drill with a mixing paddle if you’re mixing adhesive or grout, making the installation smoother and more efficient.
How Long Does a Typical Backsplash Installation Take?
A typical backsplash installation takes about one to three days, depending on your experience and the project’s complexity.
If you’re a beginner, expect it to take closer to three days, including prep, cutting, and grouting. More experienced DIYers might finish in just a day.
Factors like tile size, pattern complexity, and surface prep can influence the timeline. Planning ahead helps ensure you stay on schedule and complete the job efficiently.
Can I Install a Backsplash Over Existing Tiles?
Yes, you can install a backsplash over existing tiles, but you’ll want to make sure the old tiles are in good shape, firmly adhered, and flat.
Clean the surface thoroughly, removing any grease or grime. Using a primer can help the new adhesive stick better.
If the existing tiles are loose or damaged, it’s best to remove them first for a smooth, long-lasting finish.
What Is the Best Way to Clean and Maintain My Backsplash?
To keep your backsplash spotless, you should clean it regularly with a soft cloth and a gentle, non-abrasive cleaner. For example, imagine wiping down your backsplash after cooking, using a mixture of warm water and mild dish soap.
Avoid harsh chemicals that can damage surfaces. For stubborn stains, apply a baking soda paste and gently scrub.
Regular maintenance prevents buildup, keeps it looking new, and extends its lifespan.
How Do I Remove and Replace a Damaged Backsplash?
To remove a damaged backsplash, start by turning off the power and protecting your workspace. Use a utility knife to cut through caulk or grout around the tiles.
Gently pry the tiles off with a putty knife or crowbar. Make sure to clean the wall thoroughly before installing the new backsplash.
Measure and cut your new tiles, then apply adhesive. Set the tiles in place, making sure they’re level and secure.
Conclusion
With a little patience and attention to detail, you can transform your kitchen into a stunning space. Think of your backsplash as the finishing touch that quietly enhances your entire room’s charm.
When you approach each step with care, the process becomes less of a chore and more of a rewarding journey. Soon, your kitchen will whisper stories of your craftsmanship—an understated masterpiece that’s both beautiful and enduring.
Installing a kitchen backsplash is a great way to add personality and style. With the right tools and some guidance, you’ll have a professional-looking result that elevates your space.