7 Simple Steps to Sharpen Kitchen Knives
Many home cooks know the frustration of trying to chop, dice, or slice with dull kitchen knives. You’re not alone—keeping your knives sharp is a common challenge. Luckily, with a few simple steps, you can restore their edge and make cooking much easier.
To sharpen your kitchen knives, start by choosing the right sharpener, like a multi-stage or whetstone, based on your budget and knife type. Set up a clean, well-lit workspace with your tools within reach.
Before sharpening, wash and inspect the blade for dullness or chips. Keep a steady 20-degree angle as you sharpen and hone the edge with the appropriate tools.
Finally, test your knife’s sharpness safely. With proper care, your knives will stay in top shape—just keep practicing to learn more.
Key Takeaways
- Choose the right sharpening tool for your knife type and budget. Options include whetstones, honing rods, or electric sharpeners.
- Keep a steady 20-degree angle while sharpening. Use smooth, even strokes and avoid pressing too hard.
- Use your chosen sharpener to grind the blade. Start with the coarse side to shape the edge, then switch to the fine side to refine it.
- Check your progress by slicing through paper or a tomato. You want a clean, effortless cut.
- After sharpening, clean and dry your knife thoroughly. Store it properly to keep the edge sharp and prevent damage.
How to Choose the Right Knife Sharpener for Your Needs
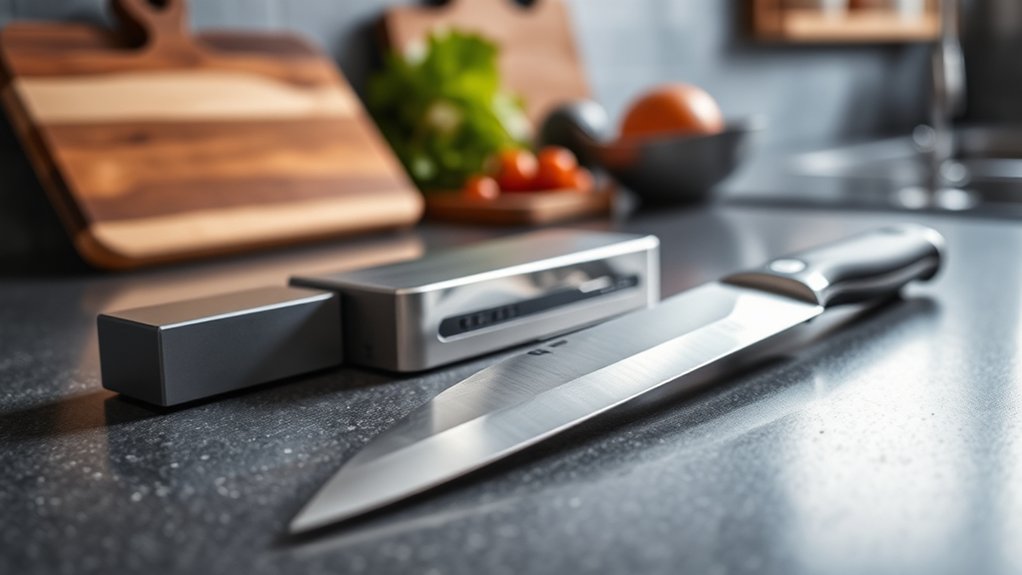
Choosing the right knife sharpener depends on your specific needs and the types of knives you use regularly. If you have a variety of knives, a versatile, multi-stage sharpener might be your best choice, offering both coarse and fine sharpening options.
Select a versatile, multi-stage sharpener for various knives to achieve precise coarse and fine sharpening.
For high-quality, expensive knives, consider a whetstone or honing rod. These tools give you more control and precision, helping you maintain your blades properly.
If you want quick results, an electric sharpener with preset angles can save you time. Just make sure it’s compatible with your knife types to avoid damage.
Think about the blade material too. Ceramic or delicate blades need gentle sharpening methods to keep them safe.
Your budget also matters. Manual sharpeners are often more affordable, while professional-grade tools might cost more but can deliver better results.
Matching your knives and sharpening style ensures safer, more effective maintenance, making your knives last longer and perform better.
Set Up Your Workspace and Gather Your Sharpening Tools
Before you start sharpening, set up a clean, well-lit workspace so you can stay organized and focused.
Make sure everything is tidy to help you work more efficiently and safely.
Gather all the tools you’ll need, like a sharpening stone or honing rod, so you don’t have to search for them later.
Having everything at hand makes the process smoother and more enjoyable.
Organize Your Work Area
Start by clearing a clean, well-lit workspace where you can comfortably work without interruptions. Arrange your sharpening tools within easy reach, like a sharpening stone, honing rod, or sharpening guide. Keep your knives nearby, making sure they’re clean and dry.
Clear away anything that could distract or clutter your area, such as cutting boards, utensils, or other items. Use a non-slip mat or towel to stabilize your workspace and prevent slipping.
Organize your tools in a logical order so you don’t waste time searching during sharpening. Having everything set up and within reach helps you stay focused and efficient.
A tidy, organized area minimizes accidents and makes the process smoother, ensuring you sharpen your knives safely and effectively.
Select Proper Sharpening Tools
To effectively sharpen your knives, you need the right tools on hand. First, choose a sharpening stone or whetstone suited for your knife’s steel and sharpening needs. Look for a stone with a grit rating appropriate for your skill level—coarse grit for dull blades, fine grit for honing and finishing.
You might also want a honing rod for quick touch-ups. Keep a spray bottle of water or honing oil nearby, depending on your stone type, to lubricate and reduce debris buildup. Quality sharpening tools guarantee a smooth, effective process and help preserve your knife’s edge.
Gather everything before you start so you can focus on sharpening without interruptions. Having the proper tools ready makes the entire process safer and more efficient.
Clean and Inspect Your Knife Before Sharpening
Before sharpening, make sure to clean your knife thoroughly to remove any food residue.
Next, carefully inspect the blade for chips, cracks, or any other damage that might get worse during sharpening.
Cleaning and checking for damage helps you get the best results and keeps you safe from accidents.
Check for Damage
Inspecting your knife for damage is an important step before sharpening. Hidden chips or cracks can affect the process and the final edge, so it’s good to catch them early.
Carefully examine the blade under good lighting, looking for any irregularities or signs of damage. Run your finger gently along the edge to feel for rough spots or nicks.
If you notice chips, cracks, or deep dents, it’s important to address these issues first. Otherwise, they might get worse during sharpening or cause uneven results.
A damaged blade can also be unsafe to handle. Take your time and inspect every part of the blade, paying special attention to the tip and edges.
Making sure your knife is free from damage will lead to a smoother, more effective sharpening process and a safer, sharper knife afterward.
Remove Residue Thoroughly
After checking for damage, it’s important to thoroughly clean your knife to remove any residue, dirt, or grease that can interfere with sharpening. Use warm water and a mild dish soap, gently scrubbing the blade with a soft sponge or brush.
Pay close attention to the edge and heel, where grime can hide. Rinse the knife well to make sure no soap remains. Dry it completely with a clean towel to prevent rust.
Once dry, inspect the blade closely for any remaining debris or damage. Removing all residue ensures your sharpening tools make proper contact with the edge, leading to a sharper, more precise knife.
This step guarantees a clean surface, setting the stage for effective sharpening and longer-lasting results.
Maintain the Correct Angle When Sharpening Your Knife
Maintaining the correct angle while sharpening your knife is key to getting a sharp and long-lasting edge. Usually, a 20-degree angle works well for most kitchen knives.
To find the right angle, hold the blade flat against the sharpening stone, then lift the edge about 10 degrees. Keep this angle steady throughout, visualizing a small, consistent tilt.
Hold the blade flat, then lift about 10 degrees and maintain the angle for a sharp, even edge.
Use smooth, even strokes and avoid pressing too hard. Pressing too hard can misalign the edge and make sharpening less effective. If you’re unsure, practice on an old knife first.
Consistency is crucial—changing angles often will give you uneven results. By sticking to the correct angle, you’ll end up with a fine, durable edge that slices effortlessly and minimizes blade damage.
Sharpen and Hone Your Knife With the Right Tools
Using the right tools is essential for effectively sharpening and honing your kitchen knife. A sharpening stone, ceramic rod, or electric sharpener are some of your best options.
A whetstone allows precise control and creates a sharp edge, but it requires some skill. A ceramic rod is great for honing and maintaining your edge between sharpenings.
Electric sharpeners are quick and convenient, making them ideal for everyday use. But they can remove more metal than necessary if you’re not careful.
Always choose tools suited for your skill level and knife type. Keep your tools clean and in good condition to guarantee excellent results.
Using the right tools correctly will make sharpening easier, safer, and more effective. This helps your knives stay sharp longer.
Test Your Knife’s Sharpness Safely and Effectively
How can you tell if your knife is truly sharp? The best way is to do a safe, simple test.
First, hold a piece of paper vertically and gently cut through it. A sharp knife will slice smoothly without tearing.
Next, try the “tomato test.” A sharp blade should easily pierce the skin of a ripe tomato with minimal pressure.
Finally, check the edge by gently running your fingernail perpendicular to it. A sharp edge will feel smooth, not jagged.
These methods give quick, reliable feedback without risking injury. Remember, always handle knives carefully during testing.
Ensuring your knife is sharp improves safety and efficiency in your kitchen. Regular testing keeps your blades in top shape for every meal prep.
How to Maintain and Care for Your Sharp Knife
A sharp knife is only as good as how well you care for it over time. To keep it in top shape, always hand wash your knife with warm water and mild soap, then dry it immediately.
A sharp knife needs proper care—hand wash, dry immediately, and handle with care for lasting performance.
Avoid putting it in the dishwasher because the harsh detergents and movement can dull or damage the blade. Store your knife properly in a knife block, magnetic strip, or protective sheath to prevent accidental damage.
Regularly inspect the blade for signs of dullness or chips, and hone it with a honing steel to realign the edge. Use a cutting board made of wood or plastic, and avoid glass or stone.
Proper maintenance not only prolongs your knife’s lifespan but also guarantees safe, efficient food prep every time.
Frequently Asked Questions
How Often Should I Sharpen My Kitchen Knives?
You should sharpen your kitchen knives every 1 to 2 months, depending on how often you cook and the type of knives you use.
If you notice the blades are struggling to cut or require more force, it’s time to sharpen.
Regular honing can help keep your knives sharp between sharpenings.
Keep an eye on how your knives perform, and don’t wait too long.
Dull knives are more dangerous and less effective, so stay on top of it.
Can I Sharpen Serrated Knives at Home?
Yes, you can sharpen serrated knives at home, but it’s a bit like trying to tame a wild horse. It takes patience and the right tools.
Use a specialized serrated knife sharpener or a honing rod designed for serrated edges. Carefully follow the manufacturer’s instructions, gently working through each groove.
If you’re unsure, it might be best to leave it to the pros. Their precision can turn a dull edge into a razor-sharp blade.
What Signs Indicate My Knife Needs Sharpening?
You’ll notice your knife needs sharpening if it struggles to cut through food smoothly or if you have to use more pressure than usual.
You might also see dull, rounded edges or tiny chips along the blade’s edge.
If your slices aren’t clean or your knife slips easily, it’s time to sharpen.
A dull knife makes cooking harder and can be dangerous, increasing the risk of slips and cuts.
Is It Safe to Sharpen Knives Without Gloves?
It’s not safe to sharpen knives without gloves because the blades are very sharp, and you risk cutting yourself. Wearing cut-resistant gloves gives you protection and helps you keep a firm grip, which reduces accidents.
If you don’t have gloves, make sure your hands are dry and steady, and always stay focused on what you’re doing. Safety should come first—taking precautions helps prevent injuries and keeps you safe while sharpening your knives.
How Long Does It Take to Sharpen a Dull Knife?
Ever wonder how long it takes to sharpen a dull knife? Usually, it takes about 5 to 10 minutes, depending on how dull the blade is and what sharpening method you’re using.
You might need more time if you’re working with a stone or honing rod, especially if the knife is very dull. Are you in a rush? Take your time for the best results to get a sharp, safe, and efficient knife.
Conclusion
Just like a master swordsman keeps their blade razor-sharp for battle, regularly caring for your kitchen knives ensures they’re always ready for the next culinary adventure.
By following these simple steps, you’ll turn your dull knives into precision tools, making everyday chopping more enjoyable and efficient.
Remember, a sharp knife is your trusted partner. Stay vigilant, maintain it well, and watch your cooking skills cut through any challenge with effortless grace.
Using a proper knife sharpener or honing rod regularly will help you keep your knives in top shape.
With these easy tips, you’ll always have sharp kitchen knives at your fingertips, ready for whatever you cook up next.