Replace Your Kitchen Sink in 7 Simple Steps
Are you tired of dealing with leaky, cracked, or outdated kitchen sinks? You’re not alone—many people struggle with figuring out how to replace their sink efficiently.
Luckily, tackling this project can be simpler than you think with the right steps.
To replace your kitchen sink in 7 simple steps, first identify signs you need a new one, like leaks or cracks.
Gather essential tools, including wrenches, a screwdriver, and a bucket.
Prepare your workspace by clearing the area and covering surfaces.
Turn off water, disconnect plumbing, and remove the old sink carefully.
Install the new sink, connect the plumbing, and test for leaks.
If you want detailed tips to tackle common problems, keep exploring this guide.
Key Takeaways
- Turn off the water supply, disconnect the plumbing, and carefully remove the old sink to avoid any damage.
- Clear the workspace of any clutter and cover nearby surfaces. This keeps everything safe and clean while you work.
- Unscrew the mounting hardware and gently lift out the old sink. Take your time to avoid damaging the surrounding area.
- When installing the new sink, apply sealant to ensure a good seal. Secure it firmly in place, then reconnect all plumbing fittings.
- Once everything is connected, turn the water back on and check for leaks. Adjust fittings if needed.
- Finally, test the new sink’s functionality and do any necessary maintenance to keep it working well.
Do You Need to Replace Your Kitchen Sink?
Have you noticed signs that your kitchen sink might need replacing? Cracks, chips, or persistent leaks are clear indicators that it’s time for a change.
If your sink stains easily or has a lingering odor even after cleaning, it’s a sign the material is deteriorating.
Constant clogs or slow drainage could point to underlying damage that’s hard to fix. Sometimes, your sink may no longer match your kitchen’s style or size needs, making replacement a good idea.
Persistent clogs or slow drains signal hidden damage; replacing your sink can restore function and style.
If repairs become frequent and costly, replacing the sink is more practical.
Pay attention to how your sink functions and looks—if it’s no longer performing or appealing, replacing it will improve both your kitchen’s appearance and usability.
Gather Tools and Materials for Replacement
Before you start removing your old sink, gather all the tools and materials you’ll need. Having everything ready beforehand makes the replacement go smoothly and saves you from delays.
Make sure you have basic tools like a wrench, screwdriver, and pliers, along with a bucket to catch water. You’ll also need materials such as a new sink, supply lines, and mounting hardware.
Double-check that you have all the parts before you begin. Here’s a quick list to help you get organized:
| Tools | Materials |
|---|---|
| Adjustable wrench | New sink and mounting hardware |
| Screwdriver | Supply lines |
| Pliers | Plumber’s putty |
| Bucket | Drain assembly |
Preparing your tools and materials in advance keeps the process efficient and straightforward.
Prepare Your Workspace for Installing a New Sink
To ensure a smooth sink installation, start by clearing and preparing your workspace. Remove any obstacles and protect nearby surfaces for safety and easy access. Begin by:
- Clearing the area of appliances, dishes, or clutter that might get in the way.
- Covering counters and cabinets with drop cloths or old towels to prevent damage.
- Placing a towel or bucket under the sink to catch any water drips.
- Making sure your lighting is good so you can see all connections clearly.
These steps help minimize mess and accidents. Once your workspace is clean and protected, you’ll be ready to work confidently and efficiently. Proper prep makes the whole process smoother and less stressful.
Remove Your Old Kitchen Sink Safely
Removing your old kitchen sink requires careful attention to safety and proper technique. First, turn off the water supply and disconnect the plumbing. Place a bucket underneath to catch any residual water.
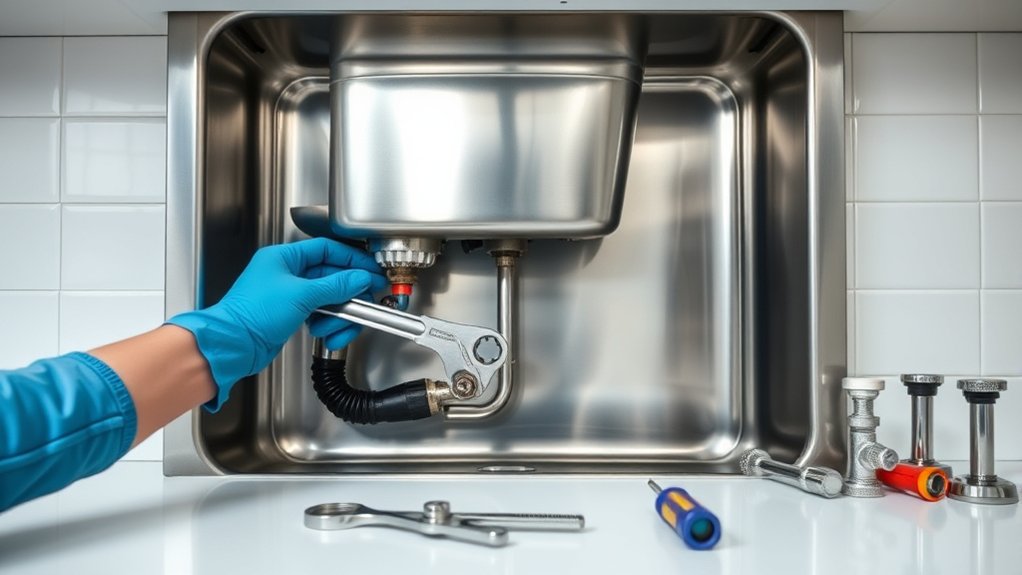
Use a wrench to loosen and remove the drain pipes and supply lines. If your sink is secured with clips or brackets, carefully unscrew or unclip them.
Next, loosen any mounting hardware or sealant holding the sink in place. Gently lift the sink out, working slowly to avoid damaging the countertop or surrounding surfaces.
Be cautious of sharp edges and debris. Once the sink is free, clear away any remaining caulk or adhesive.
Taking your time and following these steps guarantees a safe, damage-free removal process.
Install Your New Kitchen Sink and Connect Plumbing
Before installing your new sink, make sure the area is clean and the surface is level.
Next, connect the water supply lines securely to avoid any leaks.
Doing these steps will help ensure a smooth, leak-free plumbing connection.
Preparing the Sink Area
Once you’ve gathered all the necessary tools and supplies, you can start preparing the sink area for installation. Begin by clearing the countertop and removing the old sink.
Next, clean the countertop thoroughly to remove any debris or residue. Check the drain opening for damage or debris that could interfere with the new sink.
Apply a bead of plumber’s putty around the underside of the sink’s lip to create a watertight seal. Dry-fit the sink in its designated spot to ensure it fits properly and is aligned before securing it.
Following these steps will help make the installation smooth and prevent future leaks or issues. Proper preparation provides a solid foundation for connecting the plumbing later.
Connecting Water Supplies
To connect the water supplies to your new sink, start by turning off the main water valve and opening the faucet to drain any remaining water.
Next, attach the flexible hoses to the shutoff valves, making sure the hot and cold lines are matched correctly. Use an adjustable wrench to tighten the fittings securely, but don’t overtighten.
Double-check all the connections for leaks before turning the water back on. This way, you can be confident your water supplies are securely connected and leak-free.
Test for Leaks and Finish Up
After installing your sink, turn on the water and check for drips around the connections. Tighten any loose fittings to prevent leaks.
Make sure the water flows smoothly without any interruptions. Once everything looks good, clean up your workspace.
And that’s it—you’re all set!
Check for Drips
You should carefully check for drips or leaks once you’ve finished installing your new sink. To do this effectively, follow these steps:
- Turn on the water supply and run both hot and cold water.
- Watch all connection points, including underneath the sink, for any signs of dripping.
- Check the drain area for slow seepage or moisture.
- Wipe around fittings and joints to see if water reappears.
If you notice any leaks, gently tighten the connections. Be careful not to overtighten, as that can cause damage.
Once you’re confident there are no drips, turn off the water, dry the area, and clean up.
This way, you’ll make sure your installation is secure and leak-free before finishing up.
Tighten Connections Properly
Ensuring your sink’s connections are properly tightened is key to preventing leaks. Start by gripping each fitting firmly and tightening them by hand. Then, use a wrench to give an extra quarter turn, but don’t over-tighten, as that can damage the pipes or fittings.
Check all water supply lines and drain connections, making sure they’re snug but not forced. As you tighten, periodically look for any movement or gaps to ensure everything stays in place.
Once everything feels secure, double-check each connection. A tight connection helps prevent leaks and avoids future repairs. After tightening, you can move on to testing for leaks.
Properly tightened connections give you peace of mind that your new sink will stay dry and work properly.
Test Water Flow
Start by turning on the water supply and letting the sink run for a few minutes. Watch closely for leaks or drips around the connections. Once water flows steadily, check these key areas:
- Inspect all fittings and joints for any signs of water escaping.
- Run both hot and cold water to verify the valves work properly.
- Look under the sink for any moisture or puddles.
- Turn off the water and wipe down connections to confirm no leaks reappear.
If everything stays dry and water flows smoothly, your installation is successful. If you notice leaks, tighten fittings or recheck connections. Once confirmed, finish up by cleaning the area and removing tools.
Troubleshoot Common Kitchen Sink Replacement Problems
Replacing a kitchen sink can sometimes throw unexpected challenges your way, but catching common problems early can save you lots of time and frustration. Leaks are pretty common, so check the connections and tighten fittings if needed. If water isn’t draining well, inspect the P-trap for clogs or misalignment.
A loose or misaligned seal can cause odors or leaks, so reseal with plumber’s putty or silicone. Sometimes, the sink doesn’t sit flush with the countertop. In that case, double-check the cutout size and make sure the mounting hardware is secure. Follow this quick guide to troubleshoot typical issues:
| Problem | Cause | Solution |
|---|---|---|
| Water leaks around sink | Loose fittings or sealant | Tighten fittings, reseal |
| Poor drainage | Clogged P-trap | Clear or replace P-trap |
| Sink not flush with counter | Misaligned mounting hardware | Adjust hardware, reseal |
| Odors from drain | Poor seal or venting | Reseal or check venting |
| Faucet leaks | Worn washers or fittings | Replace washers or tighten |
Frequently Asked Questions
How Do I Choose the Right Kitchen Sink Size and Style?
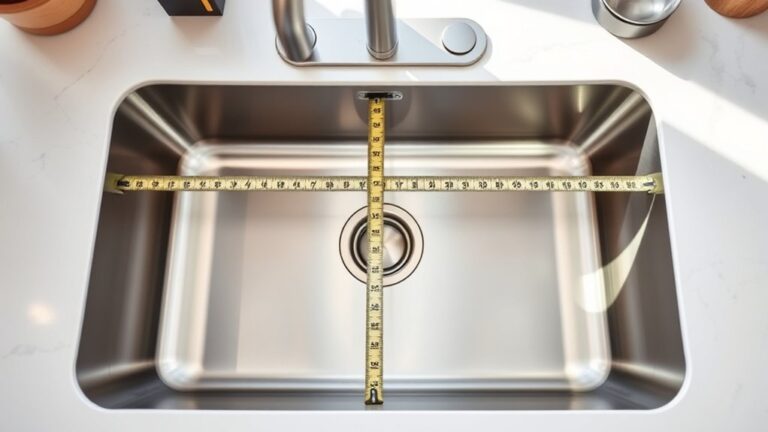
You should choose a kitchen sink size and style that fit your space and match your kitchen’s design. Measure your countertop opening carefully to guarantee a proper fit.
Consider your daily tasks. If you wash large pots often, go for a bigger, deeper sink. For style, pick a finish and shape that complement your cabinets and appliances.
Balance functionality with aesthetics to find the perfect match for your kitchen.
Can I Replace a Sink Without Professional Plumbing Skills?
You can definitely replace a sink without professional plumbing skills. About 70% of homeowners do DIY projects like this successfully, saving money and gaining confidence.
Start by turning off the water supply, disconnecting the plumbing, and carefully removing the old sink. Follow clear instructions and use the right tools.
If you stay patient and cautious, you’ll handle the task smoothly and enjoy the satisfaction of a job well done.
What Are Eco-Friendly Options for Kitchen Sinks?
You can choose eco-friendly kitchen sinks made from sustainable materials like bamboo, recycled glass, or reclaimed wood. Look for models with low water consumption features or those made from recycled metals.
Installing a water-saving faucet can also help reduce your water use. These options help minimize your environmental impact while keeping your kitchen stylish and functional.
Be sure to check product labels for eco certifications to guarantee you’re selecting truly sustainable choices.
How Long Does a Typical Kitchen Sink Replacement Take?
A typical kitchen sink replacement takes about 2 to 4 hours, depending on your experience and the complexity of the job. You’ll need to turn off the water, disconnect the plumbing, remove the old sink, and install the new one.
If you’re familiar with plumbing, it might be quicker. But if you run into unexpected issues, it could take longer. Planning ahead helps ensure a smoother, faster replacement process.
Are There Specific Cleaning Tips for New Sinks?
Think of your new sink as a blank canvas. Clean it thoroughly before use with mild soap and warm water to remove any manufacturing residues. Then, dry it with a soft cloth to prevent water spots.
Avoid harsh chemicals that could damage the finish. Regularly wipe it down after use to keep it looking its best.
Proper cleaning not only keeps it shiny but also makes sure it stays hygienic and attractive for years to come.
Conclusion
With a bit of bravery and basic tools, you can confidently banish your battered sink and bring in a new one.
Follow these simple steps, stay steady, and keep safety in mind. Soon, you’ll have a sparkling, sink-free space that’s spotless and satisfying.
Remember, patience and perseverance are key. Don’t panic if problems pop up along the way.
With a little effort, you’ll master the art of kitchen sink replacement and enjoy a fresh, functional space.