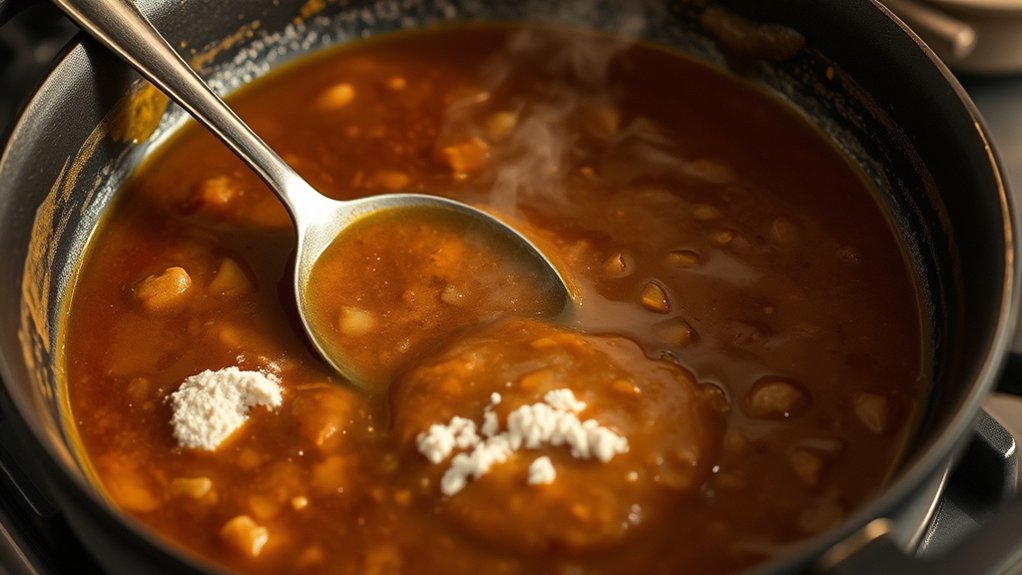
How to Make Beef Gravy From Beef Drippings in 8 Easy Steps
Cooking perfect beef gravy from beef drippings can feel tricky, especially if you’re new to it or trying to get that rich, silky texture everyone loves. Don’t worry, you’re not alone—many people struggle with turning drippings into flavorful gravy.
With a few simple steps, you’ll be able to create delicious gravy that elevates any meal.
To make beef gravy from beef drippings, start by collecting and straining the drippings after roasting your meat. Make a roux with equal parts fat and flour, then whisk in the drippings or broth to create a smooth base.
Deglaze the pan with beef broth or wine to add depth, then simmer and season your gravy to taste. Strain once more for a silky finish, adjust the thickness if needed, and serve.
If you continue exploring, you’ll learn even more tips to perfect your gravy.
Key Takeaways
- Collect and strain the beef drippings, keeping some fat and browned bits for flavor.
- Make a roux with equal parts fat and flour, cooking until golden.
- Gradually whisk in the strained drippings or broth to prevent lumps.
- Let the gravy simmer, adjusting the seasoning and thickness as needed.
- Strain it again if you want it extra smooth, then finish with a bit of butter or cream.
Serve hot over your favorite dishes and enjoy!
Why Beef Drippings Make Amazing Gravy
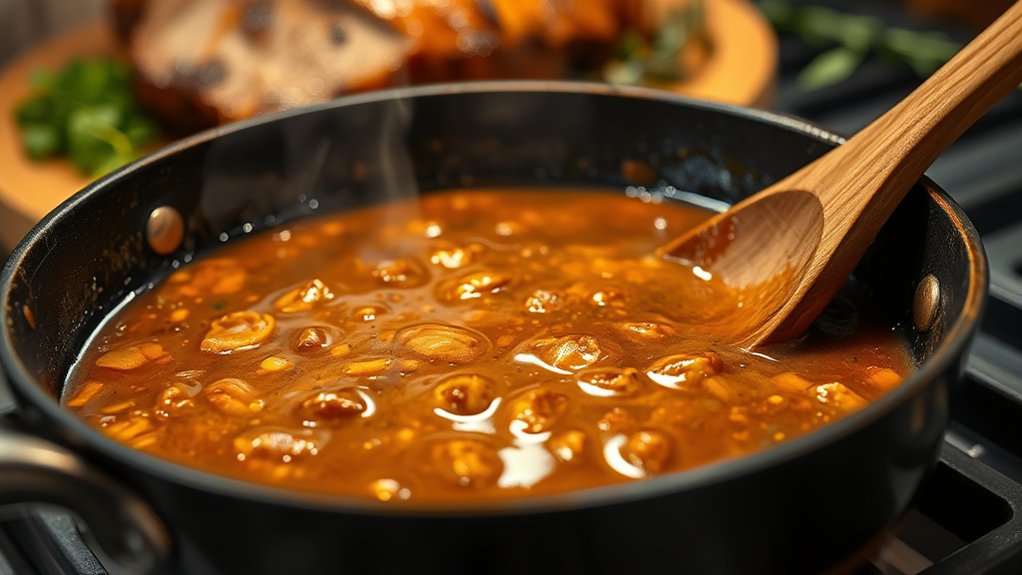
Beef drippings are the secret ingredient that gives gravy its rich, savory flavor. When you use drippings, you’re adding the natural juices and fats from the roasted meat, which really deepens the taste.
These drippings are packed with concentrated beef flavor, making your gravy taste more authentic and hearty. Instead of relying on store-bought broth or flavorings, the natural oils and juices from the meat provide a robust base.
Packed with rich beef flavor, drippings create authentic, hearty gravy from natural meat juices and oils.
Plus, the fats help create a smooth, velvety texture that coats your palate beautifully. Using beef drippings also guarantees your gravy is flavorful without needing a lot of extra seasoning.
This simple step transforms ordinary gravy into a rich, flavorful accompaniment that makes every bite of your roast or steak even better.
Prepare and Collect Your Beef Drippings
Choose a good-quality cut of beef for rich drippings, like a roast or ribeye. As the meat cooks, collect the juices in a pan, making sure to remove any excess fat.
Then, strain the drippings to ensure your gravy is smooth and free of solids. This helps create a flavorful, silky gravy with no unwanted bits.
Select the Right Cut
To make flavorful beef gravy, you need to start with the right cut of meat that will produce rich drippings. Opt for cuts like sirloin, ribeye, or chuck roast, which have good marbling and fat content. These cuts release more flavorful juices and fat during cooking, which is essential for a tasty gravy.
Avoid leaner cuts like round or round steaks, as they tend to produce less fat and flavor. When selecting your beef, think about how you’ll cook it—roasting or braising works best for these cuts to maximize drippings.
Freshness also matters; choose meat that’s bright in color and has a firm texture. The right cut guarantees you’ll gather plenty of flavorful drippings to turn into delicious gravy.
Collect Drippings Properly
Before removing the meat from the pan, let it rest for a few minutes to allow the juices to settle. This helps prevent too much liquid from spilling out when you lift the meat.
When you’re ready, transfer the beef to a cutting board or plate, leaving the pan drippings behind. Tilt the pan slightly and use a spoon or baster to remove excess fat, but don’t discard all of it—some fat adds flavor.
If there are large pieces of meat or browned bits stuck to the pan, keep them as they’ll enrich your gravy. Be gentle when collecting the drippings to avoid spilling or losing valuable juices.
Properly gathering these drippings guarantees you have a flavorful base for your gravy.
Strain for Purity
Pour the collected drippings through a fine-mesh strainer into a bowl or saucepan to remove any solid bits and fat clumps. This step guarantees your gravy will be smooth and flavorful.
As you strain, you’ll separate the pure beef drippings from unwanted debris, making your gravy richer and more refined. Use a spoon to press down on the solids, extracting every bit of liquid.
Once strained, discard the solids or save them for other recipes. Keep in mind these tips: use a heatproof bowl or saucepan for easy handling, strain while the drippings are warm for better flow.
Avoid pressing too hard to prevent forcing solids through the strainer. Pour slowly for a steady stream and reserve the drippings promptly to prevent spoilage.
This process ensures a silky, flavorful base for your gravy.
Make a Roux to Thicken Your Gravy
To thicken your gravy, you need to make a proper roux with equal parts fat and flour. Keep the mixture over medium heat and stir constantly until it reaches a smooth, golden color. This guarantees the right consistency.
Pay attention to cooking time and stirring technique to avoid lumps and achieve a silky, thickened gravy.
Proper Roux Consistency
Achieving the right consistency for your roux is key to thickening your gravy properly. A good roux should be smooth and have a paste-like texture that coats the back of a spoon without being too runny or too thick.
If it’s too thin, your gravy won’t thicken properly. If it’s too thick, it’ll be gloopy. To check, lift a small amount with a spoon—if it drips slowly and clings, it’s perfect.
Keep stirring consistently to avoid lumps and uneven cooking. Adjust the heat as needed—medium heat works best. Remember, a well-made roux is the foundation for a silky, flavorful gravy.
With these tips, you’ll get that perfect velvety consistency every time.
Cooking Technique Tips
Once your roux reaches the right consistency, it’s time to focus on cooking it properly. Keep the heat on medium-low to prevent burning and stir constantly.
Cook the roux for 2 to 3 minutes for a blonde or light roux, or longer if you prefer a darker flavor. This step removes the raw flour taste and helps develop depth.
Gradually whisk in your beef drippings or broth, pouring slowly to prevent lumps. Continue stirring as the mixture thickens, which should take about 3 to 5 minutes.
If the gravy gets too thick, add a bit more broth or water to loosen it. Proper cooking guarantees a smooth, flavorful gravy without any raw flour taste or lumps.
Deglaze the Pan for Maximum Flavor
After removing the cooked beef from the pan, pour a small amount of liquid—such as beef broth, red wine, or water—into the hot skillet. This helps lift the flavorful browned bits stuck to the bottom, known as fond, which are packed with taste.
As the liquid hits the hot surface, use a wooden spoon to scrape and loosen those bits. This allows their rich flavor to dissolve into the liquid and creates a concentrated base for your gravy.
To maximize flavor, use a flavorful liquid like red wine or beef broth. Scrape the pan thoroughly to release all the fond, then let the liquid simmer briefly to reduce.
Stir constantly to incorporate the flavors, and adjust seasoning after deglazing for the perfect taste.
Simmer and Season Your Beef Gravy
With the fond loosened and flavors concentrated in the pan, it’s time to let the gravy simmer and develop its depth. Keep the heat at a gentle simmer and stir occasionally to prevent sticking.
As it cooks, the flavors will meld and intensify, creating a rich, savory sauce. Taste the gravy periodically and adjust the seasoning with salt and black pepper as needed.
If you want more complexity, add a splash of Worcestershire sauce or a pinch of thyme. Simmer for 10 to 15 minutes, allowing the gravy to thicken slightly and flavors to deepen.
Don’t rush this step; patience guarantees a robust, well-rounded gravy. Once it reaches your desired consistency, it’s ready for the final touches or to serve immediately.
Strain and Finish for a Smooth Texture
To achieve a silky, smooth gravy, strain it through a fine-mesh sieve or cheesecloth right before serving. This step removes any cooked-on bits, fat clumps, or uneven textures, leaving you with a refined sauce.
Gently press the gravy with a spoon as you strain to extract maximum liquid. Afterward, return it to the heat briefly to adjust the consistency or flavor if needed.
For a glossy finish, whisk in a small pat of butter or a splash of cream. Keep these tips in mind: use a fine-mesh sieve or cheesecloth for best results, gently press to extract all liquid, and serve immediately for ideal texture.
Adjust the Thickness and Richness of Your Gravy
Once you’ve strained your gravy to get a smooth texture, you can adjust its thickness and richness to suit your taste or the dish you’re making. If it’s too thin, mix a small amount of flour or cornstarch with cold water to make a slurry.
Stir the slurry into the simmering gravy and cook until it thickens. For a richer flavor, add a splash of heavy cream, butter, or a bit of beef bouillon.
If your gravy gets too thick, thin it out with a little beef broth or water until it reaches the right consistency. Taste as you go and adjust seasonings if needed to make sure it complements your meal perfectly.
Serve and Enjoy Your Homemade Beef Gravy
After preparing your beef gravy, it’s time to serve and enjoy it alongside your favorite dishes. Pour the hot gravy over mashed potatoes, roasted meats, or steamed vegetables for added flavor.
Make sure to taste and adjust the seasoning if needed before serving. For a nice presentation, garnish with chopped herbs like parsley or thyme.
Keep the gravy warm until you’re ready to serve to prevent it from thickening or cooling down. You can also use it as a dipping sauce or drizzle it over sandwiches for extra richness.
Remember, serving the gravy at the right temperature enhances the flavor and texture. With your homemade beef gravy, every bite becomes more savory and satisfying.
Enjoy your delicious creation with family and friends!
Frequently Asked Questions
Can I Make Beef Gravy Without Pan Drippings?
Yes, you can make beef gravy without pan drippings. Start by melting butter in a saucepan, then whisk in flour to create a roux.
Gradually add beef broth or stock, whisking continuously to prevent lumps.
Simmer until the gravy thickens to your desired consistency.
Finally, season with salt, pepper, and any other spices you like.
This method gives you flavorful gravy even without the pan drippings.
How Long Does Homemade Beef Gravy Typically Last in the Fridge?
You can expect homemade beef gravy to last about 3 to 4 days in your fridge. It’s a coincidence that most leftovers have a similar shelf life, making it easy to plan your meals.
Keep it in an airtight container and reheat thoroughly before eating. If you notice any off smell or mold, it’s best to toss it out.
Always trust your senses to determine if it’s still safe to eat.
Can I Freeze Beef Gravy for Later Use?
Yes, you can freeze beef gravy for later use. Let it cool completely, then pour it into airtight containers or freezer bags.
Label and date them before placing in the freezer. Beef gravy can last for up to 3 months when frozen properly.
When you’re ready to enjoy it, thaw it in the refrigerator overnight and reheat on the stove, stirring well for a smooth, flavorful gravy.
What Are Some Common Mistakes to Avoid When Making Beef Gravy?
You should avoid skipping the roux, which helps thicken your gravy and keeps it from becoming too watery.
Be careful not to add cold liquids all at once, as this can cause lumps to form.
Over-salting is another common mistake—taste as you go to get the seasoning just right.
Also, don’t forget to stir constantly to prevent burning or sticking at the bottom.
Keep the heat moderate and simmer gently for smooth, flavorful gravy.
How Do I Keep Gravy From Becoming Too Greasy?
Did you know that too much fat can make gravy greasy? To keep that from happening, skim off the fat from the drippings before you make your gravy.
You can use a fat separator or just a spoon to remove the surface fat. Another trick is to refrigerate the gravy briefly and then skim off the hardened fat.
These simple steps help you get a rich, flavorful gravy without that greasy texture. Every bite will be just right!
Conclusion
Now that you’ve mastered making beef gravy from drippings, enjoy it warm over your favorite dishes. A little patience and attention to detail can turn simple ingredients into something truly special.
Remember, good things come to those who wait, so take your time to perfect each step. Your efforts will pay off with rich, flavorful beef gravy that elevates any meal.
With your newfound skills, every meal becomes a delicious celebration of your effort and culinary creativity. Making beef gravy from drippings is a simple way to add a homemade touch to your cooking.