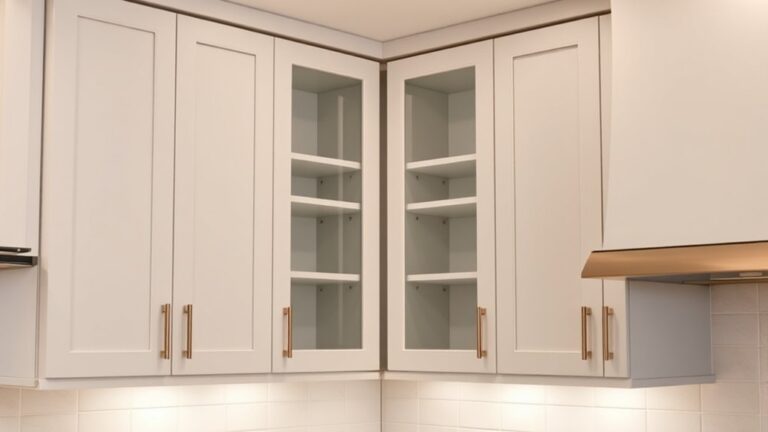
7 Essential Steps to Hang Kitchen Cabinets Like a Pro
Feeling overwhelmed by the idea of hanging kitchen cabinets? You’re not alone—many people struggle with getting them just right. The good news is, with a little guidance, you can achieve professional-looking results on your own.
To hang kitchen cabinets like a pro, start by preparing your workspace and gathering tools. Measure and mark your wall for the cabinet height and alignment.
Install support brackets and the cabinet frame securely into studs. Hang the cabinets, making sure they’re level, and attach screws to keep them firmly in place.
Adjust door hinges for a perfect finish and fix any common issues. Keep going to find out how to guarantee your cabinets are flawlessly installed.
Key Takeaways
- Prepare your workspace by clearing any obstacles and gathering all the tools you’ll need. This will make the installation process much smoother.
- Measure and mark a level line on the wall. This step is key to making sure your cabinets are aligned correctly.
- Install sturdy support brackets into the wall studs. Make sure they’re spaced evenly for maximum stability.
- Carefully hang the cabinets, checking that they’re level as you go. Fit them tightly together before securing them in place.
- Finally, adjust the doors and fix any issues like misalignment or sagging. This will give your cabinets a professional, polished look.
Preparing Your Kitchen and Gathering Tools for Hanging Cabinets
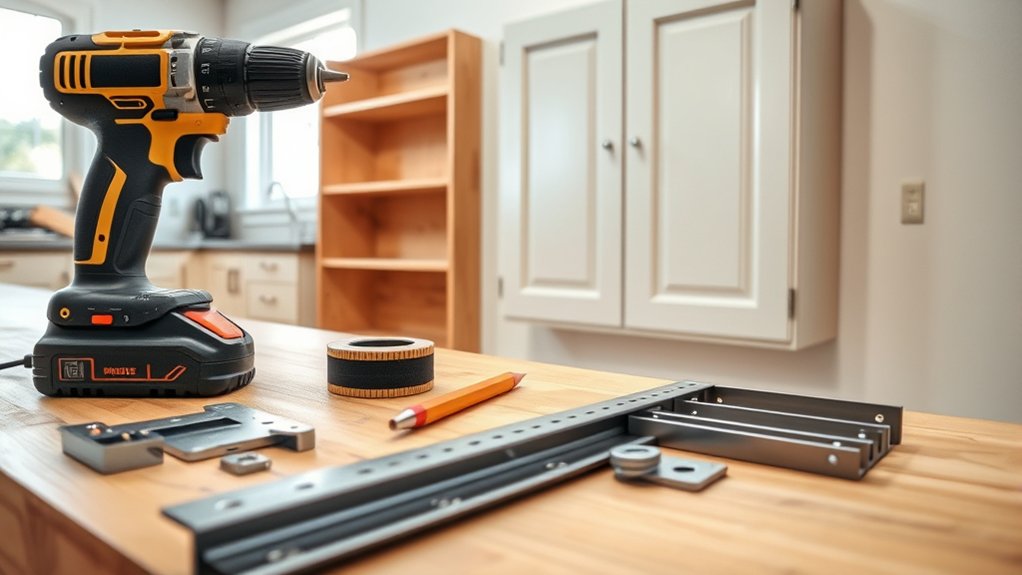
Before you start hanging your cabinets, you need to prepare your kitchen and gather all necessary tools. Clear the area where you’ll work, removing obstacles and protecting surfaces with drop cloths or newspapers.
Grab your essential tools: a drill, level, stud finder, measuring tape, screwdriver, and a pencil. You might also need a helper to hold cabinets steady.
Check that your cabinets are complete and undamaged. Confirm you have enough fasteners, like screws or brackets, suited for your wall type.
Organize everything where you can easily reach it. Preparing thoroughly saves time and prevents interruptions during installation.
With your workspace ready and tools at hand, you’re set to proceed confidently and guarantee a smooth, precise hanging process.
Measuring and Marking for Perfectly Aligned Cabinets
Start by marking a level line across the wall to check that your cabinets will be even. This helps ensure everything lines up properly from the start.
Next, use a measuring guide to mark precise points for your mounting brackets. Double-check all your measurements before you drill to avoid mistakes.
Taking this extra step might seem small, but it really pays off by helping you get a professional-looking finish without any headaches.
Marking the Level Line
To guarantee your cabinets are perfectly aligned, start by marking a level line on the wall as a guide. Use a chalk line or a level to draw a straight, horizontal line at the height where the bottom of your cabinets will sit.
Check that the line is level with a spirit level and make adjustments if needed. Double-check your measurements from previous markings to ensure the line’s accuracy.
This line will serve as your visual guide, helping you position the cabinets evenly. Keep your tools handy and work carefully to maintain precision.
Once marked, your level line provides a reliable reference. It’ll make hanging the cabinets smoother and help them look professional once installed.
Using a Measuring Guide
Using a measuring guide guarantees your cabinets are installed accurately and evenly. It helps you mark consistent points along your wall, making sure your cabinets line up perfectly.
Start by positioning the guide at your desired height, usually above the base cabinets or countertop. Use a level to ensure the guide is straight, then mark reference points along the wall.
These marks will serve as your guide for mounting brackets and cabinet edges. Double-check your measurements before making any marks to prevent mistakes later.
Keep the measuring guide steady while marking, and verify your markings are clear and accurate. Proper use of a measuring guide makes the whole process easier and results in a professional, symmetrical cabinet installation.
Double-Check Before Drilling
Once you’ve marked your reference points with a measuring guide, it’s important to double-check all your measurements before drilling. This step helps ensure your cabinets will be perfectly aligned and level. To do this, carefully:
- Re-measure the distance between your marks to confirm consistency.
- Use a level to verify that your markings are perfectly horizontal across the wall.
- Cross-check the height markings against your initial plan to confirm they match your desired cabinet placement.
Take your time with each step and don’t rush. Mistakes here can lead to crooked cabinets or uneven gaps. Double-checking now saves you from fixing misaligned units later, making your installation look professional and polished.
Installing the Cabinet Frame and Support Brackets
Start by positioning the cabinet frame against the wall at your marked line, ensuring it’s level and flush. Once aligned, attach support brackets to the wall, making sure they’re securely anchored into studs.
These brackets will hold the weight of the cabinets and keep everything stable. Attach the brackets to the top and bottom of the cabinet frame, using screws appropriate for your wall type.
Double-check that the frame remains level before fully tightening the brackets. If needed, make small adjustments to keep everything straight.
Support brackets should be spaced evenly, typically every 16 to 24 inches, to distribute weight evenly. Properly installing the frame and brackets now prevents sagging or shifting later on.
Hanging the Cabinets and Checking for Level
Start by marking the level line on the wall to make sure your cabinets hang straight. Then, install the support brackets along this line to hold the cabinets securely in place.
Finally, use a level to double-check that everything is perfectly aligned before fastening the cabinets fully.
Marking the Level Line
Before hanging the cabinets, you need to establish a precise level line as a guide. This line guarantees your cabinets are perfectly aligned and level. To do this, measure and mark the highest point on your wall where the cabinets will sit.
Then, follow these steps:
- Use a tape measure to find the desired height and mark a straight line across the wall.
- Attach a chalk line or use a level to draw a clear, straight line along your marks.
- Double-check the line with a level tool, confirming it’s perfectly horizontal and consistent across the entire wall.
This level line becomes your visual guide, helping you position the cabinets accurately and ensuring a professional, straight finish.
Installing Support Brackets
With your level line marked, you’re ready to install the support brackets that will hold your cabinets in place. Position each bracket along the line, making sure they’re spaced evenly and aligned with your markings.
Use a pencil to mark the screw holes through the brackets. Then, drill pilot holes into the wall at these points to prevent splintering. Secure the brackets with screws, making sure they’re flush against the wall.
These brackets will support the weight of your cabinets, so double-check their placement before tightening everything completely. Once all brackets are in place, you’re ready to hang the cabinets with confidence that they’ll be properly supported and level.
Proper installation of support brackets is key to creating a sturdy, professional-looking finish.
Verifying With a Level
Place your level along the support brackets or the top edge of the cabinets, making sure it’s centered and aligned with your markings. Once in place, check the bubble to see if the cabinets are perfectly horizontal.
If it’s off, loosen the mounting screws slightly and shift the cabinet until the bubble centers. To make sure it’s accurate, move the level across different points on the top edge of the cabinet.
Re-check after any adjustments to keep everything consistent. You can also use a second level for confirmation if needed.
This step ensures your cabinets sit straight, preventing gaps or unevenness. A level surface not only looks professional but also helps your installation last longer and work properly.
Securing Cabinets to the Wall and Connecting Them Properly
Securing your cabinets firmly to the wall is essential for safety and stability. First, locate wall studs with a stud finder and mark where they are.
Use a level to make sure the cabinets are straight before you start drilling. Attach the cabinets to the studs with screws that are usually 2.5 to 3 inches long, through the back panels or mounting strips.
Ensure cabinets are level before drilling and secure them to studs with 2.5 to 3-inch screws.
When connecting cabinets, push them tightly together. Secure the sides with screws or special connectors so they act as one unit.
Double-check the alignment and levelness after each connection to ensure everything lines up. Be careful not to over-tighten the screws, as this can damage the cabinets.
Properly securing and connecting your cabinets ensures they stay sturdy and safe for everyday use.
Adjusting Doors and Hinges for a Professional Finish
Once your cabinets are securely mounted, the next step is to make sure the doors hang evenly and open smoothly. Start by loosening the hinge screws slightly.
Next, adjust the hinges using the adjustment screws:
- Vertical screws to raise or lower the door so it lines up with neighboring cabinets.
- Horizontal screws to shift the door left or right for even gaps.
- Depth screws to control how far the door sits against the frame, avoiding gaps or overlaps.
After each adjustment, tighten the screws securely. Open and close the door several times to check the alignment. Repeat these steps until the doors look uniform and operate seamlessly.
Fixing Common Problems When Hanging Cabinets
Even with careful installation, you might run into common issues like uneven doors, misaligned cabinets, or gaps that won’t close. To fix these problems, try adjusting hinges, adding shims, or repositioning the cabinets.
Use simple tools like a level, screwdriver, and clamps to realign and stabilize everything. Here’s a quick guide to help you out:
| Issue | Solution | Tools Needed |
|---|---|---|
| Uneven doors | Adjust hinges or tighten screws | Screwdriver, hinge wrench |
| Misaligned cabinets | Shift the cabinet slightly or add shims | Level, shims, mallet |
| Gaps that won’t close | Check for warping or uneven surfaces | Sandpaper, clamps |
| Sagging shelves | Reinforce with brackets or supports | Brackets, drill |
| Loose screws | Tighten all screws and fittings | Screwdriver |
Address each problem quickly to keep your cabinets looking professional and working smoothly.
Frequently Asked Questions
How Do I Choose the Right Wall Anchors for Heavy Cabinets?
You should choose wall anchors based on the weight of your cabinets.
For heavy cabinets, go for heavy-duty anchors like toggle bolts or molly bolts that can handle more weight.
Always check the anchor’s weight capacity and match it to your cabinet’s weight to stay safe.
Also, think about the wall type—whether it’s drywall, concrete, or brick—and pick anchors made specifically for that surface for better stability.
What’s the Best Way to Hide Cabinet Mounting Hardware?
Ever wonder how to keep your kitchen looking sleek? The best way to hide cabinet mounting hardware is to install decorative covers or use hidden hinges so the hardware stays out of sight.
You can also use touch-up paint or wood filler over screw holes for a seamless look. Wouldn’t you love your cabinets to look flawless and professional without visible hardware clutter?
Just take your time and choose the right finishing touches.
How Can I Prevent Cabinets From Warping During Installation?
To prevent cabinets from warping during installation, store them in a dry, climate-controlled space beforehand. This helps avoid moisture buildup that can cause warping over time.
Use a level to check that the wall is even before hanging the cabinets. Secure them tightly to sturdy wall studs to keep everything in place and prevent shifting.
Be careful not to over-tighten the screws. Too much pressure can stress the cabinets and lead to warping.
Also, give the cabinets time to acclimate to the room’s humidity before installing. This helps reduce the risk of warping once they’re mounted.
What Are the Safety Precautions When Drilling Into Walls?
When drilling into walls, always wear safety goggles and a dust mask to protect your eyes and lungs.
First, check what type of wall you’re working with—drywall, plaster, or brick—so you can pick the right drill bit and anchors.
Keep your hands away from the drill bit’s path, and don’t try to force the drill if it’s not going in easily.
Before drilling, use a stud finder or scanner to make sure there are no electrical wires or pipes behind the wall.
How Do I Handle Uneven or Sloped Walls When Hanging Cabinets?
When dealing with uneven or sloped walls, start by measuring and marking the highest point of the wall. Use a level to draw a straight line across your marks.
Next, add shims behind the cabinets where needed to create a level surface. Secure the cabinets firmly to the wall, making sure they stay aligned with your level line.
This method helps your cabinets look straight, even on uneven walls.
Conclusion
Hanging kitchen cabinets might seem daunting at first, but with these steps, you’ll get a professional look in no time. Proper preparation and precise measurements are key to success.
Did you know that well-installed cabinets can boost your home’s value by up to 10%? Taking your time to secure and align everything correctly ensures a durable, polished finish.
With patience and attention to detail, you’ll end up with a beautiful, functional kitchen that’s both stylish and built to last. Mastering these steps for hanging kitchen cabinets will make your space look amazing and increase your home’s value.