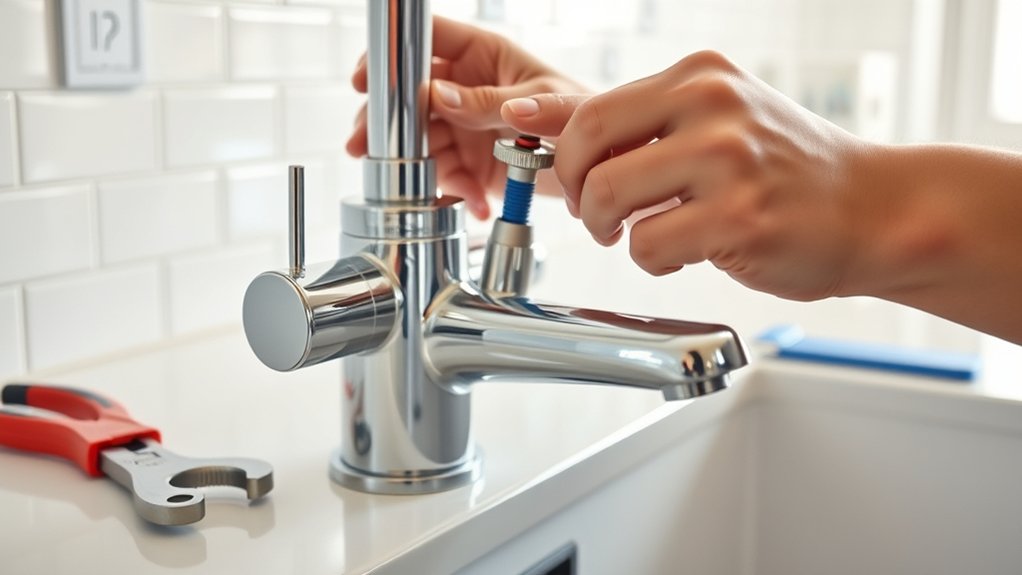
8 Simple Steps to Change Your Kitchen Faucet
If you’re like many homeowners, changing your kitchen faucet can feel daunting. The thought of dealing with plumbing issues might make you hesitate, but you’re not alone. Luckily, with a few simple steps, you can update your kitchen with confidence and ease.
To change your kitchen faucet, start by choosing a compatible, durable model and gather tools like an adjustable wrench and plumber’s tape. Turn off the water supply at the main or under the sink.
Remove the old faucet carefully, then prepare the new one with any needed parts. Install it securely, tighten connections, and then turn the water back on.
Finally, check for leaks and make necessary adjustments. Keep following these steps to do the job right and keep your faucet working smoothly.
Key Takeaways
- Turn off the main water supply and under-sink valves so no water flows while you’re working.
- Next, remove the old faucet by disconnecting the supply lines. Loosen the mounting nuts using the right tools.
- Take a moment to clean the sink area thoroughly. It makes installing the new faucet much easier and cleaner.
- Now, install your new faucet. Make sure all parts are aligned correctly and tighten everything well to prevent leaks.
- Once everything’s in place, turn the water supply back on. Check for any leaks and tighten connections if needed.
How to Choose the Right Kitchen Faucet
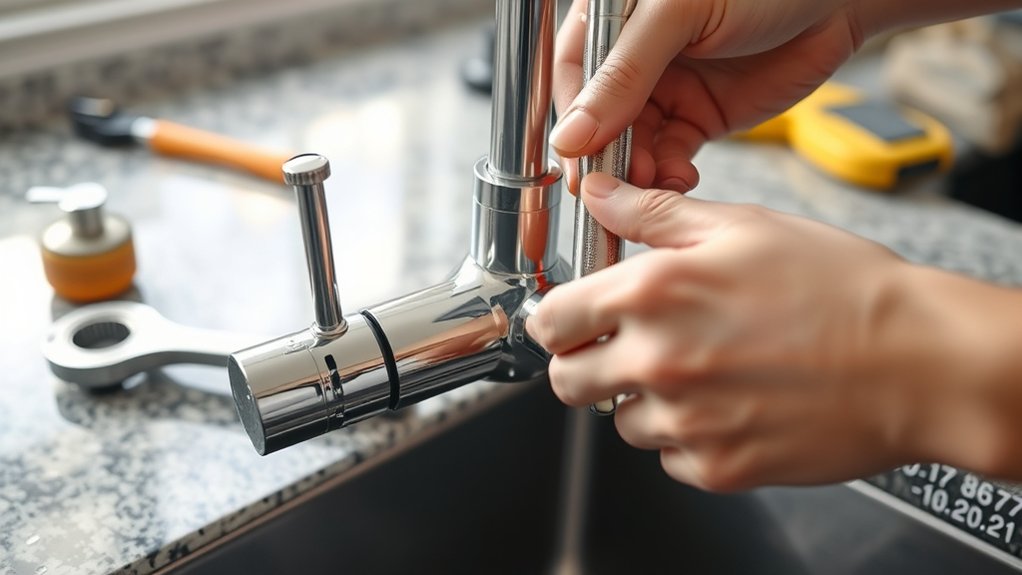
Are you unsure how to pick the perfect kitchen faucet for your needs? First, consider your sink setup and the faucet style that complements it. Measure the space to make sure the faucet will fit comfortably without crowding other fixtures.
Think about the features you want, like a pull-down sprayer, single or double handles, or touchless operation. Material matters too; stainless steel or brass resist corrosion and last longer.
Consider features like pull-down sprayers, single or double handles, and touchless options for lasting quality and convenience.
Match the finish with your kitchen’s decor—chrome, matte black, or brushed nickel. Budget is important, but prioritize quality to prevent having to replace the faucet often.
Finally, check user reviews for insights on durability and performance. Choosing the right faucet now can save headaches later and boost your kitchen’s style and function.
Gather Your Tools and Supplies
Before you start removing your old faucet, gather all the tools and supplies you’ll need for a smooth installation. You’ll want an adjustable wrench to loosen fittings, a basin wrench for tight spots, and a screwdriver if screws are involved.
Have a bucket or towel nearby to catch any water drips. Keep some plumber’s tape on hand to create a watertight seal. You might also need a utility knife for removing old caulk or sealant.
Check if you need new supply lines or replacement parts for your faucet. Having everything ready beforehand helps prevent delays and makes the process more efficient.
Double-check your faucet’s installation instructions so you know exactly what tools and supplies are required. Proper preparation helps you work confidently and finish the project smoothly.
Turn Off Your Water Supply Safely
First, find your main water valve and turn it off to stop the flow. Make sure to shut it properly so no water leaks out later.
Finally, double-check that the water has completely stopped before moving on.
Locate Main Water Valve
Locating the main water valve is an important step before turning off your water supply to replace your kitchen faucet. First, find where the main valve is usually located—often near the water meter, in the basement, or the utility room.
Turning off the main valve stops water to your entire home, helping prevent leaks or flooding. To make it easier to find, here’s a simple guide:
| Location | Description |
|---|---|
| Basement | Near the water meter or sump pump |
| Utility Room | Usually close to the water heater |
| Exterior | Outside wall, often near the foundation |
Once you’ve found and turned off the main valve, you’re ready to safely proceed with the faucet replacement.
Shut Off Supply Properly
After you’ve found the main water valve and turned it off, the next step is to shut off the supply to your kitchen faucet specifically. Locate the shut-off valves under your sink; these are usually small handles or knobs connected to flexible supply lines.
Turn them clockwise until they stop to shut off the water flow. Make sure both the hot and cold valves are fully closed. If you can’t find the individual valves or they’re stuck, you may need to shut off the main water supply instead.
Before proceeding, double-check that no water is flowing by turning on the faucet slightly. This helps verify that all water has drained, preventing leaks or spills when you remove the faucet.
Confirm Water Is Off
To confirm that the water is fully off, turn on the faucet slightly and see if any water comes out. If water keeps flowing, the shut-off valves aren’t fully closed, and you should tighten them more. This step helps prevent leaks and water damage when replacing your faucet.
Check both the hot and cold valves and turn each one clockwise until tight. If the valves are stuck, use a cloth or tool to help turn them. Afterward, reopen the faucet slightly to test if water flows.
Make sure no water comes out when the faucet is off. Double-checking like this ensures a safe, leak-free process. It’s always better to be cautious and avoid surprises once you disconnect the old faucet.
Remove the Old Faucet Step-by-Step
Before removing your old faucet, turn off the water supply valves under the sink to prevent any leaks.
Next, disconnect the water supply lines using an adjustable wrench. Keep a bucket nearby to catch any remaining water that might drip out.
Use an adjustable wrench to disconnect supply lines, and keep a bucket ready for drips.
Once the lines are free, locate the mounting nuts holding the faucet in place. Use a basin wrench or socket wrench to loosen and remove these nuts.
Gently lift the old faucet straight up and out of the sink. If it’s stuck, wiggle it gently or use a putty knife to loosen any sealant.
Be careful not to damage the sink surface while doing this.
After taking out the old faucet, clean the area thoroughly before installing the new one.
Prepare Your New Faucet for Installation
Once you’ve removed the old faucet and cleaned the area, it’s time to prepare your new faucet for installation. Start by inspecting the new faucet for all necessary parts and hardware.
Make sure the mounting hardware matches your sink’s setup. If your faucet has flexible supply lines, check their length and compatibility with your water supply.
Wrap plumber’s tape around the threaded connectors to prevent leaks. Double-check that the mounting bracket is secure and correctly aligned.
Test the faucet to ensure all parts are present and working properly. Finally, read the manufacturer’s instructions to get familiar with any specific setup steps.
Install Your New Kitchen Faucet
Before you start installing your new faucet, make sure the water supply is turned off.
Carefully remove the old faucet, then place the new fixture in position.
Secure the new faucet tightly to prevent leaks and ensure it’s properly aligned.
Turn Off Water Supply
To safely install your new kitchen faucet, you need to turn off the water supply first. This stops water from spraying everywhere and prevents flooding your sink area.
Locate the shut-off valves under your sink—usually small knobs or levers near the pipes. Turn these clockwise to stop the water flow. If you can’t find the valves, shut off the main water supply to your home.
Before you proceed, open the faucet to drain any remaining water in the lines. Remember, working with the water turned off keeps your workspace dry and safe.
Quickly identify the shut-off valves and make sure the water is fully shut off. Use the right tools for turning the valves. Confirm no water flows before you start working.
It’s a good idea to have a towel ready for any drips or leaks that might happen.
Remove Old Faucet
Grasp the old faucet firmly and carefully loosen its mounting nuts or screws with a wrench or pliers. Be prepared for some resistance since these fittings can be tight from years of use.
Once the nuts or screws are free, gently lift the faucet away from the sink. Check for any remaining clips or connections and remove them.
Be cautious of water or debris that might fall during removal. If the faucet doesn’t lift easily, wiggle it gently to loosen any adhesive or stubborn fittings.
Keep a towel nearby to catch any residual water, and set the old faucet aside once it’s completely detached. This clears the way for installing your new fixture.
Secure New Fixture
With the old faucet removed, it’s time to fasten the new fixture in place. First, place the new faucet into the mounting holes, making sure it’s aligned properly. Tighten the mounting nuts by hand to hold it steady, then use a wrench to secure them fully. Don’t overtighten, or you might crack the fixture.
Check that the faucet is level and firmly attached before moving on. Use a basin wrench for tight spots and hand-tighten before using the wrench. Make sure the washers and gaskets are in place to prevent leaks.
Following these steps guarantees your faucet is secure, leak-free, and ready for testing. Proper installation now ensures your new faucet functions smoothly for years to come.
Test for Leaks and Make Adjustments
Turn on the water supply and run the faucet to check for leaks. Watch carefully around the base, connections, and underneath the sink. If you see dripping or water seeping, tighten the connections a little, but don’t over-tighten, as that can cause damage.
Check the handles and spout for drips when the faucet is both on and off. If leaks continue, make sure all fittings are secure and properly sealed. Also, verify that washers and gaskets are correctly positioned and intact.
Run the water for a few minutes to see if leaks appear during use. Making these adjustments early on can prevent water damage and save you from future repairs. Once everything feels tight and dry, you’ve successfully tested your faucet for leaks.
Maintain and Clean Your Kitchen Faucet
Regular maintenance and cleaning help keep your kitchen faucet functioning smoothly and looking its best. To ensure it lasts longer, wipe down the faucet regularly with a soft cloth to remove fingerprints and water spots.
Use a mild cleaner or a vinegar solution to break down mineral deposits and soap scum. Check and replace aerators or cartridges if the water flow decreases. Keep drain screens clear to prevent clogs, and inspect for leaks or drips to catch issues early.
Wipe with a soft cloth daily. Use vinegar for mineral buildup. Replace worn-out parts promptly. Clear drain screens regularly. Check for leaks once a month.
Frequently Asked Questions
How Long Does a Typical Kitchen Faucet Installation Take?
Typically, installing a kitchen faucet takes about 1 to 2 hours. You’ll need some time to shut off the water, remove the old faucet, prepare the area, and install the new one.
If you’re experienced, it might take less time. But if you run into issues like hard-to-reach fittings or leaks, it could take longer.
Make sure you have all your tools ready to help the installation go smoothly.
Can I Install a New Faucet Without Professional Help?
Yes, you can install a new faucet without professional help if you’re comfortable with basic plumbing tasks.
Just make sure to turn off the water supply first, gather the necessary tools, and carefully follow the manufacturer’s instructions.
Take your time to disconnect the old faucet, clean the area, and install the new one securely.
With patience and attention to detail, you can successfully complete the installation yourself.
What Should I Do if Parts Are Missing or Damaged?
Imagine finding a treasure map with missing pieces—disappointing, right? If parts are missing or damaged, stop and don’t force the installation.
First, check with the manufacturer for replacements or compatible parts. If they’re unavailable, try visiting a hardware store or asking a plumber for advice.
Using damaged parts can cause leaks or future problems, so it’s best to replace them first. This will help ensure your faucet works smoothly without any issues.
Are There Specific Tools for Different Faucet Brands?
Yes, there are specific tools for different faucet brands, but many common tools work across brands. You’ll often need an adjustable wrench, basin wrench, or pliers.
Some brands have unique mounting hardware that requires specialized tools. So, it’s a good idea to check your faucet’s manual.
If you’re unsure which tools you need, visit a hardware store with your faucet model. The staff can help recommend the right tools.
Having the correct tools makes the installation process much smoother and less frustrating.
How Often Should I Replace My Kitchen Faucet?
You should replace your kitchen faucet every 10 to 15 years, or sooner if you notice leaks, decreased water pressure, or corrosion.
Coincidentally, I recently had a similar experience when my faucet started dripping nonstop. Promptly replacing it made my kitchen feel new again.
Regular updates guarantee efficiency, prevent water damage, and keep your space fresh. Keep an eye on signs, and don’t hesitate to upgrade when necessary for peace of mind.
Conclusion
You’ve just become the superhero of your kitchen, capable of transforming a stubborn, leaky faucet into a sleek, leak-free masterpiece with just a few simple steps. Your sink is now a fortress of functionality, ready to handle any culinary adventure or accidental splash attack.
No more drips, no more frustration. Just pure, unstoppable confidence every time you turn that handle. You’ll impress everyone with your faucet-fixing skills, and your kitchen will thank you for it.
By following these easy steps, you’ll have a new faucet in no time. It’s a simple way to upgrade your space and stop leaks once and for all.