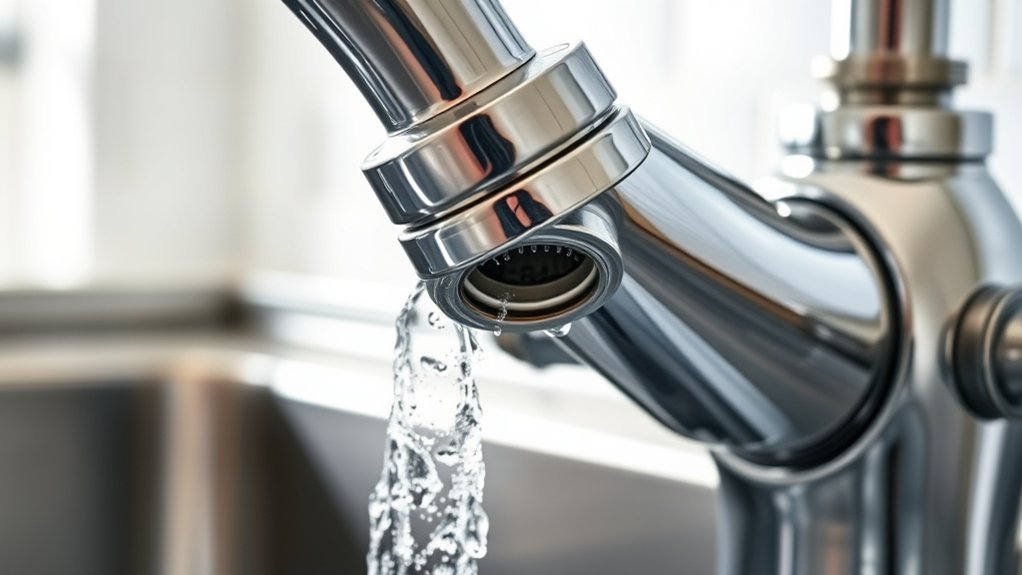
Fix Your Dripping Kitchen Faucet in 8 Easy Steps
Dealing with a dripping kitchen faucet can be incredibly frustrating, especially when it keeps wasting water and driving up your utility bills. If you’re tired of that annoying drip, you’re not alone—many people struggle with fixing leaks but feel overwhelmed by the process.
Luckily, fixing your faucet doesn’t have to be complicated if you follow a simple step-by-step guide.
To fix your dripping kitchen faucet in 8 easy steps, start by turning off the water supply and gathering the right tools and replacement parts.
Next, disassemble the faucet carefully, inspecting all components like O-rings and cartridges for damage. Replace any worn or cracked parts, then reassemble the faucet securely.
Turn the water back on and test for leaks. If you want to learn exactly how to complete each step smoothly, keep going for detailed instructions.
Key Takeaways
- Turn off the main water supply and open the faucet to release pressure before starting repairs.
- Remove faucet handles or covers to access internal components like the cartridge or O-rings.
- Inspect the parts for damage, corrosion, or mineral buildup. If you see any worn or faulty components, replace them.
- Reassemble the faucet carefully, making sure all parts are tightened securely.
- Turn the water supply back on and test the faucet for leaks and smooth operation.
How to Diagnose a Leaking Kitchen Faucet
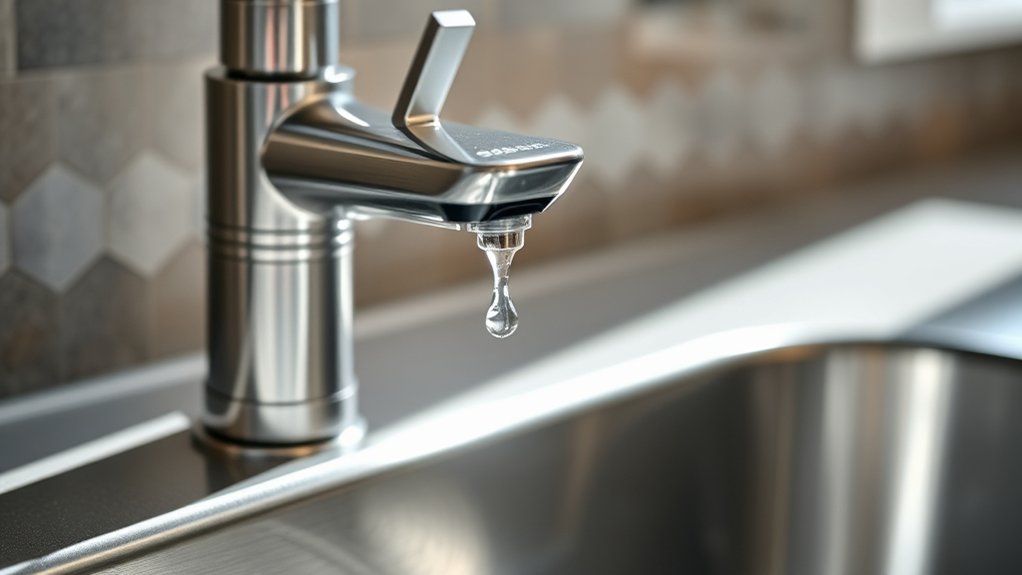
The first step in fixing a dripping kitchen faucet is figuring out where the leak is coming from. Turn off the water supply to stop any more water from leaking out. Then, remove the faucet handles or covers so you can look inside.
Check for water pooling around the base of the faucet. This usually means the O-ring or seal is worn out. Also, look at the spout when the faucet is on to see if it’s leaking. That could point to a damaged cartridge or valve seat.
If water drips from the handle, the cartridge or stem might be faulty. Pay attention to how the leak behaves—whether it’s constant, intermittent, or only happens when you use certain parts. Proper diagnosis makes fixing the leak easier and more effective.
Gather the Tools and Replacement Parts You Need
Before you start fixing your faucet, gather essential tools like an adjustable wrench, screwdriver, and pliers. Having these ready will save you time and frustration.
Make sure you also have compatible replacement parts, such as a new washer or cartridge, that fit your faucet model. Being prepared makes the repair process smoother and quicker.
Essential Tools Required
To successfully fix a dripping kitchen faucet, you’ll need to gather the right tools and replacement parts beforehand. Start with an adjustable wrench or basin wrench to loosen fittings.
A Phillips and flat-head screwdriver are essential for removing screws and covers. Pliers can help grip and turn small parts, while a rag or cloth will protect finishes and clean surfaces.
You might also need a small Allen wrench if your faucet has hex screws. Don’t forget to have a container or tray ready to hold small parts and screws.
Moreover, prepare any replacement washers, O-rings, or cartridges specific to your faucet model. Having these tools on hand guarantees a smooth repair process, saving you time and minimizing frustration.
Compatible Replacement Parts
Gathering the right replacement parts is key to fixing your faucet successfully. First, figure out what type of faucet you have—whether it’s compression, cartridge, ball, or ceramic disc.
Check the manufacturer’s name and model number, usually found under the sink or inside the handle. This info helps you find compatible parts like O-rings, cartridges, washers, or seals.
Visit a hardware store or shop online with these details to ensure you get exact matches. Avoid generic parts, as they might not fit properly or last long.
Having the correct parts ready prevents delays and makes the repair smoother. Double-check the specs and compare them with your existing components before buying.
Using properly matched parts makes your faucet fix quick, reliable, and leak-free.
Turn Off Water Supply and Prepare Your Workspace
Start by turning off the main water supply to prevent any leaks or water flow while you work. Locate the shut-off valve under your sink or near the water meter and turn it clockwise until fully closed.
Open the faucet slightly to release any remaining water pressure and drain residual water from the lines. Clear the area around your sink to create space for tools and parts.
Place a towel or cloth underneath to catch any drips. Gather your necessary tools, such as an adjustable wrench, screwdriver, and replacement parts.
Make sure your workspace is well-lit and organized. Taking these steps guarantees a safe, efficient repair process and prevents water damage or messes during the faucet fix.
Disassemble Your Faucet and Inspect the Components
Carefully remove the faucet parts to expose the internal components. As you do this, keep track of each piece to avoid confusion during reassembly. Use an adjustable wrench or screwdriver as needed.
Once apart, inspect each element thoroughly. Look for cracks, corrosion, mineral buildup, or worn-out seals. Check the O-rings and cartridges for damage or deterioration.
Examine the washers for any signs of thinning or cracking. Be mindful of small parts like screws and springs—they can easily get lost. If any component appears damaged or worn, set it aside for later replacement.
Taking your time during this step guarantees a proper diagnosis of the problem and makes the next steps smoother. Your careful inspection is key to fixing your faucet effectively.
Identify and Replace Worn or Damaged Parts
Once you’ve inspected the faucet components, the next step is to identify any parts that are worn, cracked, or damaged. Look for rust, mineral buildup, or cracks on washers, O-rings, and seals. These are common causes of leaks.
If a part looks compromised, it’s best to replace it. Use the table below to help you determine what to check and what to replace:
| Part | Signs of Damage |
|---|---|
| Washers | Cracks, thinning, or deformed |
| O-rings | Cracks, brittleness |
| Cartridge/Valve | Sticking or corrosion |
| Seals | Cracks or missing |
Replacing these damaged parts stops leaks and restores your faucet’s functionality.
Reassemble the Faucet and Turn Water Back On
After replacing any damaged parts, it’s time to reassemble the faucet. Carefully put all the components back in their original positions, making sure everything fits snugly. Tighten the nuts and screws securely, but avoid overtightening to prevent damage.
Once the faucet is reassembled, turn the water supply back on slowly to prevent sudden pressure surges. Check for any leaks around the base and handles as you do this. If leaks appear, tighten the connections slightly.
After reassembling, slowly turn the water on and check for leaks around the base and handles.
Be patient and let the water flow. Watch closely for leaks or drips. If everything looks good and no leaks are present, you’ve successfully reassembled your faucet and restored water flow.
Make sure all parts are properly aligned before tightening. Adjust fittings if needed to ensure a tight, leak-free connection.
Test the Faucet for Leaks and Proper Function
Before finalizing the repair, turn on the water supply and run the faucet to check for leaks and proper operation. Watch carefully for drips around the base, spout, or handles.
Make sure water flows smoothly at both hot and cold settings. If you notice leaks or weak flow, shut off the water and recheck your work.
Use the table below to identify common issues and solutions:
| Issue | Solution |
|---|---|
| Leaking around the base | Tighten or replace the gasket |
| Weak water flow | Clean aerator or check for blockages |
| Dripping handles | Tighten handle screws or replace washers |
| No water flow | Check valve or shut-off valve |
Testing thoroughly helps verify your repair is successful and your faucet functions perfectly.
Tips to Prevent Future Kitchen Faucet Leaks
To prevent future leaks, make sure you perform regular faucet maintenance, like cleaning and inspecting for signs of wear.
If you notice any leaks or issues, address them promptly to avoid bigger problems down the line. Staying proactive keeps your faucet working smoothly and helps you avoid costly repairs.
Regular Faucet Maintenance
A well-maintained faucet can save you from unexpected leaks and costly repairs down the line. Regular upkeep keeps your faucet functioning smoothly and prevents small issues from becoming major problems. To maintain your faucet, make it a habit to clean aerators and cartridge assemblies periodically.
Check for mineral buildup and remove debris that can cause blockages. Keep an eye on water pressure, as high pressure can wear out seals faster. Replace worn-out washers or O-rings before leaks develop. Furthermore, avoid using harsh chemical cleaners that can damage internal components.
- Clean aerators and filters regularly
- Inspect and replace worn washers or O-rings
- Keep water pressure in check
- Remove mineral buildup with vinegar
- Tighten loose fittings promptly
Address Leaks Promptly
Addressing leaks promptly can save you from costly repairs and water waste. When you notice a dripping faucet, don’t wait—fix it immediately.
Small leaks can quickly turn into major problems if ignored, leading to higher water bills and potential damage to your sink or cabinets. Take action as soon as you see signs of a leak, like constant dripping or decreased water pressure.
Regularly inspect your faucet for early signs of wear or damage and address issues before they get worse. Prompt repairs also help prevent mineral buildup or corrosion that can cause future leaks.
Frequently Asked Questions
How Often Should I Check My Kitchen Faucet for Leaks?
You should check your kitchen faucet for leaks at least once a month. Regular inspections help you catch drips early, which can prevent water waste and potential damage.
Keep an eye out for signs like dripping, decreased water pressure, or unusual noises. If you notice any issues, address them quickly to avoid costly repairs down the line.
Staying proactive means your faucet stays in good shape and can save you money on your water bills.
Can I Fix a Dripping Faucet Without Professional Help?
Yes, you can fix a dripping faucet yourself. Start by turning off the water supply, then remove the handle and examine the parts.
Replace worn-out washers or cartridges, and clean any debris. Reassemble everything carefully, turn the water back on, and check if the drip stops.
With some basic tools and patience, you can save money and fix your faucet without needing professional help.
What Are the Common Causes of Faucet Leaks?
Ever wondered why your faucet leaks? Common causes include worn-out washers, damaged O-rings, or loose parts that prevent a proper seal.
Mineral buildup can also corrode internal components, leading to drips. Do you notice water constantly dripping even when the faucet is off?
That’s a clear sign you should inspect these parts. Regular maintenance helps prevent leaks, saving water and money. It also makes your faucet last longer and work more efficiently.
How Long Does It Typically Take to Repair a Faucet?
It usually takes about 30 minutes to an hour to repair a faucet, depending on how complicated the problem is.
If you’re just replacing a washer or cartridge, it’s a lot quicker. More complex issues, like fixing internal parts or dealing with corrosion, may take more time.
You’ll need basic tools, some patience, and a little plumbing know-how.
Staying organized and following step-by-step instructions can help you get the job done more efficiently.
Are There Eco-Friendly Ways to Reduce Faucet Leaks?
Think of your faucet as a tiny river, and leaks as tiny tears in its flow. To cut down on leaks eco-friendly, you can install water-saving aerators that act like filters, reducing flow without sacrificing performance.
Regularly check and maintain your faucet to catch leaks early, like a vigilant guardian. These small acts help conserve water, lower your bills, and protect our planet’s precious resources.
Making these simple changes can turn your kitchen into a greener, more sustainable space.
Conclusion
By following these simple steps, you’ll have your kitchen faucet dripping fixed in no time. Remember, an ounce of prevention is worth a pound of cure. Regular maintenance can save you from future headaches.
Don’t forget to check your work thoroughly and stay attentive to signs of wear. With patience and care, you’ll keep your faucet running smoothly and avoid costly repairs down the line.
A well-maintained faucet is a small investment with big returns. Fixing your dripping kitchen faucet now helps prevent bigger issues later, saving you time and money.